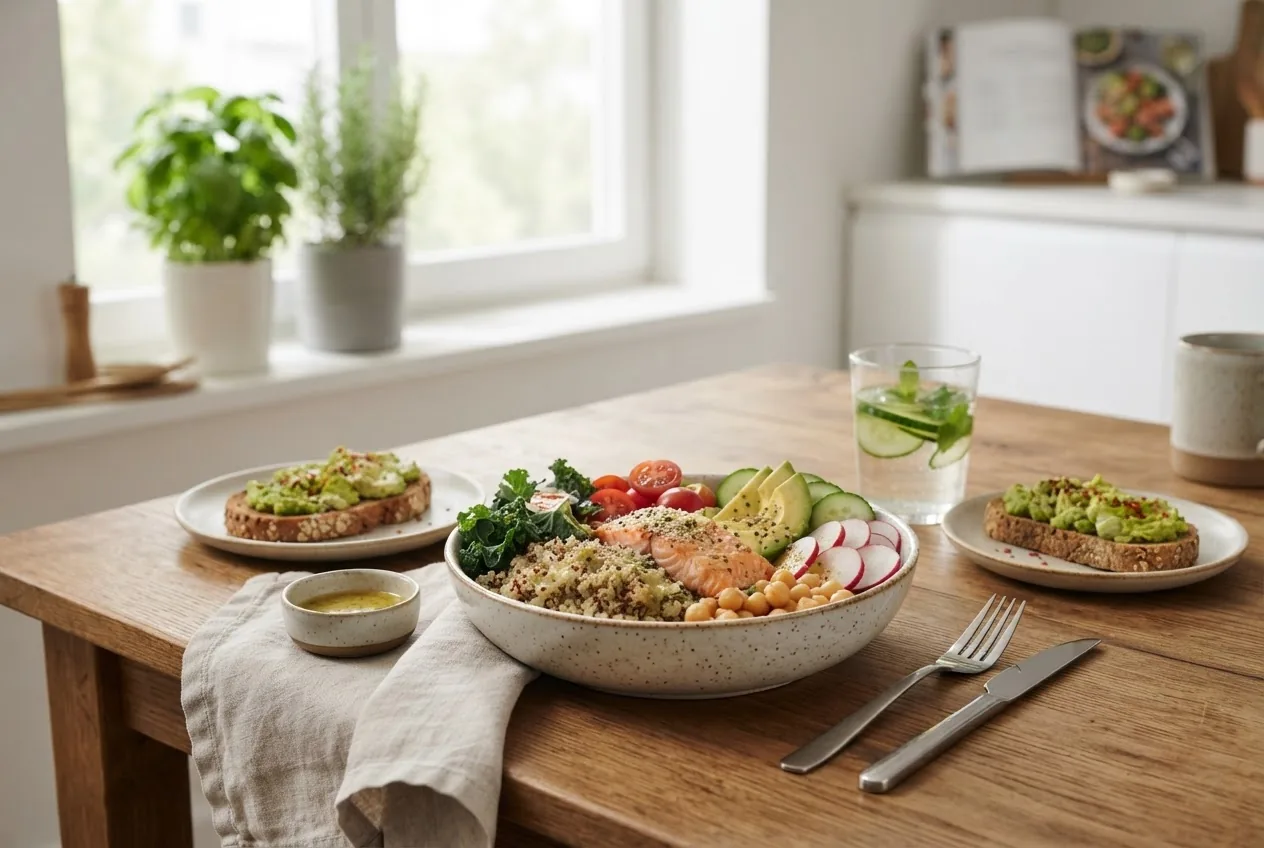
You will finish this guide able to build five balanced, quick midday plates, plan and prep a week’s lunches in 90–120 minutes, and adapt recipes for vegetarian or gluten-free needs; total read + action time: 45–90 minutes. Skill level required: beginner to confident home cook.
Introduction to Nutritious and Simple Lunchtime Dishes
This hands-on guide centers on lunchtime dishes that are both nutritious and simple to prepare, aimed at helping you answer “what should I eat for lunch today” or “what should I get for lunch” with confidence. By the end you’ll have concrete go-to meals, portion rules, and a repeatable prep workflow to save time and reduce decision fatigue.
Start smaller: pick one style (salad bowls, wraps, grain bowls, or simple hot plates) and build 3 variations using the ingredient lists below. If you want broader recipe inspiration beyond lunch, check the yummiest healthy recipes guide for nutritious and tasty meals and reinforce mornings with easy and healthy breakfast ideas.
Key Principles of Creating Healthy and Simple Lunchtime Dishes
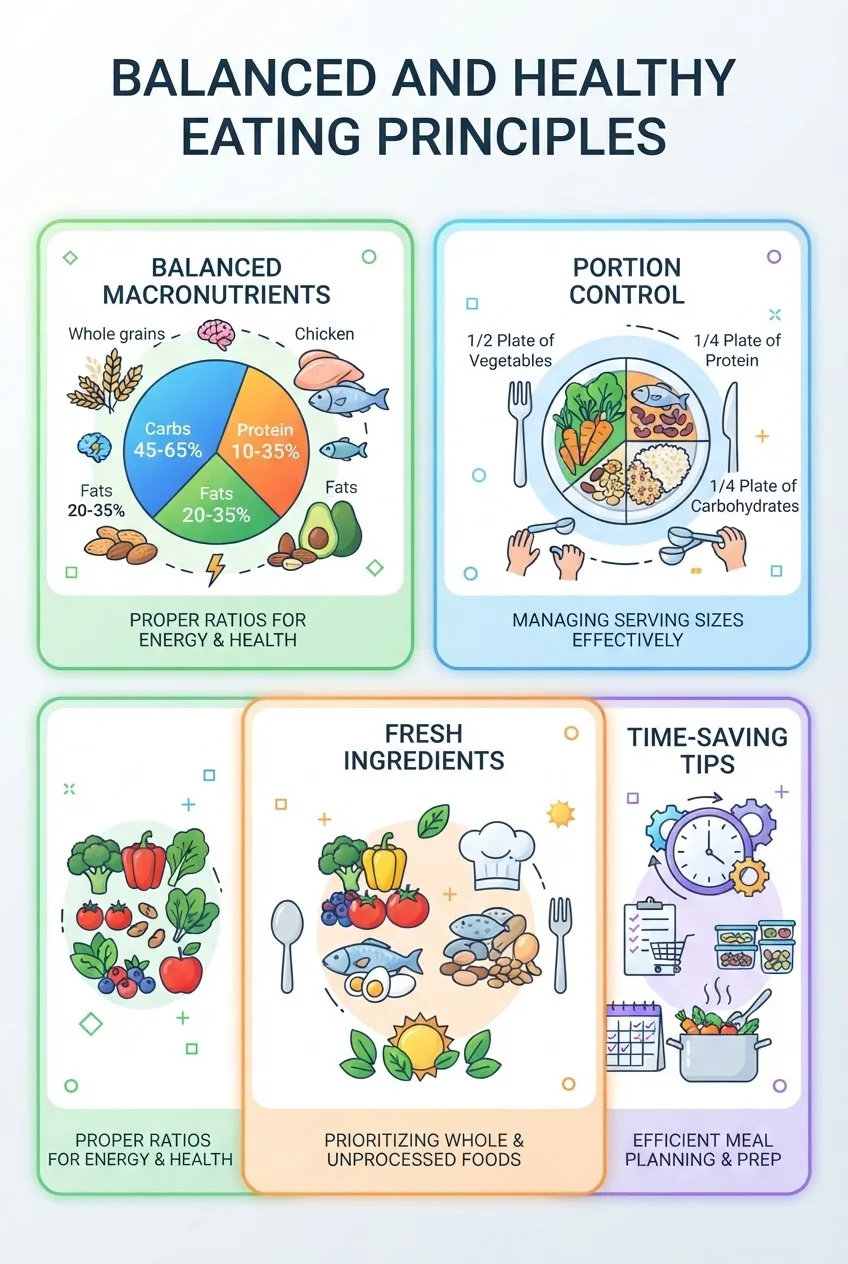
Good lunchtime dishes rest on three repeatable principles: balance, ease, and satiety. Below are practical rules you can apply immediately, with references to established guidance.
- Balance macronutrients: Aim for ~25–35% calories from protein, 35–45% from carbohydrates (favor whole grains), and 20–35% from healthy fats. This mirrors the plate method used by many dietitians. According to 2024 USDA guidelines, distribute vegetables and grains to fill half the plate and make protein and healthy fats the remaining portion — useful for simple midday builds. USDA Dietary Guidelines
- Portion control with a visual plate: Use the plate method: 1/2 vegetables and fruit, 1/4 lean protein, 1/4 whole grains. For most adults that looks like 3–4 oz (85–115 g) protein, 3/4–1 cup cooked whole grains, and 1–2 cups vegetables. According to the American Heart Association, this structure supports heart-healthy meals. American Heart Association
- Prioritize fiber and volume: Fiber-rich vegetables, beans, and whole grains add fullness without calorie overload. Practical target: 6–8 g fiber in a lunch increases satiety; registered dietitians recommend combining soluble and insoluble fiber for steady energy. See guidance from the Academy of Nutrition and Dietetics for meal composition. Registered dietitian resources
- Time-saving cooking methods: Roast a sheet pan of vegetables at 425°F for 20–25 minutes, batch-sear 1–1.5 lb (450–680 g) lean protein on weeknight and refrigerate, and cook 2–3 cups dry whole grain (yield 6–8 cups cooked) for multiple servings.
- Keep flavors simple: Use three complementary seasonings per dish (e.g., cumin + lime + chili flakes) so you can vary profiles without reinventing recipes.
- Calorie-aware options: If you want calorie-specific planning, consider the balanced 400-calorie meals and scale portion sizes up or down. For wider calorie targets, look at healthy 600-calorie recipes as cross-reference examples of portion and macronutrient balance.
- Food safety and storage: Chill prepared food to <40°F (4°C) within two hours and use airtight containers; consume refrigerated lunches within 3–4 days. When reheating, bring to 165°F (74°C).
Top Ingredients for Nutritious Lunchtime Dishes
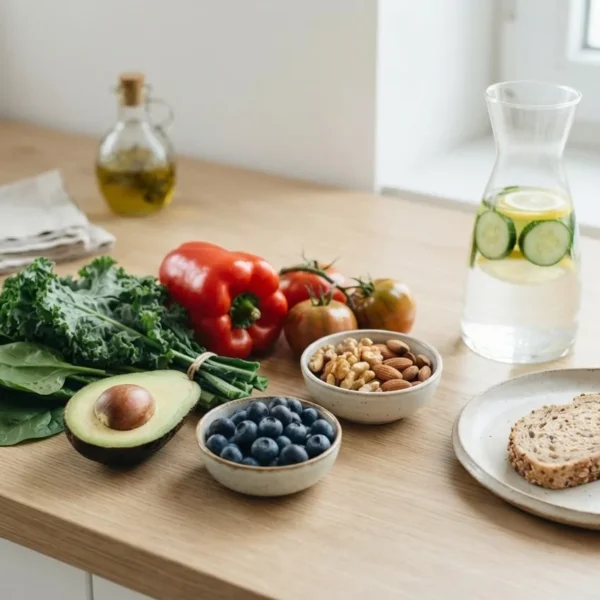
Stocking a small set of versatile, nutrient-dense ingredients makes deciding “what should I eat for lunch” fast. Below are top picks with benefits and quick examples, focused on common grocery options across Texas and wider U.S. markets.
- Skinless chicken breast (lean protein) — Benefit: high biological value protein, ~25–30 g protein per 3 oz (85 g) cooked. Use: grilled strips on salads, shredded for wraps. Cook 1–1.5 lb at 400°F for 20–25 minutes until 165°F internal.
- Farm-raised salmon or canned salmon — Benefit: omega-3 fatty acids for heart health; ~22 g protein per 3 oz cooked. Use: flake onto grain bowls or mix with Greek yogurt and dill for a quick filling. In Texas, fresh Gulf-caught options are seasonal and local markets often stock frozen fillets.
- Eggs — Benefit: economical complete protein (6–7 g per egg) and fast prep. Use: hard-boil 6 eggs for the week (10–12 minutes boil time), or make a 10-minute scramble.
- Legumes (black beans, chickpeas) — Benefit: fiber + protein; 1/2 cup cooked = ~7–9 g protein and 6–8 g fiber. Use: tossed into salads or mashed for sandwiches. Canned legumes are convenient—rinse to reduce sodium.
- Quinoa, farro, brown rice (whole grains) — Benefit: sustained energy and fiber. Cook 1 cup dry quinoa (yields ~3 cups cooked) in 15 minutes; brown rice takes ~40 minutes (or use a rice cooker). Store 3–4 days refrigerated.
- Leafy greens (spinach, mixed greens, kale) — Benefit: volume, micronutrients, low calories. Keep pre-washed greens for quick assembly; kale benefits from massaging with lemon or olive oil for tenderness.
- Cruciferous vegetables (broccoli, Brussels sprouts) — Benefit: high fiber, versatility. Roast at 425°F for 18–22 minutes with 1 Tbsp oil per 12 oz for caramelized texture.
- Colorful vegetables (bell peppers, cherry tomatoes, carrots) — Benefit: vitamins, easy raw or roasted. Cherry tomatoes add juiciness; sliced peppers last 4–5 days in fridge when stored dry.
- Avocado — Benefit: healthy monounsaturated fats and creaminess; 1/2 medium avocado = ~120 calories. Add last-minute to bowls to preserve color; drizzle lemon to slow browning.
- Greek yogurt (plain, low-fat) — Benefit: protein (12–17 g per cup) and tang for sauces or dressings. Use as a creamy binder for tuna/chicken salads instead of mayo to reduce saturated fat.
- Olive oil and nuts (walnuts, almonds) — Benefit: healthy fats for satiety. Use 1–2 tsp olive oil per serving for dressing; 1 oz nuts per portion provides texture and ~5–7 g protein.
- Whole-grain wraps and sprouted bread — Benefit: portable bases for sandwiches and wraps. Choose 6–8 g fiber per serving when possible; fill with protein + veg for balanced lunches.
- Local Texas produce (sweet corn, peppers, greens) — Benefit: seasonal flavor and value. Incorporate roasted Texas sweet corn or poblano peppers for regional touches; they pair well with beans and grilled proteins.
- Low-sodium broths and quick sauces — Benefit: add moisture without excess sodium. Keep low-sodium chicken or vegetable broth for grain cooking or quick soups—aim for products with <360 mg sodium per serving or rinse canned products.
For budget-minded shopping, see the affordable nutritious foods guide for specific cost-per-serve lists and seasonal purchasing tips.
Quick and Easy Lunchtime Dish Suggestions
Below are 12 practical lunchtime dishes you can assemble in 5–20 minutes (or prep once and repeat). Each entry includes a quick description and a single targeted tip to make it faster and more nutritious—no full recipes, just ready-to-use ideas.
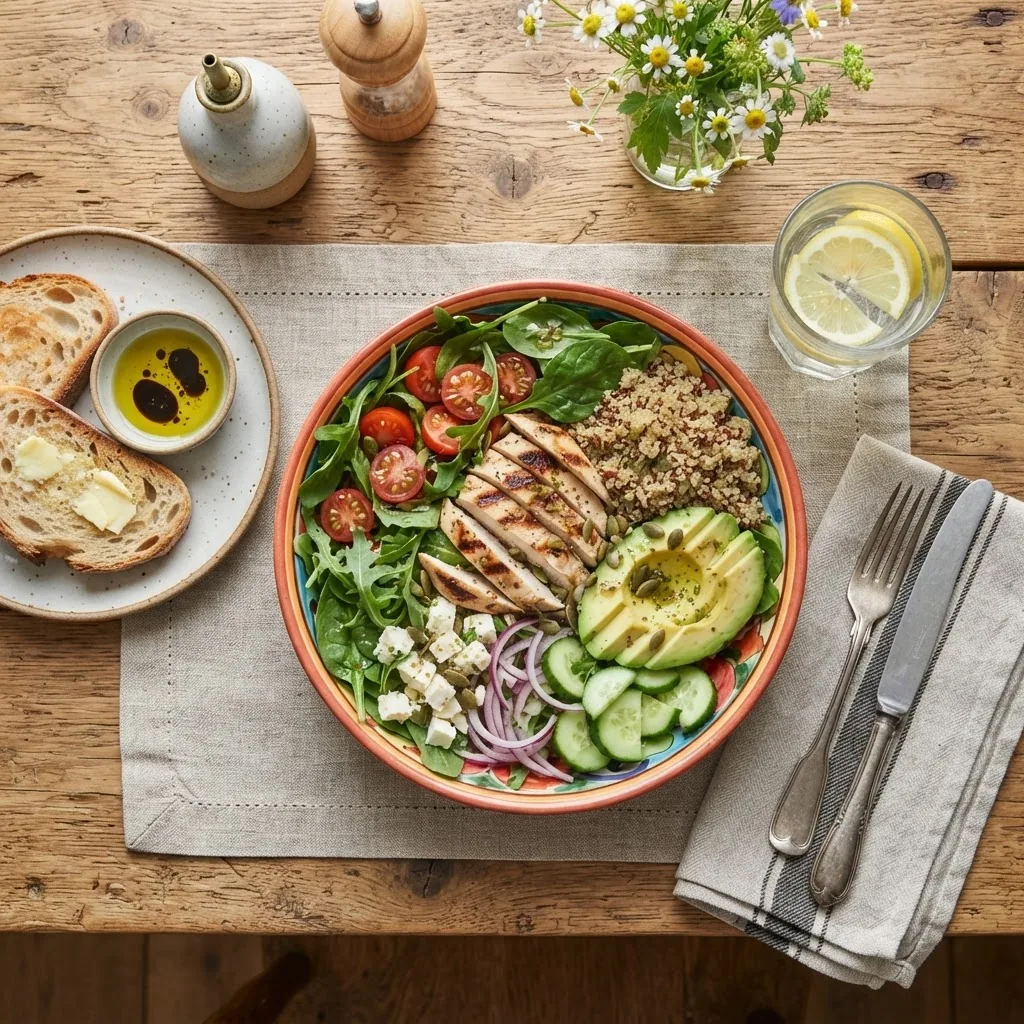
- Grilled chicken quinoa bowl — Mixed greens, 3–4 oz grilled chicken, 1/2–3/4 cup cooked quinoa, cherry tomatoes, 1/4 avocado, drizzle 1 tsp olive oil + lemon. Tip: Grill 1.5 lb chicken on Sunday, slice and refrigerate for 4 lunches. easy healthy lunch ideas for work
- Mediterranean tuna wrap — Canned tuna (in water) mixed with plain Greek yogurt, capers, cucumber, and herbs in a whole-grain wrap. Tip: Mix filling in advance and portion into sealed containers.
- Black bean and roasted sweet potato bowl — 1 cup roasted cubed sweet potato, 1/2 cup black beans, spinach, salsa, and 1 oz shredded cheese. Tip: Roast a sheet pan of sweet potatoes at 425°F for 25 minutes to use 3–4 times.
- Egg salad lettuce boats — 2 chopped hard-boiled eggs, 2 Tbsp Greek yogurt, mustard, chopped celery, serve in romaine leaves. Tip: Hard-boil 6–8 eggs on prep day (10–12 minutes), peel and refrigerate.
- Smoked salmon open sandwich — 2 slices sprouted bread, 2 oz smoked salmon, 1 Tbsp cream cheese or Greek yogurt, sliced cucumber and dill. Tip: Assemble just before eating to keep bread from sogging.
- Chickpea shawarma grain bowl — 1 cup cooked farro, 1/2 cup roasted chickpeas with shawarma spice, lettuce, tomato, tzatziki. Tip: Roast chickpeas for 20–30 minutes at 400°F for crunch that holds up through the week.
- Quick vegetable fried brown rice — 1 cup leftover brown rice stir-fried with 1 cup mixed vegetables, 2 eggs, 1 Tbsp low-sodium soy sauce. Tip: Use day-old rice or chilled rice for non-mushy texture; 6–8 minutes on medium-high heat.
- Turkey, apple & cheddar sandwich — Whole-grain bread, 3–4 oz sliced turkey, thin apple slices, 1 oz cheddar, baby spinach. Tip: Layer apple away from bread center to reduce sogginess; wrap in parchment.
- Lentil and roasted beet salad — 1 cup cooked lentils, 1/2 cup roasted beets, arugula, 1 Tbsp walnut pieces, balsamic vinaigrette. Tip: Cook 2 cups dry lentils (yield 5–6 cups cooked) and portion for quick lunches.
- Tex-Mex chicken bowl — Grilled chicken, 3/4 cup brown rice, black beans, corn, pico de gallo, cilantro, lime wedge. Tip: Use frozen grilled corn (microwave 1 min) for fast assembly; regional Texas flavor with fresh cilantro.
- Vegetarian sushi bowl — 3/4 cup cooked sushi rice or brown rice, sliced avocado, cucumber, carrot ribbons, nori strips, 2 Tbsp edamame, drizzle low-sodium soy. Tip: Assemble cold and pack soy separately to avoid sogginess.
- Warm lentil soup & side salad — 1.5 cups hearty lentil soup (batch-cooked) with a 1-cup side salad and whole-grain roll. Tip: Freeze individual soup portions in 2-cup silicone containers for 1–2 month storage.
- Avocado & black bean tostadas — Toasted whole-grain tortillas topped with smashed avocado, black beans, pico, and a squeeze of lime. Tip: Toast tortillas for crunch just before serving.
- Greek yogurt parfait with fruit and granola — 1 cup plain Greek yogurt, 1/2 cup mixed berries, 1/4 cup high-fiber granola, 1 Tbsp chia seeds. Tip: Pack granola separately to retain crunch.
- Simple pasta primavera — 1 cup whole-grain pasta, 1.5 cups mixed sautéed vegetables, 2 Tbsp grated Parmesan. Tip: Cook pasta 1 minute less than package directions to avoid overcooking on reheat.
If you pack lunches for work regularly, rotate 4 base templates (grain bowl, wrap, salad bowl, soup + side) to simplify shopping and prep. See the easy healthy lunch ideas for work for more portable builds.
How to Plan and Prep Your Lunch for the Week
A 90–120 minute weekly session covers protein, grains, roasted vegetables, and assembly components for 4–5 lunches. The sequence below gives exact timings and batch sizes so you can leave with ready portions.
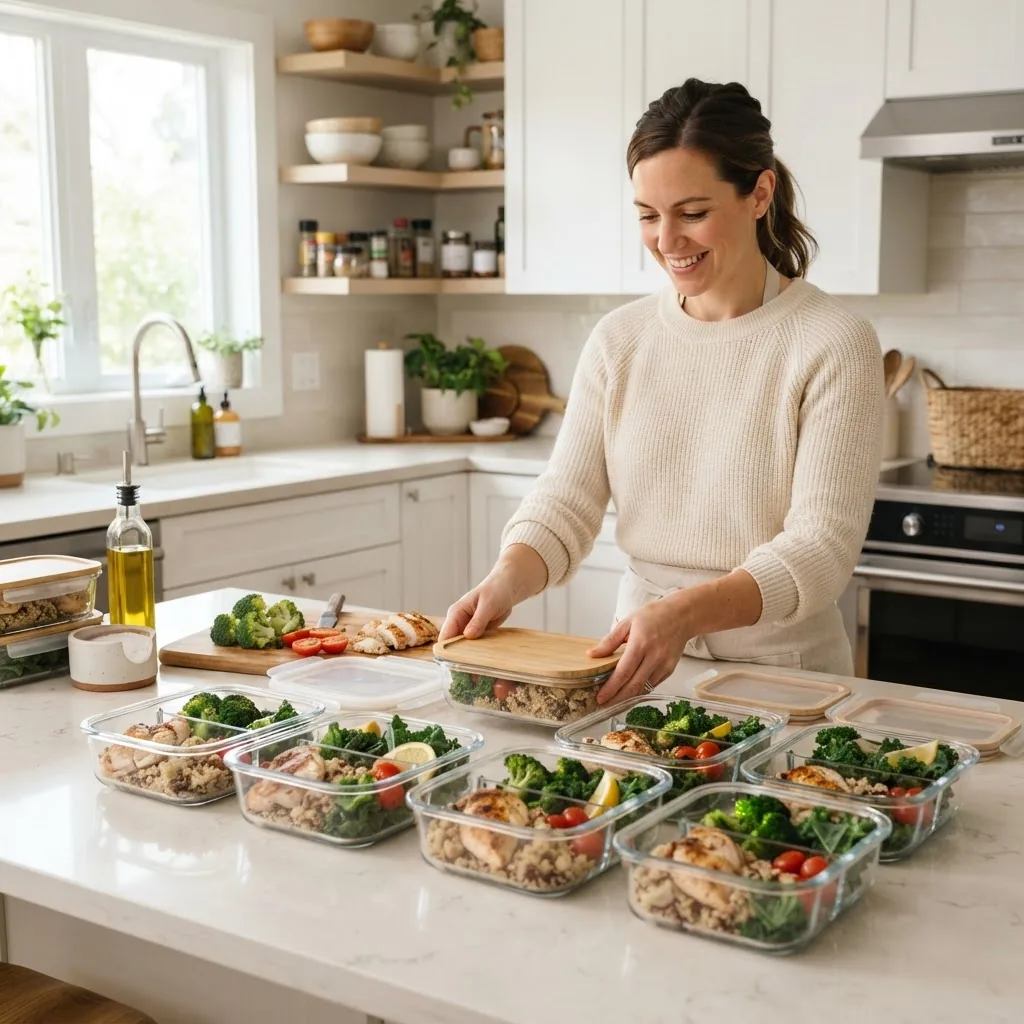
- Preheat and plan (5 minutes): Preheat oven to 425°F. Decide two proteins (e.g., 1.5 lb chicken + 2 cans chickpeas) and two grain bases (1 cup dry quinoa + 1 cup dry brown rice). Gather 6 airtight containers (24–32 oz each) for full lunches or 10 smaller 16 oz for modular packing.
- Cook grains together (20–40 minutes depending on grain): Start quinoa (1 cup dry = 3 cups cooked; 15 minutes) on one burner. If using brown rice, start it simultaneously (1 cup dry = ~40 minutes simmer). Use simmer times per package; aim for cooled grains in fridge within 60 minutes.
- Prep proteins (25–35 minutes): For chicken: season 1.5 lb with 1 Tbsp olive oil + 1 tsp salt + chosen spices; roast at 425°F for 20–25 minutes. For chickpeas: rinse canned, toss with 1 tsp oil and 1 tsp spice, roast 20–25 minutes for crunch. Internal temp goal for chicken: 165°F (74°C).
- Roast vegetables (20–25 minutes, same oven): Toss 1 lb mixed veg with 1–2 Tbsp olive oil and salt; spread on a sheet pan and roast 20–25 minutes, stirring once at 12 minutes. Use one pan for sweet potatoes; another for broccoli or Brussels sprouts to avoid flavor crossover.
- Quick-cook greens and finish (5–7 minutes): Wilt 6 cups spinach in a skillet with 1 tsp oil for 2–3 minutes for warm bowls, or leave raw for salads. Make a simple dressing: 3 Tbsp olive oil + 2 Tbsp vinegar + 1 tsp mustard; whisk and portion into small jars.
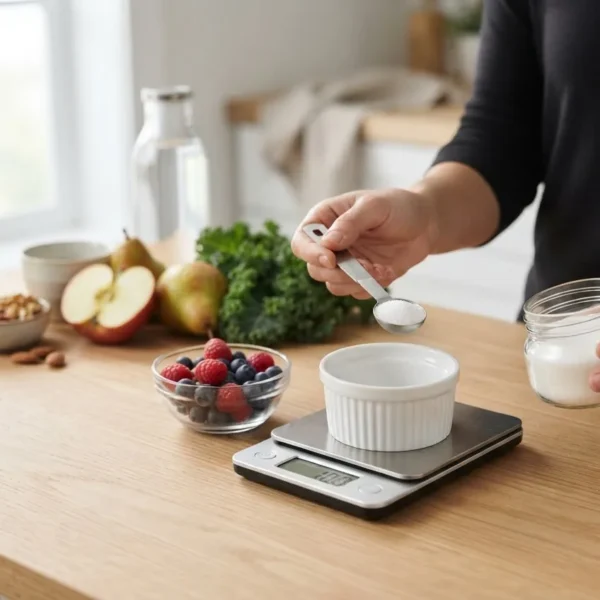
- Assemble 4–5 lunches (15–20 minutes): For each 24–32 oz container: 3–4 oz protein (weigh on kitchen scale), 3/4 cup cooked grain, 1–2 cups veg, 1/4 avocado or 1 Tbsp nuts for fat, dressing in a small separate cup. Label containers with date using masking tape—use within 3–4 days.
- Cool and store safely (10 minutes): Allow hot items to cool 10–15 minutes on a rack before sealing to prevent condensation. Place in fridge within 60 minutes of cooking; freeze any portions you won’t eat within 3 days—use freezer-safe containers and label with date.
- Daily grab-and-go routine (2 minutes each morning): Move one container to the front of the fridge; pack ice pack and utensils if taking to work. Reheat protein/grains in microwave for 90–120 seconds (stir halfway) until 165°F internal.
For recipe-ready meal prep templates and recipes, see the easy lunch meal prep ideas.
Special Considerations: Dietary Restrictions and Preferences at Lunchtime
Designing lunchtime dishes for dietary needs means swapping ingredients while keeping macronutrient balance. Below are practical swaps and sample adjustments for common restrictions.
- Vegetarian: Replace animal protein with legumes (1 cup lentils = ~18 g protein), tofu (3.5 oz = ~8 g protein), tempeh, or a double-portion of Greek yogurt. For ready inspiration, check the quick vegetarian recipes that adapt well to lunchtime bowls and sandwiches.
- Gluten-free: Use quinoa, brown rice, certified gluten-free oats, corn tortillas, or leafy wraps. When buying processed items (dressings, breads), verify gluten-free labeling and choose minimal-ingredient products to avoid cross-contamination.
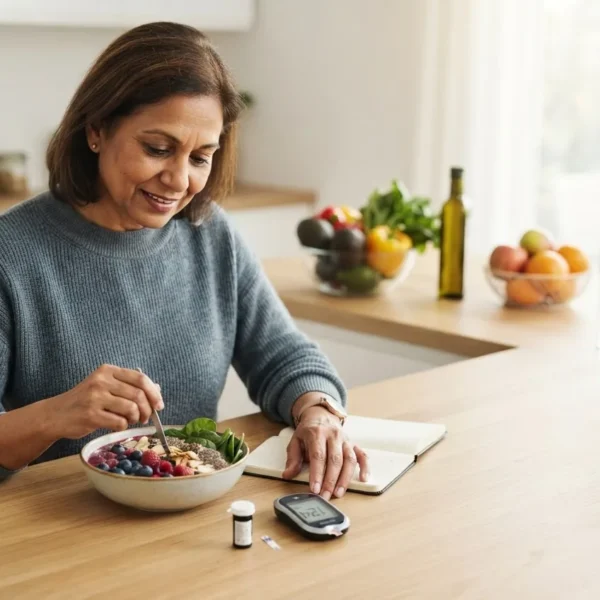
- Diabetic-friendly: Focus on consistent carbohydrate portions (30–45 g carbs per meal is a common starting point for many adults). Favor non-starchy vegetables and whole grains; replace fruit juice with whole fruits. If you track carbs for insulin dosing, measure servings precisely. For lower-glycemic choices, prioritize legumes, non-starchy veg, and quinoa.
- Low-sodium: Flavor with herbs, citrus, and spices instead of salt. Rinse canned beans and choose low-sodium broth (<140 mg sodium per 1/2 cup) to reduce overall intake.
- Allergies: For nut/seeds allergies, swap seeds for toasted chickpeas or roasted soy nuts; when ordering pre-made items, request allergen-free handling. Always read labels and avoid cross-contact in shared kitchens.
- Calorie-controlled lunches: For users seeking fixed calories, consider the nutritious 500-calorie meal options as examples for portioning; scale protein and vegetable volume to meet specific calorie goals while maintaining satiety.
Frequently Asked Questions About Lunchtime Dishes
Below are concise answers to common lunchtime questions. For quick reference, see the FAQ section below formatted for easy copying and sharing.
When you need targeted, calorie-specific or medical advice, consult a registered dietitian—individual needs vary.
Hands-On Weekly Steps (Practitioner Workflow)
The steps below are my exact, repeatable workflow for prepping 4–5 lunches in 90–120 minutes. Follow them in order to avoid overcooking, wasting food, or making soggy meals.
- Gather and measure ingredients: Lay out 1.5 lb protein, 1 cup dry quinoa, 1 cup dry brown rice (if using), 1 lb mixed veg, 6 airtight containers, measuring cups, and a kitchen scale. This prevents mid-cook improvisation.
- Start the longest-cooking grain: Put brown rice on to simmer first (40 min). If only quinoa, start it with 15 minutes remaining. Use measured water: rice 2:1 water-to-grain; quinoa 1.5:1.
- Season and roast protein: Season chicken or tofu with 1 Tbsp oil + 1 tsp salt + spices; roast at 425°F for 20–25 minutes (chicken) or 18–22 minutes (tofu). Use an instant-read thermometer: chicken 165°F.
- Roast vegetables concurrently: Spread vegetables in a single layer, 1–2 Tbsp oil per sheet; roast 20–25 minutes, flip at 12 minutes. Timing aligns with protein so both finish around the same time.
- Prepare quick-cook components: Hard-boil 6 eggs (10–12 minutes); microwave frozen edamame 3–4 minutes. Prepare a basic dressing: 3 Tbsp oil + 2 Tbsp acid + 1 tsp mustard + salt to taste.
- Cool, weigh, and portion: Let items cool 8–12 minutes on racks, then weigh portions: 3–4 oz protein, 3/4 cup grains, 1–2 cups veg. Assemble containers and label with dates.
- Store properly: Refrigerate within 60 minutes. Use the front shelf for the next day’s lunch. Freeze extras in 2-cup portions and thaw overnight in the fridge before reheating.
- Reheat safely: Microwave 90–120 seconds for a 24–32 oz container; check internal temp to reach 165°F. For salads, add dressing after reheating to keep textures bright.
Common mistakes and how to avoid them
I learned these the hard way—here are failures I’ve seen and how I fixed them.
- Too many wet ingredients in containers: I once packed tomatoes and dressing together and ended with a soggy bowl; now I pack dressing separately in 2 oz jars and add avocado at serving.
- Overcooked grains turned gluey: I used boiling water ratios blindly; I now undercook pasta and grains by 1 minute and rinse quinoa to stop carryover cooking.
- Not cooling hot food before sealing: I sealed steaming containers and trapped condensation—now I cool on a rack for 10 minutes and leave lids slightly ajar until room temperature.
- Ignoring labeling and rotation: I lost track of a container and kept it past its prime; now I date-label and eat the oldest first.
Compact Checklist
- Protein cooked to safe temp (chicken 165°F)
- Grains cooked and cooled, 3/4 cup per portion
- At least 1–2 cups vegetables per lunch
- Fat source portioned (1/4 avocado or 1 Tbsp nuts)
- Dressing packed separately
- Containers labeled with date and use-by (3–4 days refrigerated)
- Reheat target: 165°F internal for hot meals
When to call in a professional
If you have medical conditions requiring strict calorie, carbohydrate, or sodium control (e.g., insulin dosing, renal disease, heart failure), consult a registered dietitian or physician to personalize portions and timing. For food safety concerns in commercial kitchens, contact a food-safety consultant.