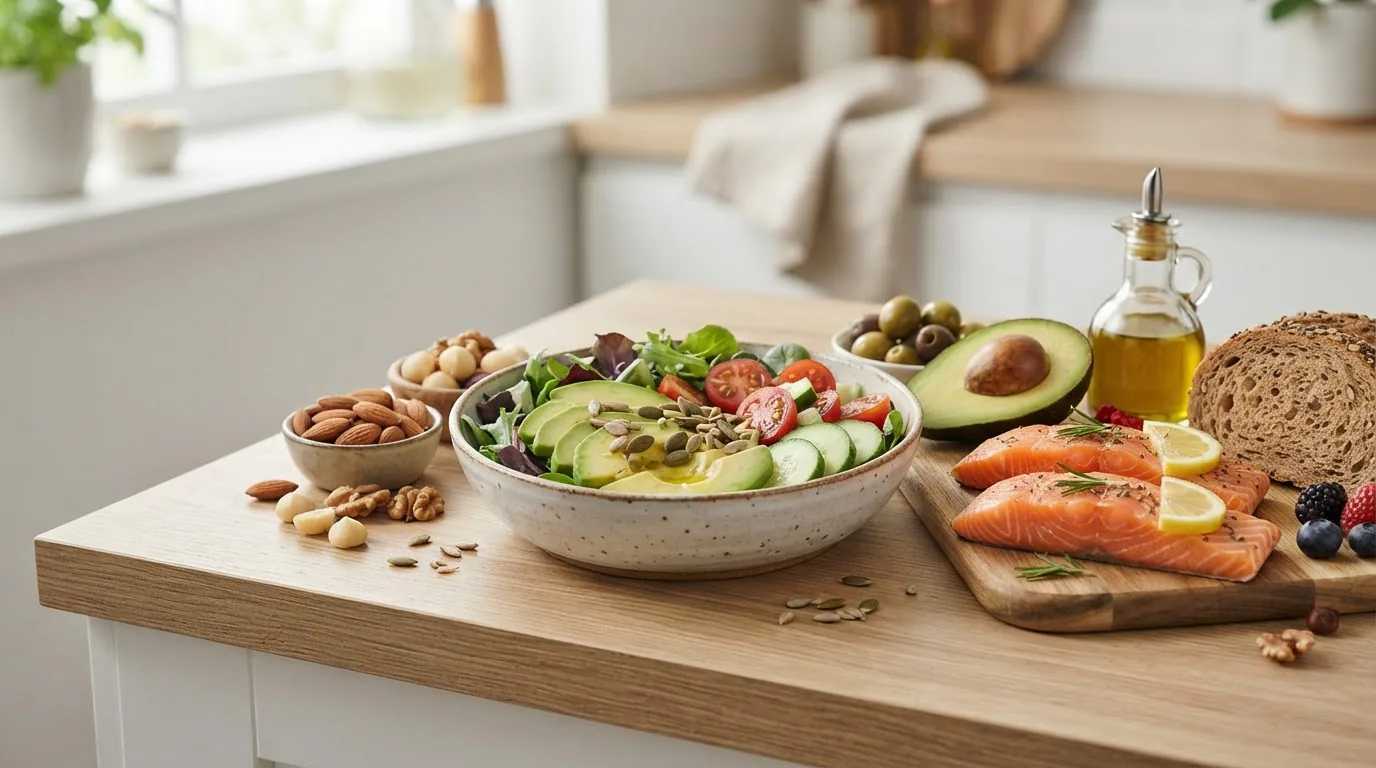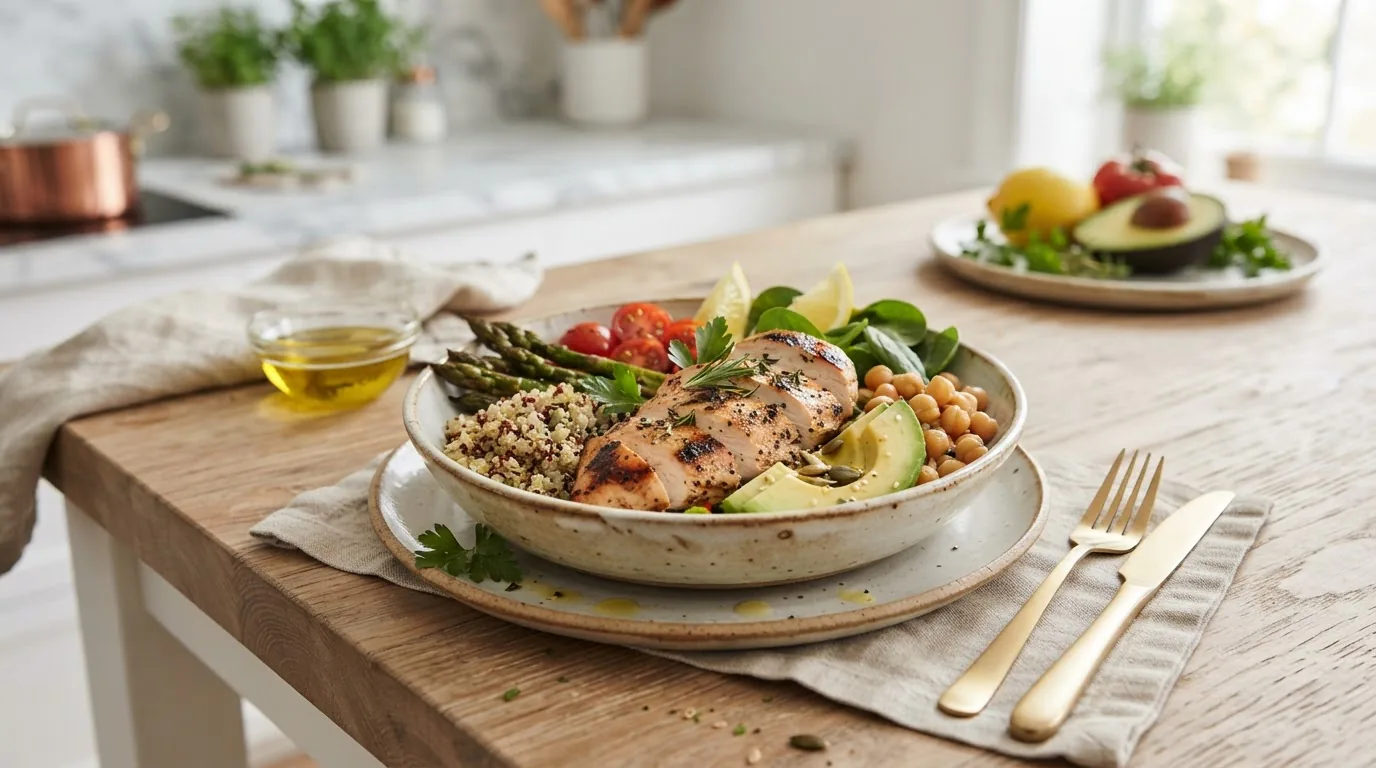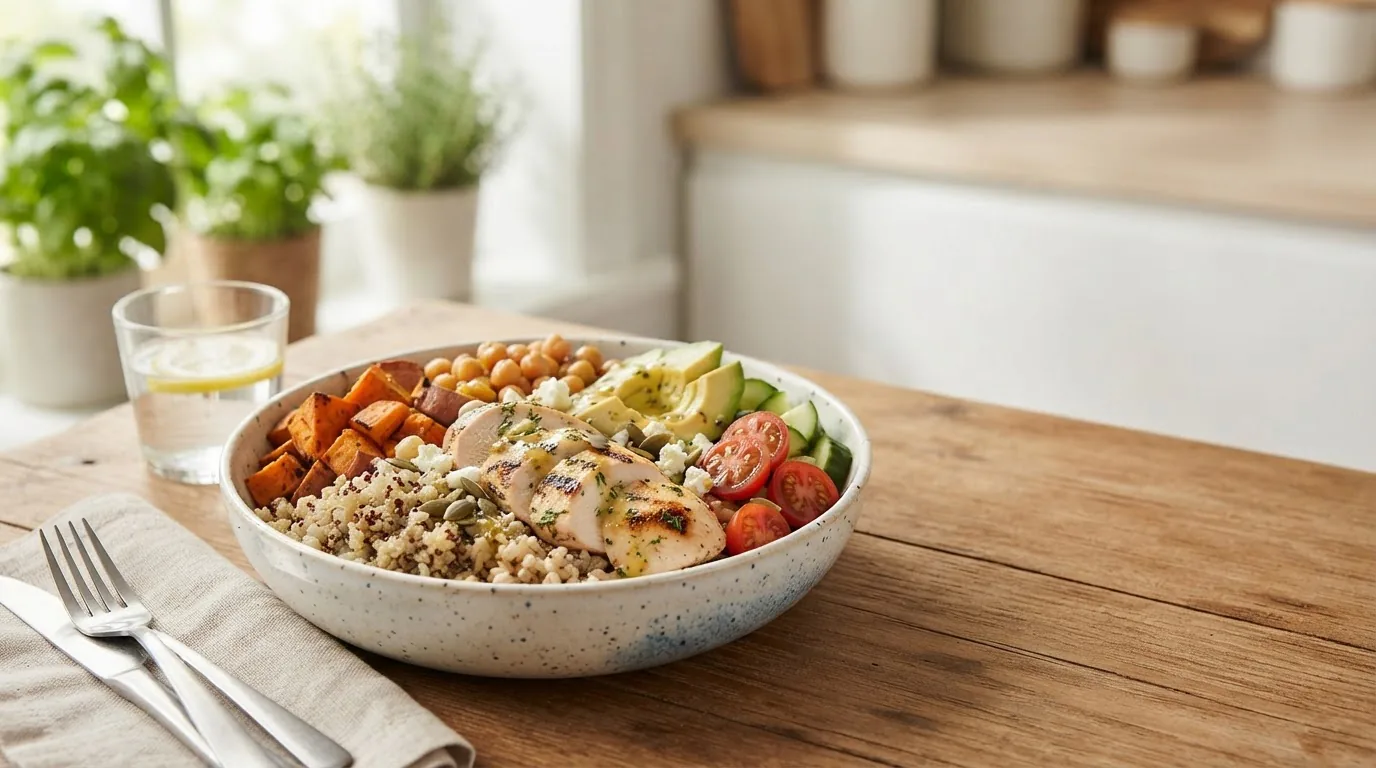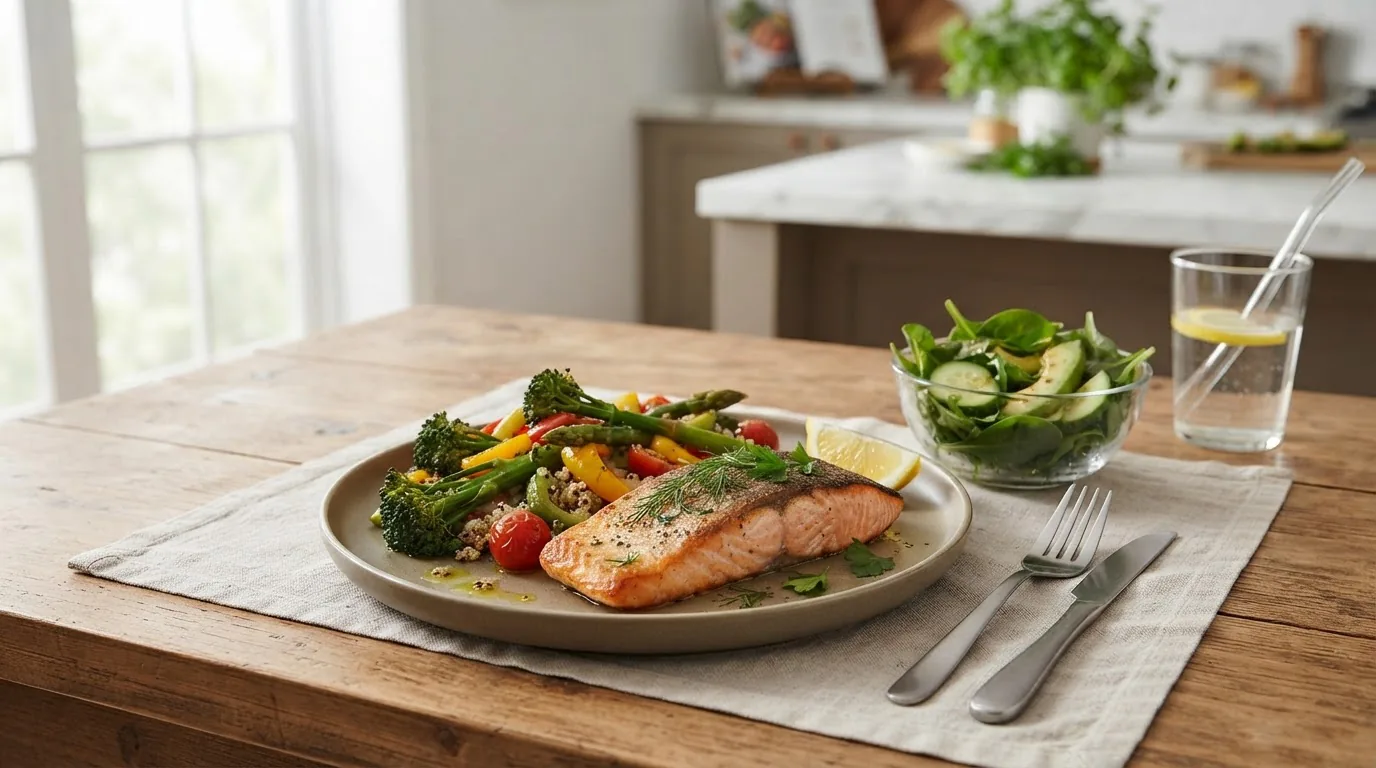
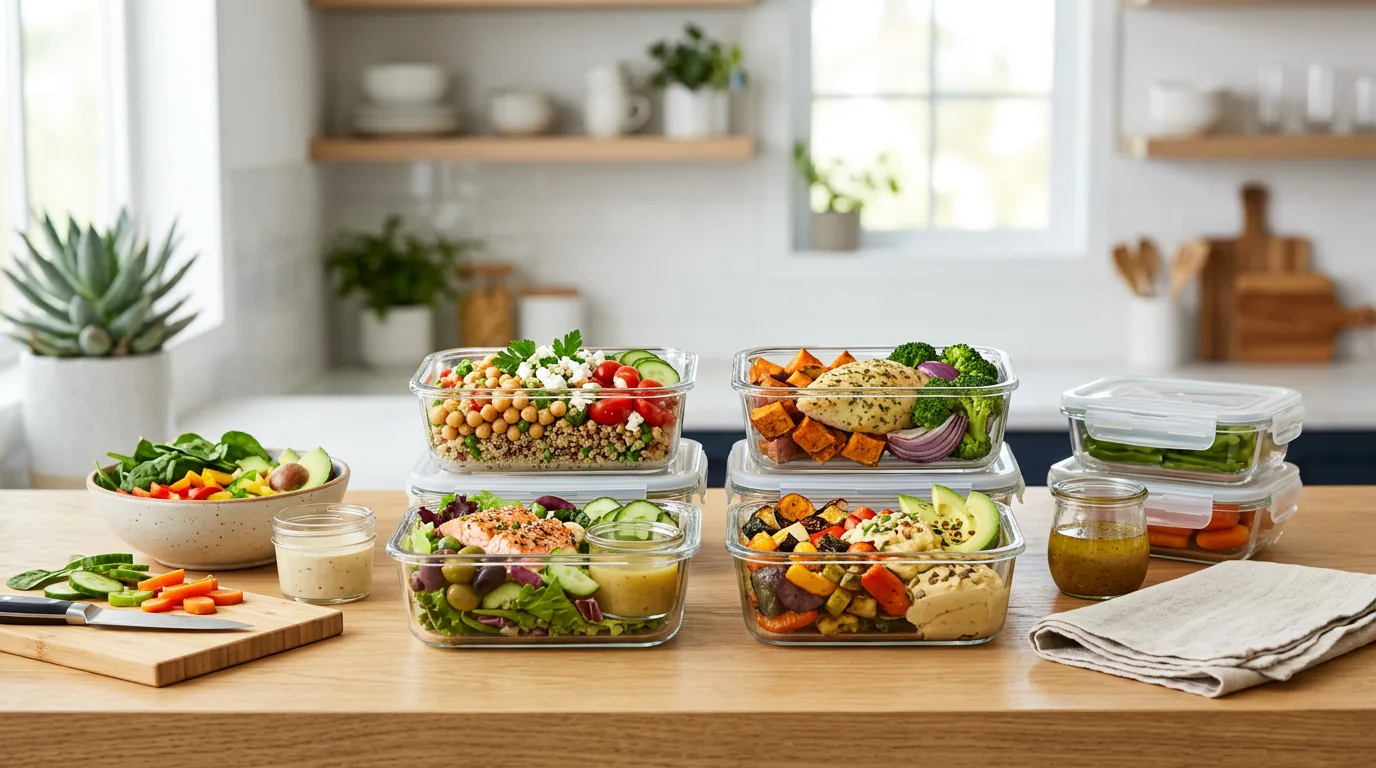
easy lunch meal prep is a simple system that saves time, reduces stress, and keeps lunches healthy all week. This guide walks you through a practical framework for planning, prepping, storing and packing nutritious make-ahead lunches for work and home so you can eat better without extra daily effort.
Introduction to Easy Lunch Meal Prep
Meal prepping lunches doesn’t require a culinary degree—just a clear plan, reliable containers and a few batch-cooking techniques. The most effective approach focuses on variety, balanced nutrition and workflows that match a busy schedule. Think of meal prep as laying tracks before the train: when you invest an hour or two on a weekend, your weekdays run smoothly.
Start by defining your goals (healthier lunches, fewer store-bought meals, or simpler mornings) and match recipes to those goals. A basic plan includes protein, vegetables, whole grains and a healthy fat source in each meal to deliver sustained energy and satiety. This guide centers on practical steps and recipes that are quick, nutritious and portable for work lunches and at-home routines.
Yummiest Healthy Recipes Guide with Nutrition Facts and Tips
Transition: With a clear goal and resource in hand, let’s look at the direct benefits you’ll see from make-ahead lunches.
Benefits of Healthy Make-Ahead Lunches
Preparing lunches ahead of time produces measurable wins across health, time and finances. Below are the key benefits to expect:
- Improved nutrition — Consistent, balanced meals help meet daily nutrient needs and reduce impulse choices at lunchtime.
- Weight management — Portion control and planned macronutrients support appetite regulation and calorie awareness.
- Reduced stress — Eliminating daily decisions about lunch frees mental energy for work and family tasks.
- Budget-friendly — Buying in bulk and cooking at home lowers per-meal costs versus takeout.
- Time-saving — Batch cooking and simple assembly save multiple hours each week.
- Consistency — Predictable meals support better blood sugar control and energy levels throughout the day.
Pairing smart lunch prep with good morning routines compounds benefits—if you want tips for combining breakfast and lunch planning, check these healthy breakfast ideas.
Transition: Now that you see the benefits, let’s walk through the basic steps to start meal prepping lunches without overwhelm.
Meal Prep Basics: How to Get Started with Easy Lunch Meal Prep
Getting started requires a plan, a repeatable shopping strategy and a small set of core kitchen techniques. Below are step-by-step actions to establish a weekly lunch prep routine.
- Set your goal and menu framework. Decide how many lunches you need, dietary goals (calories, protein targets), and whether you’ll reheat or eat cold meals.
- Choose a prep day. Pick one or two weekly blocks (commonly Sunday afternoon plus a midweek top-up) for batch cooking and assembly.
- Create a simple meal template. A balanced lunch template: 3–4 oz lean protein, 1–1.5 cups vegetables, ½–1 cup whole grains, 1–2 tbsp healthy fat. Adjust portions to personal energy needs.
- Plan variety with repeatable building blocks. Rotate 3 proteins (e.g., chicken, beans, canned tuna), 3 grains (e.g., brown rice, quinoa, farro), and 6 fresh or roasted vegetables. This prevents boredom while streamlining shopping.
- Write a consolidated shopping list. Group items by store section and pick multi-use ingredients (e.g., baby spinach works in salads, wraps, and smoothies).
- Use time-saving cooking methods. Roast a sheet pan of vegetables, cook grains in a rice cooker or Instant Pot, and grill or bake proteins simultaneously. Learn basic batch cooking techniques like one-pan roasting and stovetop braising.
- Prep ingredients, not full meals (where useful). For even more flexibility, chop vegetables, cook grains and portion protein; assemble meals later in the week to keep textures fresh.
- Label and portion. Use portion control containers and label meals with dates; rotate oldest meals first.
- Store correctly. Refrigerate meals that will be eaten within 3–4 days and freeze portions meant for later. Follow safe cooling and reheating steps to prevent bacterial growth.
- Track and tweak. Keep notes on what you liked, what got soggy, and how long items stayed fresh—refining the system saves time later.
Shopping smart helps, too—choose quality, cost-effective staples and seasonal produce. For advice on affordable healthy staples, see this roundup of budget-friendly nutritious foods.
Quick definitions: “Batch cooking” means making large quantities of a core item (like roasted chicken) to use across several meals. “Macronutrients” are protein, carbohydrates and fats; balancing them in lunch supports steady energy.
Transition: With planning covered, the right tools make prep faster and storage safer—let’s review essential equipment.
Essential Tools and Containers for Effective Lunch Meal Prep
Investing in a few durable tools speeds up cooking and keeps food fresh. Prioritize multipurpose items that match your reheating and packing needs.
- Quality knives and cutting board — Sharp knives reduce prep time and improve safety.
- Instant Pot or multi-cooker — Fast, consistent cooking for grains, beans and braised proteins.
- Sheet pans and baking dishes — Great for roasting vegetables and proteins in batches.
- Non-stick skillet — Useful for sautéing vegetables and quick protein sears.
- Measuring cups and food scale — Helpful for portion control and consistent macros.
- Thermometers — Ensures proteins reach safe internal temperatures.
- Reusable containers — See table below for container comparison.
- Insulated lunch bag and ice packs — Keep perishables cold during commute or workday.
| Container Type | Best Use | Pros | Care Tips |
|---|---|---|---|
| Glass BPA-free containers | Hot or reheated meals, long-term storage | Non-porous, microwave/oven safe, durable | Cool before sealing; hand- or dishwasher-safe |
| Meal prep portion containers (plastic) | Portion-controlled lunches, salads | Lightweight, stackable, affordable | Choose BPA-free; avoid high-heat reuse |
| Insulated stainless steel lunch boxes | Cold salads, thermos-style meals | Durable, keeps temperature longer | Hand wash seals; avoid denting |
| Silicone bags | Snacks, sauces, marinating | Reusable, freezer- and microwave-safe | Wash and dry thoroughly to avoid odor |
When choosing containers, prioritize an airtight seal for wet ingredients and leak-proof compartments if you carry dressings. Portion control containers with labeled sizes (1-cup, ½-cup) simplify macro tracking.
Transition: Now that you’re equipped, find ready-to-use recipes that fit this system—below are 10 easy, healthy make-ahead lunch recipes with clear steps and storage tips.
Healthy Lunch Meal Prep Ideas: 10 Easy Make-Ahead Recipes
Each recipe below follows a balanced template (lean protein, fiber-rich veggies, whole grains, healthy fats). Quantities are for four servings; scale up or down as needed. Include a mix of salads, bowls, wraps and freezer-friendly meals to match different reheating options.
-
1. Sheet-Pan Lemon Herb Chicken with Roasted Veggies and Quinoa
Ingredients: 4 boneless skinless chicken breasts (about 1.5 lb), 1 lb mixed vegetables (broccoli, bell peppers, red onion), 2 tbsp olive oil, zest and juice of 1 lemon, 1 tsp dried oregano, salt and pepper, 2 cups cooked quinoa.
Prep steps: Preheat oven to 425°F. Toss vegetables with olive oil, salt and pepper on a sheet pan. Season chicken with lemon, oregano, salt and pepper; place on pan. Roast 20–25 minutes until chicken reaches 165°F. Cook quinoa separately or in a rice cooker.
Storage tip: Portion into glass containers with ½–1 cup quinoa, 1 chicken breast (3–4 oz), and 1 cup vegetables. Refrigerate up to 4 days. Reheat in microwave or oven until hot.
-
2. Mediterranean Chickpea Grain Bowls (Vegetarian)
Ingredients: 2 cans chickpeas (drained), 2 cups cooked farro or brown rice, 2 cups cherry tomatoes halved, 1 cup cucumber diced, ½ cup kalamata olives, ½ cup crumbled feta, 3 tbsp olive oil, 2 tbsp red wine vinegar, 1 tsp dried oregano.
Prep steps: Toss chickpeas with a little olive oil, roast at 400°F for 15 minutes for texture (optional). Combine cooked grain, vegetables, olives and feta. Dress with olive oil and vinegar.
Storage tip: Store dressing separately if you want maximum freshness; bowls keep 3–4 days refrigerated. These are great for vegetarian meal prep ideas—see more vegetarian meal prep ideas.
-
3. Turkey and Veggie Wraps with Hummus
Ingredients: 8 whole-grain tortillas, 1 lb sliced turkey breast, 2 cups shredded lettuce, 1 cup shredded carrots, 1 cup sliced bell peppers, 1 cup hummus.
Prep steps: Spread 2 tbsp hummus on each tortilla, layer turkey and vegetables, roll tightly and wrap in foil or parchment. For crunch, add cucumber slices just before eating.
Storage tip: Wraps keep 2–3 days refrigerated. Store sauces separately to prevent sogginess for longer storage.
-
4. Salmon Mason Jar Salads with Yogurt-Dill Dressing
Ingredients: 4 cooked salmon fillets (4 oz each), 8 cups mixed greens, 1 cup cooked new potatoes or whole-grain pasta, 1 cup cherry tomatoes, ½ cup plain Greek yogurt, 2 tbsp chopped dill, 1 tbsp lemon juice.
Prep steps: Layer ingredients in jars (dressing bottom, sturdy veggies, grains/potatoes, greens, salmon on top). Mix dressing of yogurt, dill and lemon; store in jars.
Storage tip: Mason jar salads stay fresh up to 4 days refrigerated. Shake and eat straight from jar or pour into a bowl.
-
5. Lentil and Sweet Potato Power Bowls (Vegan, Freezer-Friendly)
Ingredients: 2 cups cooked green or brown lentils, 2 medium sweet potatoes cubed, 2 tbsp olive oil, 1 tsp smoked paprika, 4 cups kale or spinach, ½ cup pumpkin seeds, tahini dressing.
Prep steps: Roast sweet potatoes at 425°F with paprika and olive oil 25–30 minutes. Steam or massage kale. Combine with lentils and seeds, drizzle with tahini dressing.
Storage tip: For fridge: up to 4 days. For longer storage: freeze portions in silicone or freezer-safe containers up to 3 months; thaw overnight in fridge. See related freezer meal prep tips.
-
6. Chicken Salad with Greek Yogurt, Grapes and Walnuts
Ingredients: 3 cups shredded cooked chicken, ½ cup plain Greek yogurt, 2 tbsp light mayo (optional), 1 cup halved grapes, ½ cup chopped celery, ¼ cup chopped walnuts, salt and pepper.
Prep steps: Mix all ingredients and portion into containers. Use on top of greens or in whole-grain pita pockets.
Storage tip: Keeps 3–4 days refrigerated. Store in sealed containers and keep pita/wraps separate until serving to avoid sogginess.
-
7. Beef and Veggie Stir-Fry Bowls with Brown Rice
Ingredients: 1 lb lean flank steak sliced thin, 4 cups mixed stir-fry vegetables (snap peas, bell peppers, carrots), 2 tbsp low-sodium soy sauce, 1 tbsp sesame oil, 3 cups cooked brown rice.
Prep steps: Sear steak in a hot skillet, stir-fry vegetables in sesame oil, combine with soy sauce. Serve over brown rice.
Storage tip: Refrigerate up to 4 days; reheat in microwave or skillet with a splash of water or broth to refresh texture.
-
8. Tuna and White Bean Salad with Arugula
Ingredients: 2 cans tuna in water (drained), 1 can cannellini beans (rinsed), 4 cups arugula, 1 tbsp olive oil, 1 tbsp lemon juice, salt and pepper.
Prep steps: Combine tuna and beans with olive oil and lemon. Portion over greens.
Storage tip: Keep dressing light and store salads up to 3 days refrigerated. Beans add protein and fiber to keep lunches satisfying.
-
9. Egg Muffins with Spinach, Tomato and Feta (High-Protein, Make-Ahead)
Ingredients: 8 large eggs, 1 cup chopped spinach, ½ cup diced tomato, ¼ cup crumbled feta, salt and pepper.
Prep steps: Whisk eggs, mix in veggies and feta, pour into greased muffin tin, bake at 350°F for 18–20 minutes. Cool and remove from tin.
Storage tip: Keep refrigerated up to 4 days or freeze up to 2 months; reheat 30–60 seconds in microwave.
-
10. Mason Jar Overnight Oats (Savory or Sweet) for Cold Lunch Days
Ingredients: 2 cups rolled oats, 2 cups milk or milk alternative, 1 cup Greek yogurt (optional), fruit or savory toppings like avocado & smoked salmon.
Prep steps: Combine oats and milk in jars; add yogurt for creaminess. Top with fruit and nuts for sweet or smoked salmon and avocado for savory.
Storage tip: Keep refrigerated up to 4 days. Great for no-heat workplaces or quick grab-and-go lunches.
Notes on macros: Aim for ~20–30 g protein per lunch for most adults to support satiety; include 25–35 g fiber-rich vegetables and 30–60 g whole-grain carbs based on energy needs. For specific nutrient targets, consult a registered dietitian or the American Heart Association guidance at American Heart Association.
Transition: These recipes work well for work settings, but packing and transport require small adjustments—next we cover practical tips to keep lunches fresh on the go.
Meal Prep Lunch Ideas for Work: Packing and Transport Tips
Transporting lunches safely and attractively increases the likelihood you’ll actually eat them. Follow these simple practices for work lunch success:
- Use an insulated lunch bag and an ice pack for perishable meals; keep food below 40°F when possible during transit.
- Pack dressings, crunchy toppings and soft components separately to avoid sogginess—assemble at midday.
- Bring a compact set of utensils, napkin, and a small salt/pepper set to customize flavors at work.
- Label containers with dates; rotate oldest meals first to maintain freshness.
- Reheating: microwave-safe glass containers are best. For office microwaves, add a splash of water to rice/grain bowls to prevent drying and heat in 1–2 minute intervals.
- Include a small snack like a piece of fruit, a portioned nut pack or Greek yogurt to bridge hunger between meals.
- For commuting longer than 2 hours, use two ice packs or a high-quality insulated container to maintain safe temperatures.
- If you need additional ideas for work-focused lunches, see this guide on office lunch ideas.
Transition: Now turn lunch prep into a weekly habit with a repeatable schedule—here’s a step-by-step weekly plan and example calendar to make prepping simple.
How to Prepare Ahead Lunches Weekly: Schedule and Planning Guide
Creating a weekly cadence reduces decision fatigue. Below is a step-by-step schedule, followed by an example calendar you can adapt. If you’re meal prepping just for yourself, the “solo” tips will help streamline portions and avoid waste—see meal prep for one person.
- Sunday: Plan & Shop (60–90 minutes)
- Set the menu for 4–5 weekday lunches; choose two proteins, two grains and 4–6 vegetables to mix and match.
- Create a consolidated shopping list and buy all staples and fresh produce.
- Sunday Evening: Batch Cook (90–120 minutes)
- Cook grains (rice/quinoa/farro), roast a large sheet pan of vegetables, and prepare proteins (baked chicken, hard-boiled eggs, or baked tofu).
- Make sauces/dressings and portion them into small reusable containers.
- Monday Morning: Assemble Quick Meals (15–25 minutes)
- Assemble 2–3 meals from the prepped ingredients; keep remaining components in labeled containers.
- Wednesday Evening: Midweek Refresh (30–45 minutes)
- Top up perishable items (fresh greens, crunchy toppings) and cook a small new protein or batch of grains if needed.
- Friday: Review & Adjust (15 minutes)
- Note what worked, what you didn’t eat, and rotate recipes for next week to keep variety.
Example weekly calendar (sample):
- Sunday: Shop, roast vegetables, bake chicken, cook quinoa, prepare dressings.
- Monday: Portion lunches 1–3; enjoy one fresh meal from fridge.
- Tuesday: Grab-and-go; assemble fresh wrap if desired.
- Wednesday: Reheat cooked meal; prep a small fresh salad if needed.
- Thursday: Use frozen portion if earlier meals are depleted; thaw overnight.
- Friday: Eat remaining meals; plan next week.
Tips for variety: rotate grains weekly (rice one week, farro the next), swap proteins, and change dressings. Tracking what you like transforms meal prep into a sustainable habit.
Transition: Proper storage and food safety are essential—here are authoritative tips to keep your make-ahead lunches safe.
Food Safety and Storage Tips for Make-Ahead Lunches
Safe storage prevents illness and keeps meals tasty. Follow these evidence-based rules:
- Cool cooked foods quickly: divide large batches into shallow containers to refrigerate within two hours of cooking; avoid leaving perishable foods at room temperature longer than two hours (one hour if above 90°F) — guidance consistent with USDA food safety recommendations at USDA Food Safety.
- Refrigerator temperature should be 40°F (4°C) or below; freezer at 0°F (-18°C) or below.
- Consume refrigerated prepared lunches within 3–4 days; freeze portions for longer storage (up to 3 months for most cooked dishes).
- Reheat leftovers to at least 165°F (74°C) before eating to kill bacteria; use a food thermometer to confirm.
- Avoid cross-contamination: use separate cutting boards for raw proteins and produce, and wash hands and surfaces thoroughly.
Checklist for safe make-ahead lunches:
- Refrigerate within 2 hours of cooking
- Label with prep date
- Use within 3–4 days or freeze
- Reheat to 165°F before eating
- Keep fridge at ≤40°F and freezer ≤0°F
For extended freezer methods and best practices, see freezer meal prep tips. Transition: Even with precautions, common issues crop up—here’s how to troubleshoot them.
Troubleshooting Common Meal Prep Challenges
Below are common problems and practical fixes to keep your lunches appealing and safe.
- Meal boredom: Solution — rotate dressings, swap grains each week, and alternate proteins to create perceived novelty without extra work.
- Texture changes (soggy salads): Solution — pack dressings separately and add crunchy toppings at mealtime.
- Freshness loss: Solution — store delicate greens separately and only add them when you’re ready to eat; use citrus or vinegar-based dressings to preserve certain vegetables.
- Time constraints: Solution — simplify with 2–3 core recipes and double batch cook; use frozen vegetables and pre-washed greens to cut prep time.
- Ingredient substitution: Solution — swap similar macronutrient items (e.g., swap chicken for tofu or canned tuna for cooked salmon) and adjust seasonings accordingly.
- Overcooking or dryness when reheating: Solution — add a splash of water or broth and cover when reheating; use microwave-safe lids to trap steam.
Transition: Let’s wrap up with a concise action plan to make this a consistent habit.
Conclusion and Action Plan to Master Easy Lunch Meal Prep
Mastering easy lunch meal prep starts with one clear goal: simplify weekday decisions while eating balanced meals. Begin with a single weekly prep session—shop for multipurpose ingredients, batch-cook a grain and a protein, and assemble two to three lunches. Track what you enjoy, adjust portions for your energy needs, and use airtight containers and correct refrigeration to keep meals safe.
Make small, repeatable changes: choose two go-to recipes, invest in good containers, and set a weekly prep time. For expanding meal planning to family meals, check more easy family meal ideas. Start today—pick your prep day, write a simple menu, and cook one extra serving to freeze or pack for tomorrow.
Trust signal & disclaimer: This guide offers general advice based on culinary best practices and government food-safety guidance. Individual dietary needs vary—consult a registered dietitian or healthcare professional for personalized recommendations. For authoritative nutrition guidance and meal planning recommendations, see the American Heart Association. For food safety specifics, refer to USDA Food Safety. For practical cooking techniques and tested recipes, see Cooks Illustrated.
Frequently Asked Questions
What is easy lunch meal prep and why is it beneficial?
Easy lunch meal prep means planning, cooking and portioning lunches ahead of time to save daily effort. Benefits include improved nutrition, time savings, reduced stress, portion control and lower costs—advantages supported by case studies and meal planning research showing better diet adherence and routine management.
How does meal prep lunch differ from just packing leftovers?
Meal prep lunches are intentionally planned for nutrition, portion sizes and transportability; leftovers are simply yesterday’s dinner. Meal prep focuses on balanced macros, safe storage, and packaging to preserve texture and freshness throughout the week.
What are some healthy lunch recipes meal prep ideas for busy schedules?
Choose simple templates like grain+protein+veggies: sheet-pan chicken with quinoa, Mediterranean chickpea bowls, egg muffins, tuna-bean salads and freezer-friendly lentil or sweet potato bowls—recipes that assemble quickly and reheat or eat cold.
How can I prepare ahead lunches that stay fresh all week?
Store perishable components separately, pack dressings on the side, refrigerate within two hours, keep fridge ≤40°F, and consume refrigerated meals within 3–4 days; use freezing for longer storage and thaw overnight before use.
How long does it take to meal prep healthy lunches for the week?
A typical weekly session takes 90–120 minutes: 60–90 minutes to shop and batch-cook staples (grains, proteins, roasted vegetables) and 15–30 minutes to portion and label meals. A midweek 30–45 minute refresh can extend freshness and variety.
What should I do if my meals get soggy or lose flavor after prepping?
Pack dressings and crunchy toppings separately, add delicate greens at serving time, refresh reheated dishes with a splash of broth or lemon, and rotate seasonings to maintain flavor and texture through the week.
How can I ensure my make-ahead lunches remain safe to eat?
Refrigerate cooked food within two hours, keep fridge ≤40°F, label with dates, consume within 3–4 days or freeze, and reheat to 165°F. Follow USDA food-safety timelines and avoid cross-contamination during prep.
What are budget-friendly tips for easy lunch meal prep?
Buy staples in bulk, use seasonal produce, repurpose cooked ingredients across multiple meals, choose frozen vegetables when cheaper, and prioritize versatile proteins like canned tuna, beans and whole chickens to lower per-meal costs.