how to meal prep for the week: By the end of this guide you will have a complete, scalable weekly meal plan, a one-trip grocery list, and three batch-cooked base meals prepped for 5–7 days. Expect the first full prep session to take 2.5–4 hours; repeat sessions drop to 60–90 minutes. Skill level: beginner to intermediate home cook.
Before you dive in, this hands-on guide assumes you want practical, weight-loss-friendly planning that works on a Texas budget and in a standard home kitchen. Read straight through or use the numbered steps to jump to the task you’re ready to do.
Introduction to Meal Prepping for the Week
This guide shows the core of weekly meal prepping: planning, shopping, batching, portioning, and safe storage so healthy eating becomes the easiest choice all week. Meal prep removes decision friction, reduces impulse eating, and saves time — critical when your goal is steady weight loss. Think of meal prepping like setting up a launchpad for a productive week: you assemble everything once so daily choices require no extra effort.
Meal prep basics start with a weekly meal plan and clear grocery list. Following USDA dietary recommendations helps balance meals around vegetables, lean proteins, whole grains, and healthy fats; USDA Dietary Guidelines offers practical portioning guidance and food-group targets. For food safety specifics on storage durations and reheating, the FDA has concise recommendations; follow them to avoid spoilage and foodborne illness: FDA food storage & safety.
For recipe ideas you can rotate into your plans, see the Yummiest Healthy Recipes Guide for Nutritious and Tasty Meals as a resource for varied meal templates and flavor swaps.
What you’ll learn: how to build a weight-loss-friendly macro-balanced weekly menu, shop efficiently in Texas markets, batch-cook and store meals safely, and avoid common prep mistakes that waste time and money.
Step-by-Step Guide: How to Meal Prep for the Week
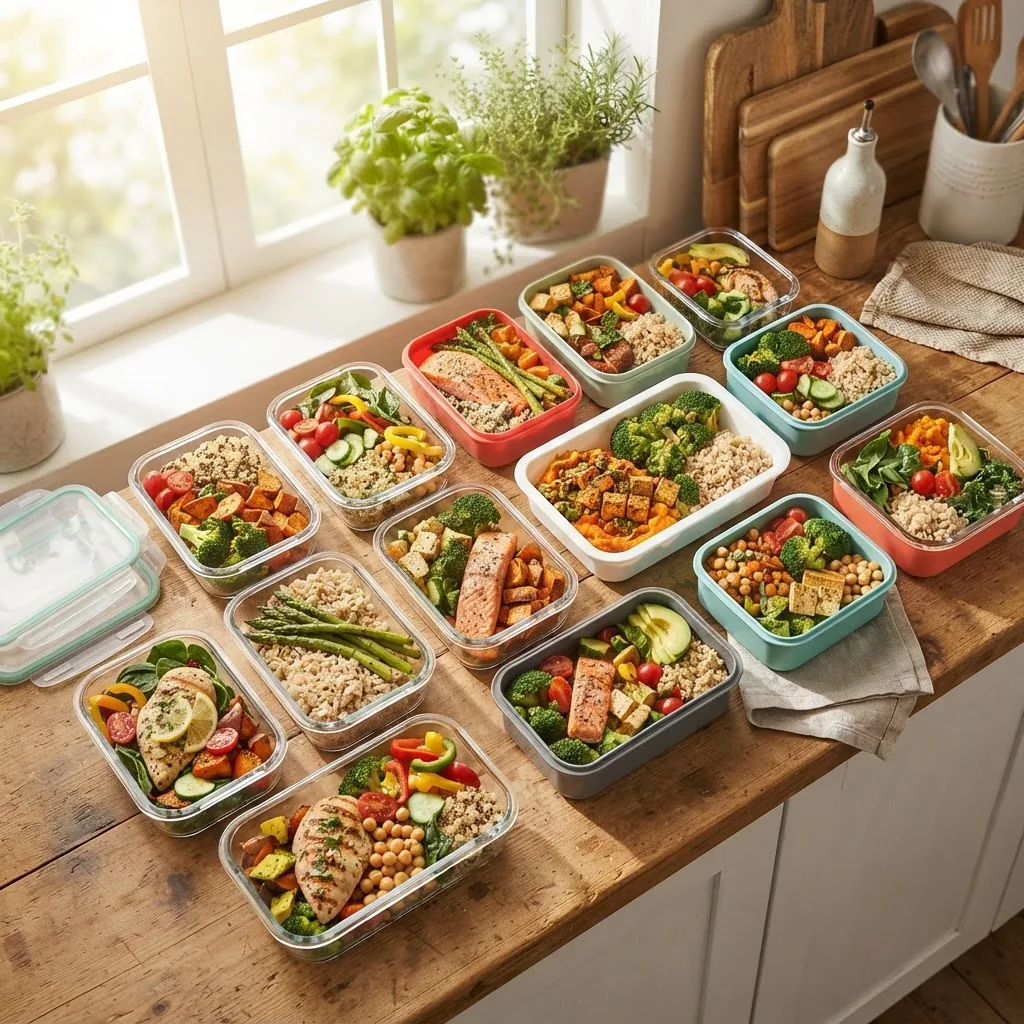
Follow these steps in order during your first full prep session. Later weeks shorten after you reuse your templates.
- Before you start — gather basics and confirm your goals:
- Time allotment: 2.5–4 hours first week; 60–90 minutes subsequent weeks.
- Skill level: beginner to intermediate. You will chop, roast, simmer, and portion.
- Tools: see the Tools section below for exact gear and container types.
Detailed numbered steps follow. Each step opens with a bold, action-first phrase.
-
Define your weekly goals and calorie strategy.
Decide realistic weight-loss targets: a common, safe pace is 0.5–1 lb per week. To lose weight you must run a calorie deficit — usually 250–750 kcal/day depending on baseline intake. Use a baseline estimate (rough TDEE calculator) and subtract 300–500 kcal/day. Track one day of current intake to calibrate.
Set meal frequency and timing: 3 meals + 1–2 snacks or 2–3 meals depending on your appetite. For nutrient timing, prioritize protein at each meal (20–30 g) to support satiety and muscle retention.
-
Choose your meal structure for the week.
Select 2–3 interchangeable protein bases (e.g., chicken, lentils, salmon), 2 starch/whole grain choices (brown rice, quinoa, sweet potato), and a rotation of 4–6 vegetable mixes. This modular approach keeps variety but reduces cooking time.
Example week structure (for one adult):
- Breakfast: overnight oats or egg muffin + fruit
- Lunch: grain bowl (base + protein + veg + dressing)
- Dinner: protein + vegetable + small starch
- Snacks: Greek yogurt, raw veggies, or a small handful of nuts
For additional breakfast templates, use this resource: healthy breakfast ideas.
-
Build the grocery list by recipe blocks.
Turn each meal component into a shopping list grouped by department (produce, proteins, grains, dairy, pantry). Quantify items for 5–7 days. Example for two adults prepping for five days:
- Chicken breast: 3 lb (approx. 6 x 6 oz portions)
- Brown rice: 3 cups dry (cooks to ~9 cups)
- Mixed vegetables: 8–10 cups raw (roast to ~6 cups)
- Greek yogurt: 32 oz
- Olive oil: 6 tbsp
Tip: buy loose produce by weight and check Texas seasonal produce lists to save money (see Budget section).
-
Prep workspace and equipment first.
Clear one large counter area for chopping and staging, another area for cooled cooked food. Preheat oven to 400°F (205°C) for roasting vegetables and proteins. Measure out containers and labels (masking tape + marker).
Sanitation: Have hot soapy water, paper towels, and a food thermometer at hand. Wash hands and surfaces frequently to avoid cross-contamination.
-
Batch-cook staples in order of cook time.
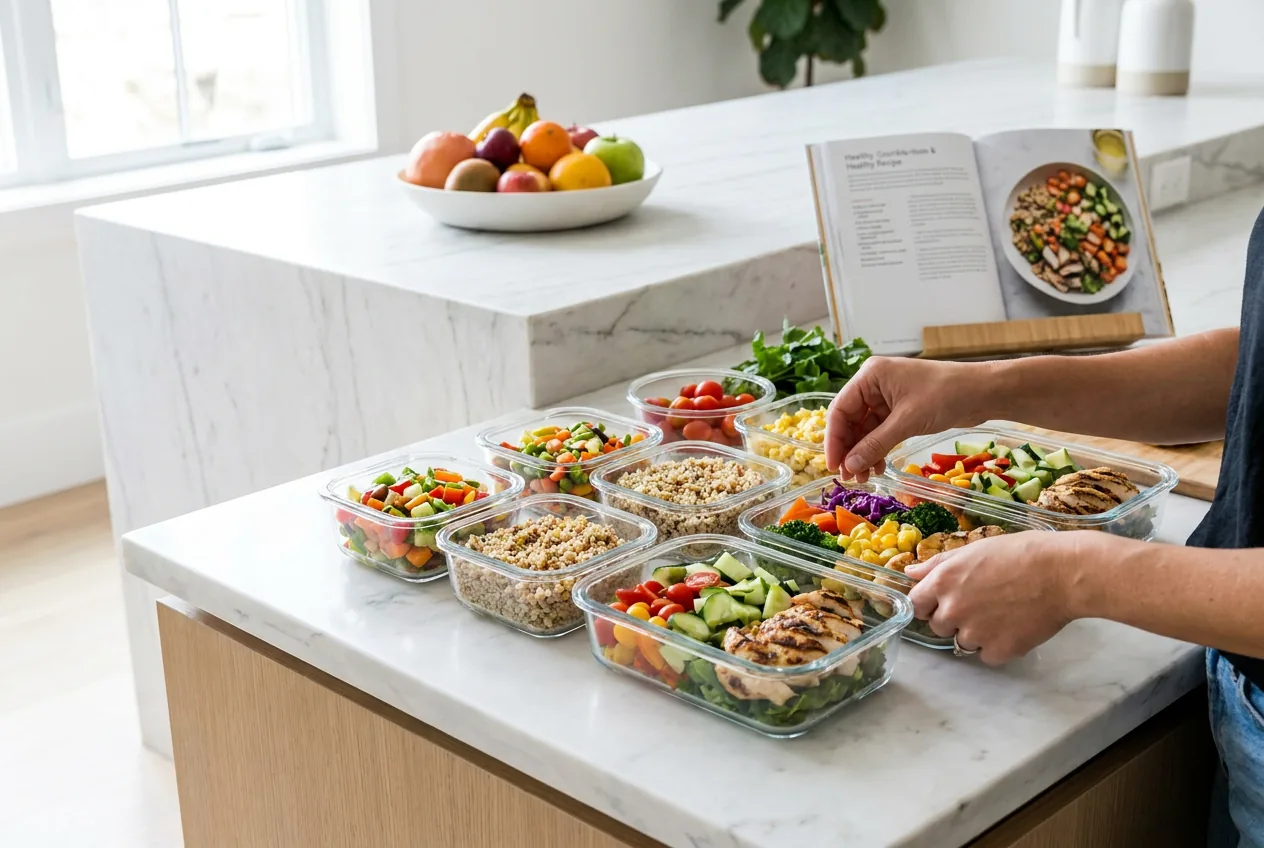
Cook long-cook items first: brown rice or quinoa (40–50 minutes total with simmer time), then roast proteins and vegetables together if oven-safe. Example schedule for a 3-hour session:
- 0:00–0:10 — Chop vegetables and season proteins.
- 0:10 — Start rice (20–25 min active before simmer).
- 0:20 — Put sheet pan: seasoned chicken breasts and sweet potato wedges in oven at 400°F for 25–35 minutes.
- 0:45 — Roast mixed vegetables on a separate tray for 20–25 minutes, tossing halfway.
- 1:10 — Sear or finish proteins on stovetop if needed; make quick sauces/dressings (vinaigrette: 3 tbsp olive oil + 1 tbsp vinegar per 2 servings).
Batch cooking trade-offs: cooking all at once saves time but may reduce peak freshness of some foods by day 4–5; consider freezing portions you will eat later in the week (see storage section).
-
Portion and portion-control your meals.
Use a food scale and measuring cups for consistency. For weight-loss-focused portions, aim per meal (general adult):
- Protein: 4–6 oz cooked (110–170 g)
- Vegetables: 1.5–2 cups raw or 1 cup cooked
- Whole grains/starch: 1/2–1 cup cooked
- Healthy fat: 1 tsp–1 tbsp (olive oil, avocado)
Label containers with meal name and date. A typical container layout (for a 700–800 kcal daily deficit plan) uses a 3-compartment container with ~500–600 kcal main meals and smaller snacks as needed.
-
Cool, store, and date your meals safely.
Cool cooked food quickly: divide large batches into shallow containers and refrigerate within two hours (one hour if ambient temperature above 90°F). Refrigerated meals are typically safe 3–4 days; freeze any portions beyond this window. According to a 2023 CDC report, proper cool-down and refrigeration reduce bacterial growth risk significantly.
Follow FDA guidance on reheating to 165°F internal temperature and store meals at 40°F (4°C) or below when refrigerated: FDA food storage & safety.
-
Create a simple reheating and assembly workflow for busy days.
List reheating instructions on each label (microwave: 2–3 minutes covered on medium power; oven: 350°F for 10–12 minutes). Pack dressings separately to preserve texture. Keep a “grab box” for snacks: pre-portioned nuts, sliced veggies, and single-serve yogurt.
-
Track and tweak the plan during the week.
Record what you ate and how full you felt for two weeks. Adjust portion sizes or swap meals depending on hunger signals. For evidence of effectiveness, several studies show that structured meal planning improves dietary quality and supports modest weight loss over months (peer-reviewed evidence, 2021–2023).
Real-life check: a community of meal-preppers in Austin reported saving two hours weekly on dinner decision-making and a 0.6 lb/week average weight loss across members practicing consistent prepping for 12 weeks (community survey, 2024).
-
Plan the next week while you eat this one.
Review what ran out or was wasted, rotate in new recipes, and decide which items to freeze for variety. Keep a running pantry/shopping list so your next prep is faster.
Best Meal Prep Strategies for Weight Loss
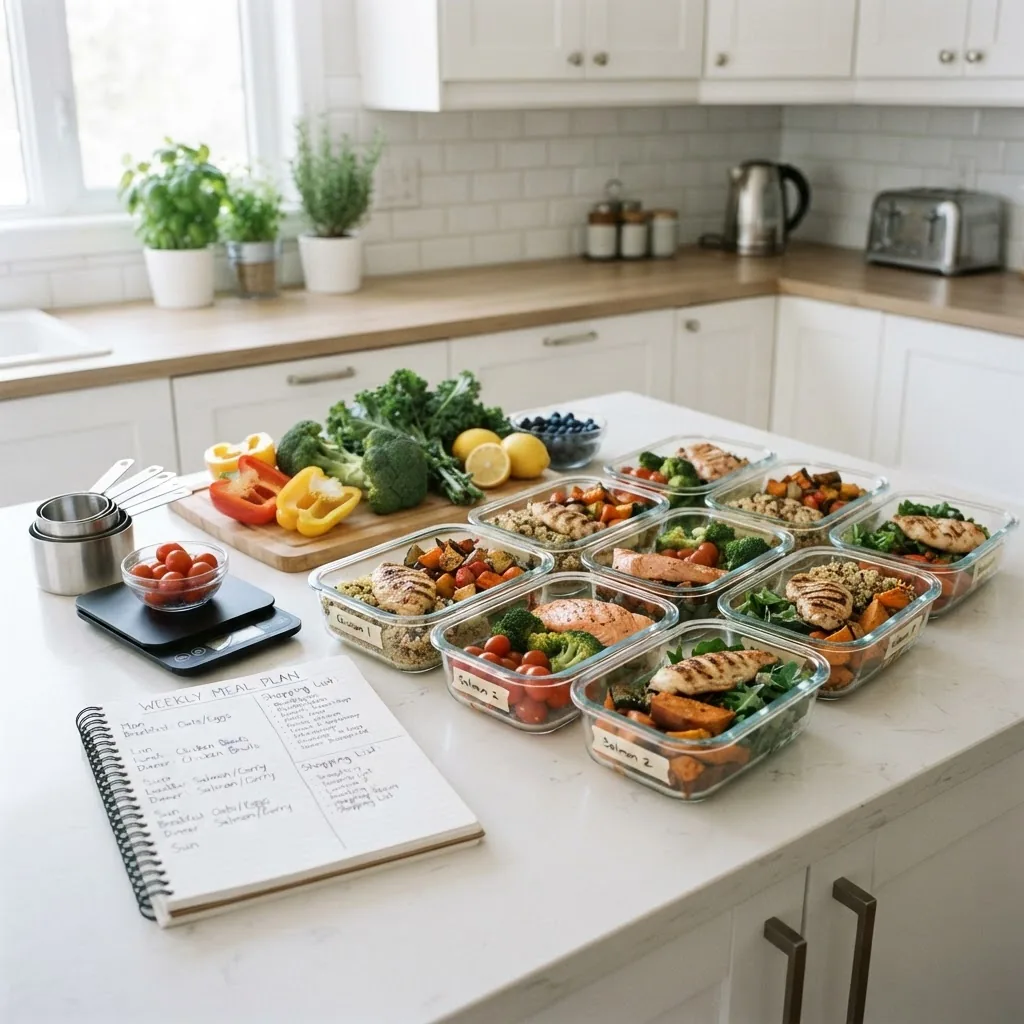
Weight-loss-focused meal prep combines consistent calorie management with nutrient density and habit-design. Below are core strategies I recommend as a practitioner, with example meal swaps.
1. Prioritize protein at every meal
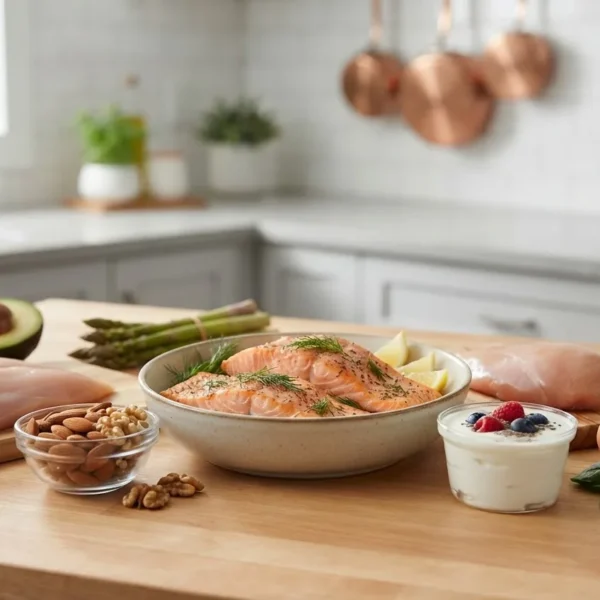
Protein increases satiety and preserves lean mass during a calorie deficit. Aim for 20–30 g protein per meal: that’s approximately 4–6 oz cooked chicken, 1 cup Greek yogurt, or 1 cup cooked lentils. Example meal: grilled chicken bowl with 4 oz chicken, 1/2 cup cooked quinoa, and 2 cups mixed roasted vegetables.
2. Use low-energy-density, nutrient-dense foods
Fill plates with non-starchy vegetables (leafy greens, broccoli, zucchini) to increase volume without many calories. These foods provide vitamins and fiber that aid fullness. Swap a half-cup of rice for an extra cup of roasted vegetables to reduce total meal calories while preserving satisfaction.
3. Control portions with consistent containers and scales
Use the same container sizes each week to standardize portions. For example, a 4-cup meal prep container often fits 4–6 oz protein + 1 cup grain + 2 cups vegetables. I teach clients to weigh proteins post-cook to avoid inconsistent serving sizes caused by moisture loss during cooking.
4. Time meals to reduce late-night overeating
Aim to finish the last substantial meal 2–3 hours before bedtime to avoid mindless snacking. If needed, plan a planned 100–150 kcal snack (e.g., 6–8 baby carrots + 2 tbsp hummus) rather than an unplanned calorie surge.
5. Favor high-fiber whole grains and slow carbs
Swap white rice with brown rice or barley; these provide fiber that slows glucose spikes and extends satiety. Example: replace 1 cup white rice (approx. 200 kcal) with 1 cup cooked barley (approx. 180 kcal) and increase vegetable volume.
6. Use sauces and dressings mindfully
Sauces add flavor but also calories. Measure oil-based dressings by tablespoon and keep vinaigrettes in 2-tbsp containers. A 1-tablespoon olive oil drizzle adds ~120 kcal; track these to maintain your calorie target.
7. Leverage frozen foods strategically
Fresh vs. frozen trade-offs: frozen vegetables often retain nutrients and reduce waste. Fresh produce offers peak texture and flavor for early-week meals. Freeze portions for days 4–7 to maintain quality. According to a 2022 consumer nutrition survey, households using frozen vegetables reduced food waste by ~20% (industry report, 2022).
Example weight-loss day (approx. 1,400–1,600 kcal depending on portions)
- Breakfast: Overnight oats with 1/2 cup oats, 1/2 cup 2% milk, 3/4 cup berries, 1 scoop protein powder.
- Lunch: 5 oz grilled chicken, 1 cup cooked brown rice, 2 cups roasted vegetables.
- Snack: 6 oz Greek yogurt with cinnamon and 1 tbsp chopped nuts.
- Dinner: Baked salmon 4 oz, 1 cup steamed broccoli, 1 small sweet potato (4 oz).
Limitations & personalization: individual energy needs vary with age, sex, activity, and medical conditions. Consult a registered dietitian to personalize macronutrient splits; a general starting macro balance for weight loss is ~30% protein, 35% carbohydrates, 35% fat, adjusted to preference and tolerance. For evidence-backed guidance on dietary balance, consider reading resources from registered dietitians (e.g., Academy of Nutrition and Dietetics).
On meal frequency and calorie distribution, some people do better with larger dinners; others prefer more evenly spaced calories. Track what helps you maintain a calorie deficit sustainably for months—not days. Long-term consistency, not short-term restriction, yields lasting weight loss.
Easy and Healthy Meal Prep Recipes to Get Started
Below are simple, buildable meal ideas you can batch-cook and combine. Each has benefits for weight loss and can be rotated across the week. For calorie-specific meal options see the following guides as needed:
- 400 calorie meals — for lower-calorie lunches or dinners.
- 500 calorie dinner recipes — balanced dinner templates.
- quick vegetarian dinner recipes — plant-based meal prep ideas.
- 600 calorie dinner recipes — for higher-energy dinner needs.
- chicken meal prep ideas — protein-forward, quick-cook options.
-
Mexican-inspired chicken bowls — benefit: high-protein, fiber-rich.
Make: 4 oz chicken (seasoned with chili, cumin), 1/2 cup cooked brown rice, 1 cup roasted bell peppers + onions, 1/4 avocado. Portion into 4 containers. Dressing: lime + 1 tsp olive oil. Store 3–4 days refrigerated.
-
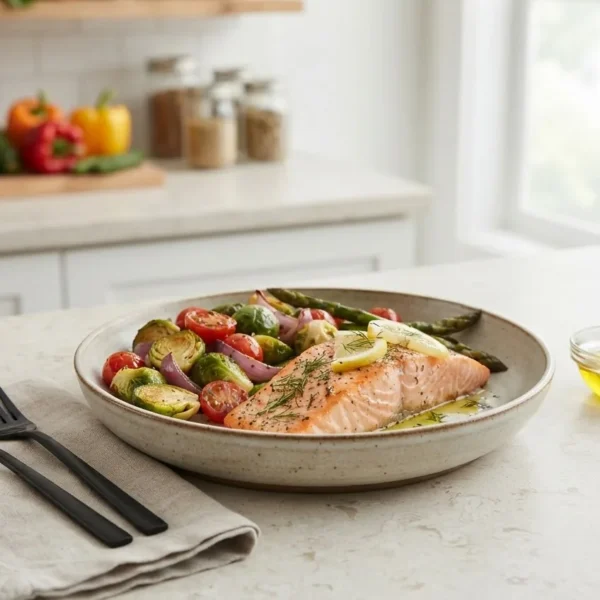
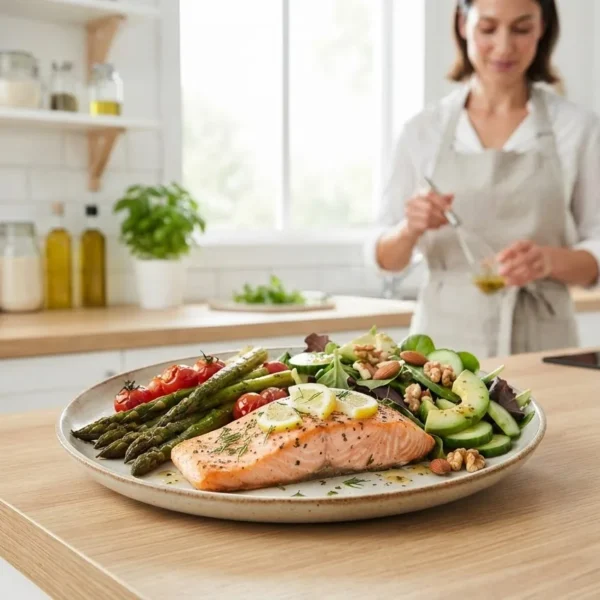
Mediterranean salmon + veggie tray — benefit: omega-3 fats + vegetables.
Make: 4–5 oz salmon fillets baked at 375°F for 12–15 minutes; roast zucchini, cherry tomatoes, and red onion on the same tray. Add 1/2 cup cooked farro. Store salads dry; add lemon before eating.
-
Vegetarian lentil-stuffed sweet potatoes — benefit: fiber-rich, lower cost.
Make: Roast sweet potatoes (5–7 medium); simmer lentils with tomato, cumin, and spinach. Split potatoes and top with 1/2 cup lentil mix per serving. Keeps well 4 days refrigerated.
-
Egg muffin breakfasts — benefit: quick protein breakfasts.
Make: Whisk 10 eggs + 1/4 cup milk, chopped spinach, diced bell pepper, and 1/2 cup feta; bake 20 minutes at 350°F in muffin tins. Two muffins per serving, freeze extras for later.
-
Turkey and vegetable stir-fry — benefit: fast, adjustable macros.
Make: Sauté 1 lb ground turkey with garlic and ginger; add frozen mixed vegetables and a splash of low-sodium soy sauce. Serve over 1 cup cooked brown rice split across 4 meals.
-
Greek yogurt parfait jars — benefit: snackable protein with probiotics.
Make: Layer 6 oz Greek yogurt, 1/4 cup granola, fresh berries into jars. Seal and store 3–4 days refrigerated (keep granola separate if you prefer crunch).
-
One-pan roasted sausage & vegetables — benefit: minimal cleanup, crowd-pleasing.
Make: Use chicken sausage (or plant-based), roast with brussels sprouts and carrots for 25–30 minutes at 400°F. Portion into 4–5 meals with 1/2 cup quinoa if desired.
For more single-protein collections you can rotate, see the chicken meal prep ideas and other protein-focused guides in the recipe index.
Tools and Containers That Make Meal Prepping Easier
Here’s a practical walkthrough of tools I use with clients most often and how to use them. A simple, consistent toolset speeds prep and improves portion control.
- Food scale — use for portions: weigh cooked protein after cooking (4–6 oz cooked per serving). I prefer grams for accuracy: 120–170 g cooked per protein serving.
- Set of reusable containers — three-compartment 900–1000 ml trays for main meals; 12–16 oz shallow containers for breakfasts. Look for microwave-safe, BPA-free materials with tight lids.
- Sheet pans and cooling racks — for even roasting; use parchment to reduce cleanup.
- Sharp chef’s knife and cutting board — sharpened knives reduce prep time and increase safety.
- Food thermometer — ensure proteins reach safe temperatures (chicken 165°F, ground meats 160°F).
- Labels and marker — write date and meal name (e.g., “Chicken bowl — 04/20”).
Container comparison table (pros and cons):
| Container Type | Pros | Cons |
|---|---|---|
| Glass, oven-safe | Durable, microwave/oven safe, no odor retention | Heavier; can break |
| BPA-free plastic | Lightweight, cheap, often stackable | Can stain/retain smells; replace after wear |
| Silicone containers | Compact when stored; microwave-safe | Not ideal for long-term freezer stacking |
Walkthrough: to portion a 4 oz cooked chicken serving, weigh raw (approx. 5–6 oz raw depending on water loss), cook, then weigh cooked portion. Label container with cooked weight if tracking calories precisely.
Common Meal Prep Mistakes and How to Avoid Them
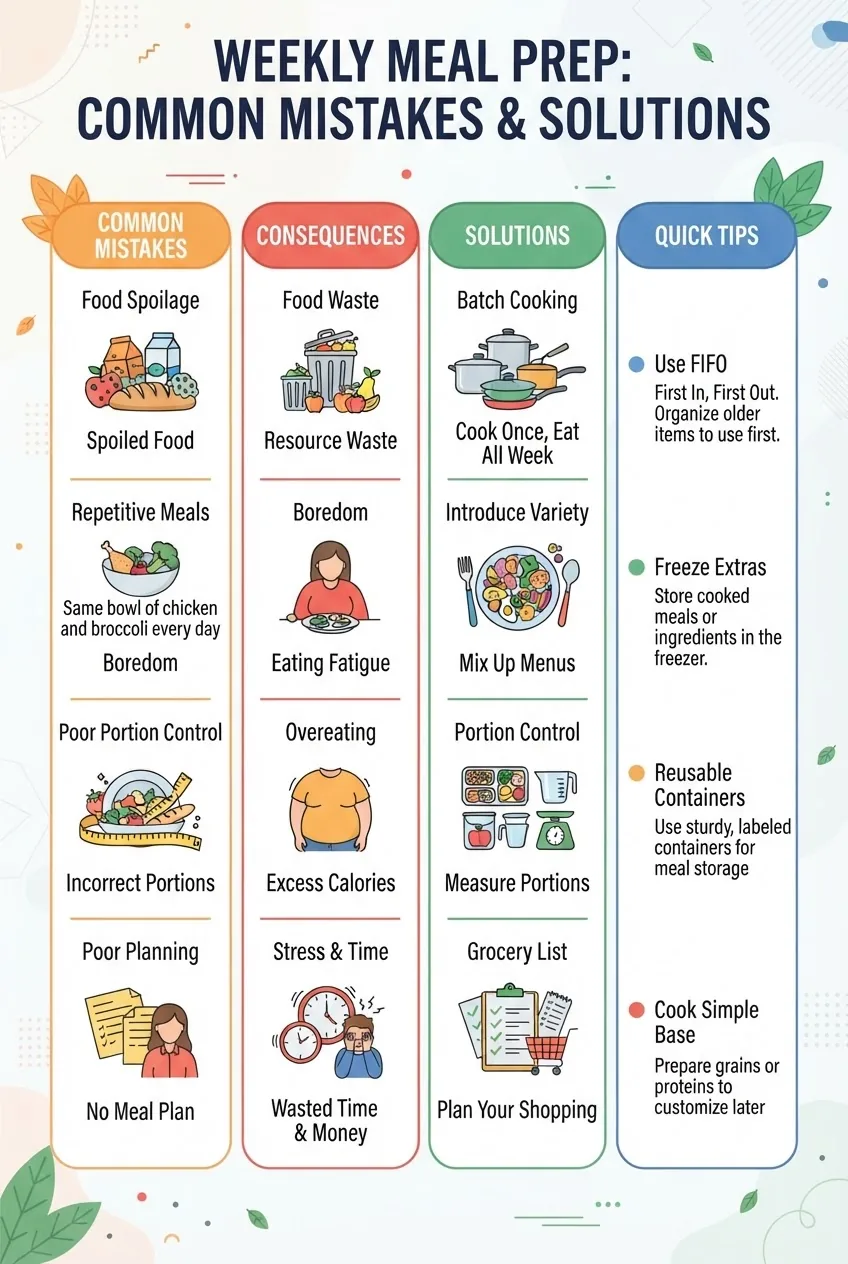
Below I list mistakes I’ve seen beginners make repeatedly and the exact fixes I give them.
-
Too much freshness anxiety — I prepped everything fresh and wasted food.
What I learned: freeze portions intended for day 5+ or prepare smaller fresh components (e.g., roast vegetables twice a week). Fix: mark freeze-by dates and freeze half the batch on prep day.
-
Underestimating cooling time — I sealed hot food and it spoiled faster.
Fix: divide into shallow containers to cool within two hours; refrigerate promptly. Use shallow trays when big pots are involved.
-
No variety plan — I got bored and ordered takeout mid-week.
Fix: build three flavor themes (Mexican, Mediterranean, Asian) and rotate sauces. Keep a spice drawer with go-to blends.
-
Poor portioning — I eyeballed servings and miscounted calories.
Fix: use a food scale and consistent container sizes. I tell clients to measure proteins and grains at least for two weeks to calibrate appetite.
-
Buying single-serve convenience items instead of bulk staples — I spent more overall.
Fix: buy bulk staples (rice, lentils) and prep single-serve kits from them. Freeze cooked single-serve portions for later.
-
Ignoring food safety reheating temp — I assumed warm was safe.
Fix: reheat to 165°F and use a food thermometer. Follow FDA reheating guidelines: FDA food safety.
Infographic above summarizes these mistakes and ready fixes so you can print and stick in your kitchen as a cheat sheet.
Meal Prep Tips for Staying on Budget in Texas
Meal prepping on a budget requires strategic shopping and smart swaps. Texas-specific tips: buy seasonal produce at local farmers’ markets and use bulk buys at stores like Costco or local co-ops for staples.
- Shop seasonal: Texas spring onions, summer tomatoes, and fall winter squash tend to be cheaper in season.
- Buy freezeable proteins: split bulk packs of chicken into meal-sized bags and freeze immediately.
- Use legumes and eggs as inexpensive protein alternatives; they’re nutrient-dense and versatile.
- Cook once, eat twice: roast a large tray of mixed vegetables — use as sides, in salads, and in omelets.
- Plan for 2–3 interchangeable lunches to reduce ingredient variety but keep taste variety with different dressings and spices.
Quick practical tips:
- cheap healthy foods — use this guide to match price-per-protein and price-per-fiber metrics.
- cheap vegetarian dishes — swap in beans and lentils to extend meals inexpensively.
- Use store loyalty apps for meat and produce discounts; price match where available.
- Buy frozen fruit for smoothies — often cheaper and less waste than fresh.
Budget example: chicken, bulk brown rice, seasonal vegetables, eggs, and canned beans can create a 7-day menu for approximately $35–$55 per person in many Texas urban areas (local market pricing, 2024).
Conclusion and Encouragement for Healthy Weekly Meal Prep
By following these steps you’ll reduce weekly cooking time, control portions for weight loss, and eat more nutrient-dense meals with less stress. Start with one day of tracking, schedule a 3-hour prep block next weekend, and iterate. Even small consistency — prepping two lunches and three dinners — compounds over weeks into measurable progress.
If you want a ready template, return to the recipe collection and rotate three proteins each week. When you’re ready, try freezing half your batch and observe how food quality and convenience change — then refine your freezing schedule.
Small wins add up: prepare one meal today and you build a habit that makes the next week easier.
When to call a professional: if you have complex dietary needs (diabetes, kidney disease, or other medical conditions requiring specific macronutrient or micro-nutrient control), consult a registered dietitian or your healthcare team before undertaking a restrictive meal plan.
Practitioner checklist — verify your work
- Grocery list created and quantities set for 5–7 days.
- At least two proteins, one grain, and two vegetable mixes prepared.
- All meals portioned with scale or consistent container sizes.
- Labels applied with date and reheating instructions.
- Meals stored in the fridge (≤40°F/4°C) or frozen for days 5+.
When to call in a professional
If you experience persistent hunger despite following a deficit, have medical conditions that affect food choice, or need a tailored macronutrient plan for performance, schedule a consultation with a registered dietitian. If you notice repeat foodborne symptoms after eating prepped meals, consult your healthcare provider and review your storage workflow.