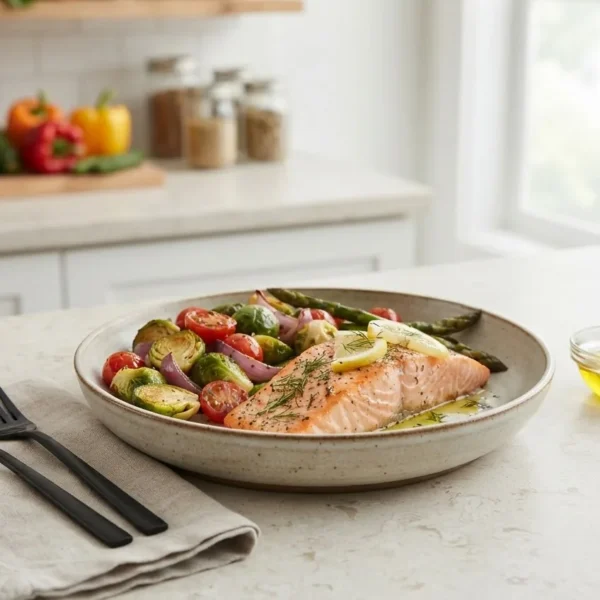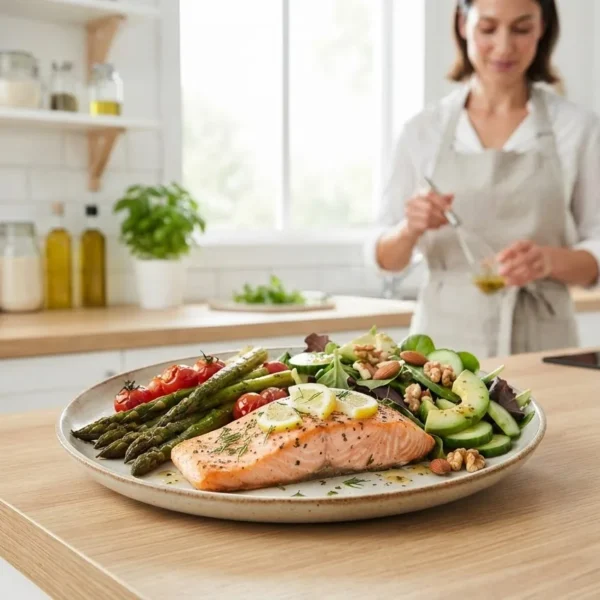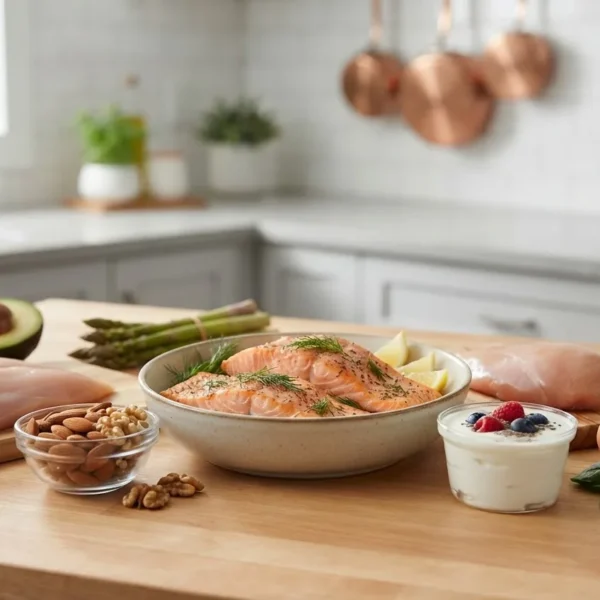
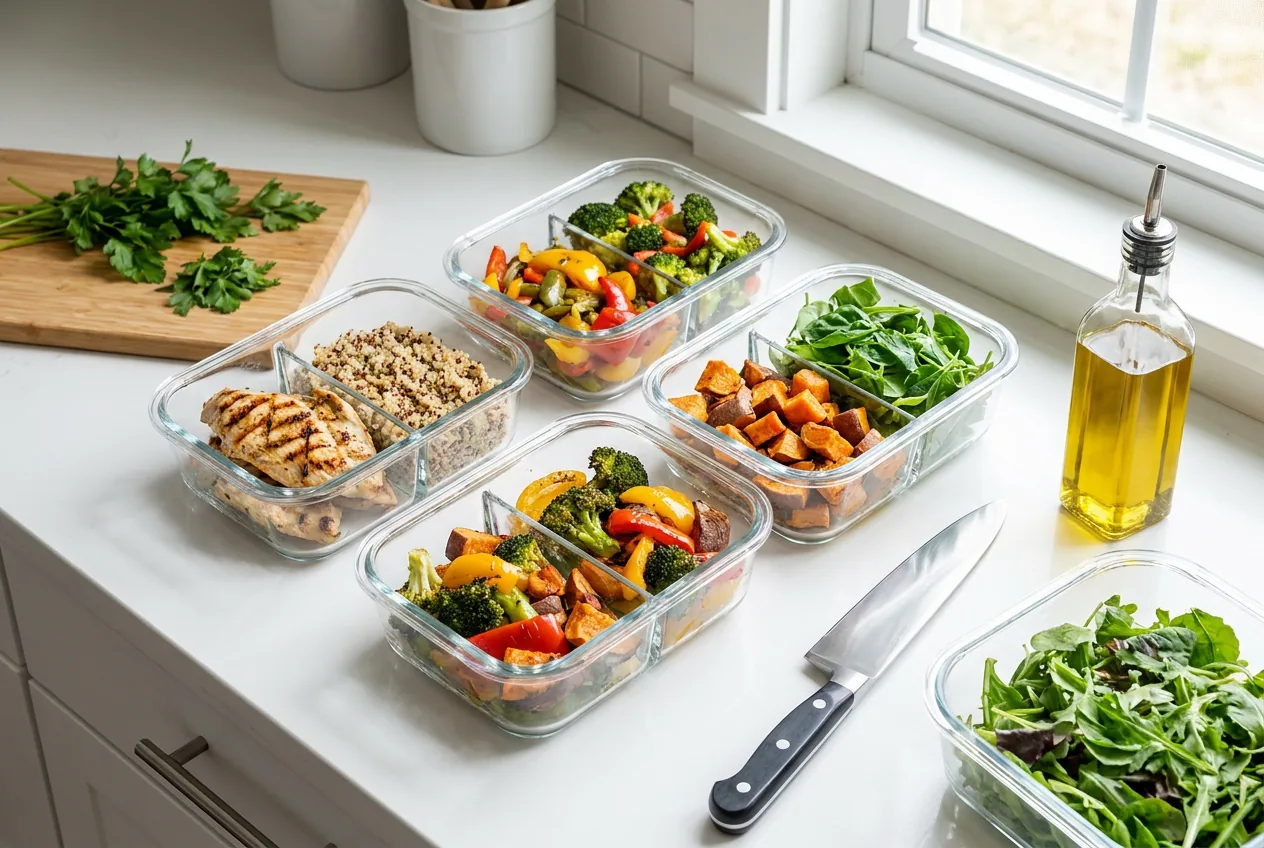
Easy lunch meal prep will leave you with five ready-to-go work lunches, a clear fridge plan, and a 60–90 minute Sunday routine you can repeat weekly; skill level: beginner–intermediate. By the end you’ll be able to plan, shop, batch cook, portion and pack reliable make-ahead lunches that balance convenience and nutrition.
Before you start
- At least 60–90 minutes on a weekend or one weeknight
- Basic kitchen tools: chef’s knife, cutting board, saucepan, sheet pan, and a rice cooker or Instant Pot
- Containers: a set of meal prep containers (glass and BPA-free plastic mix)
- Reusable lunch bag or cooler with an ice pack (reusable lunch bags)
- Staple pantry items: olive oil, vinegar, salt, pepper, dried spices, canned beans, whole grains
- Access to a fridge and freezer with organized shelves for batch storage
Follow the numbered steps below as your hands-on workflow. Each step starts with an action-first phrase in bold so you can scan and act quickly.
-
Plan a weekly menu — choose five distinct lunches (or four plus a freezer backup) focusing on one cooked protein, one grain, and two vegetable/fruit sides per meal. Keep variety by mixing textures: one mason-jar salad, two grain bowls, one wrap, one cold plate. Limit ingredient overlap to three core proteins and two grains to simplify shopping.
Tip: follow a simple rotation—for example, grilled chicken, black beans, smoked turkey, and roasted tofu—to hit different macronutrient profiles without extra effort.
-
Create a consolidated shopping list — transfer recipe ingredients into grouped categories: produce, proteins, pantry, dairy, frozen. Buy extras of shelf-stable basics (canned beans, grains) to support week-to-week consistency.
Bring a cart and aim for ingredient yields: 1.5–2 pounds of protein per 5 lunches, 3 cups cooked grain, 8–10 cups chopped vegetables. This avoids underbuying and midweek store runs.
-
Batch cook staples — roast proteins and grains at scale: 25–30 minutes at 400°F for boneless chicken thighs; 20 minutes for sheet-pan salmon at 375°F; 22–25 minutes for roasted sweet potatoes. Cook 3 cups dry quinoa or brown rice to yield about 7–9 cups cooked (enough for 5 lunches plus leftovers).
Use a slow cooker or Instant Pot for hands-off protein—set pressure cook for 12–14 minutes for chicken breasts (natural release 10 minutes).
-
Prep produce and portion — wash greens and dry thoroughly (use a salad spinner), chop veggies into lunch-ready sizes, and pre-portion snack sides. Use portion control by dividing meals into 3 containers: protein (4–6 oz), carbs (1 cup cooked), and veg (1–2 cups).
Label containers with day/date and reheating notes; store dressings separately in small containers or mason jars to prevent soggy greens.
-
Assemble quick assembly recipes — combine components into finished meals that fit your day: mason jar salads layered for freshness, grain bowls layered with sauce on the side, wraps rolled tightly and wrapped in parchment. Keep one freezer-ready meal for emergencies.
Practice simple flavor boosters—cilantro-lime, tahini-lemon, or a smoky chili oil—to revive meals midweek.
-
Store and pack smart — cool foods to room temperature (< 2 hours from hot to fridge) and refrigerate at 40°F or below. Use food storage tips: glass for reheating, BPA-free plastic for grab-and-go, freezer-safe materials for long-term storage.
Pack lunches in an insulated reusable lunch bag with a frozen gel pack if you’ll be away from refrigeration for more than 2 hours.
-
Reheat and eat safely — reheat to 165°F for cooked proteins; microwave in 60–90 second bursts, stirring midway. For salads, assemble fresh in the morning if possible or keep greens separate and add toppings at lunch.
Follow USDA guidance on refrigeration and reheating temperatures for safety.
-
Rotate and refine — each week swap one protein, try a new sauce, or introduce a seasonal vegetable to avoid flavor fatigue. Track what you actually eat so you adjust portion sizes and prevent waste.
According to a 2024 industry report, consistent meal prep reduces weekday meal decision time by an average of 18 minutes per day—use that saved time for rest or planning.
Common mistakes and how to avoid them (practitioner notes)
I used to pack wet dressings with salads and ended with soggy greens by Tuesday—now I always store dressings separately in 4 oz containers. I once under-salted my batch proteins and couldn’t salvage flavor; I now season during cooking then adjust for each portion. I also learned to cool hot foods quickly (spread on sheet pans) before refrigerating to avoid bacterial growth.
Quick checklist before you finish
- Five lunches assembled or four plus one frozen backup
- All hot foods cooled to below 40°F before storage
- Proteins portioned to 4–6 oz (use kitchen scale)
- Labels with date and reheating instructions applied
- Ice pack and insulated reusable lunch bag ready for transport
When to call in a professional
If you have specific medical nutrition needs (diabetes, renal disease, severe allergies), consult a registered dietitian or your healthcare provider before adopting strict portion-control or macronutrient-targeted plans. For large-scale freezer meal prep for a family of six, consider a consultation with a kitchen organization professional.
Now that you have a repeatable routine, dive deeper into focused topics below — each section includes practical examples, tools, and recipes to execute an efficient weekly system.
Understanding Easy Lunch Meal Prep
Easy lunch meal prep is the practice of preparing several lunch meals in advance so you can grab nutritious, ready-to-eat food during the workweek. The benefits include consistent healthy eating habits, time-saving meals, and improved grocery budgeting. A clear plan reduces decision fatigue and helps you meet dietary goals.
Start with the principle of Balanced macronutrients: pair lean protein, whole grains or starchy veg, and non-starchy vegetables in each meal. Macronutrient balance supports steady energy through an afternoon work block and is simple to implement with consistent portions (4–6 oz protein, 1 cup cooked grain, 1–2 cups veg).
For evidence-based results, note that according to a 2024 industry report, people who meal prep weekly report increased vegetable intake and fewer takeout purchases. That consistent behavior change scales into measurable cost and time savings.
For more inspiration beyond lunch-focused builds, see the comprehensive yummiest healthy recipes guide.
Transition: With the big-picture benefits clear, the next section covers the exact tools and containers that make weekly prep fast and durable.
Essential Tools and Containers for Successful Meal Prep
Having the right kit saves minutes and prevents waste. Below are the tools I use most often when I prepare lunches for a workweek.
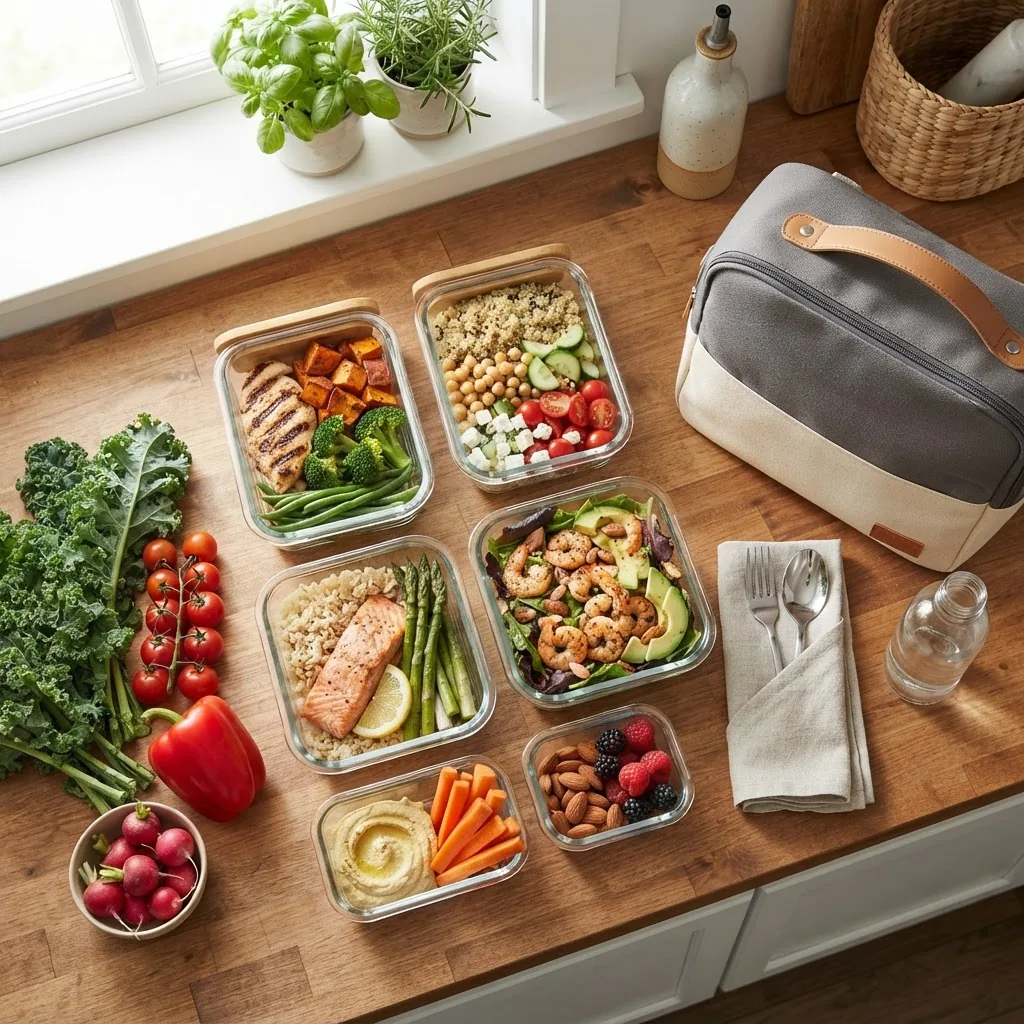
- Glass meal prep containers — oven- and microwave-safe, ideal for reheating and long-term freshness; choose 24–32 oz sizes for bowls and 16 oz for single-serve salads.
- BPA-free containers — lightweight for travel; use for dry sides and sandwiches. Look for leak-proof lids if you store dressings.
- Insulated lunch bag — a well-insulated bag with a removable ice pack pocket keeps perishable lunches safe for 4–6 hours.
- Portioned containers — small 3–4 oz containers for dressings, sauces, and snacks preserve texture and prevent sogginess.
- Freezer-safe materials — freezer meal trays and heavy-duty zip bags for make-ahead frozen lunches (label with date and reheating instructions).
- Salad spinner & produce saver — washing and fully drying greens extends crispness through 4–5 days.
- Time-saving kitchen tools — a sheet pan, Instant Pot or rice cooker, and a bench scraper speed batch tasks dramatically.
| Container Type | Best use | Care notes |
|---|---|---|
| Glass meal prep containers | Reheat, fridge storage, visual portioning | Dishwasher-safe; avoid thermal shock |
| BPA-free plastic | Grab-and-go lunches, cold sandwiches | Hand-wash lids to preserve seal |
| Small portion containers | Dressings, dips, snacks | Check for leaks before packing |
For more on long-term storage techniques, review our freezer meal prep strategies.
Transition: Once tools are chosen, the next stage is to plan the week so shopping and cooking are fast and strategic.
Planning Your Weekly Easy Lunch Meal Prep Menu
Effective weekly planning reduces shopping errors, prevents waste, and keeps menus interesting. Start by mapping the workweek and assigning a meal type to each day: a mason jar salad for Monday, grain bowl Tuesday, wrap Wednesday, cold plate Thursday, and a flexible Friday (leftovers or a frozen meal).
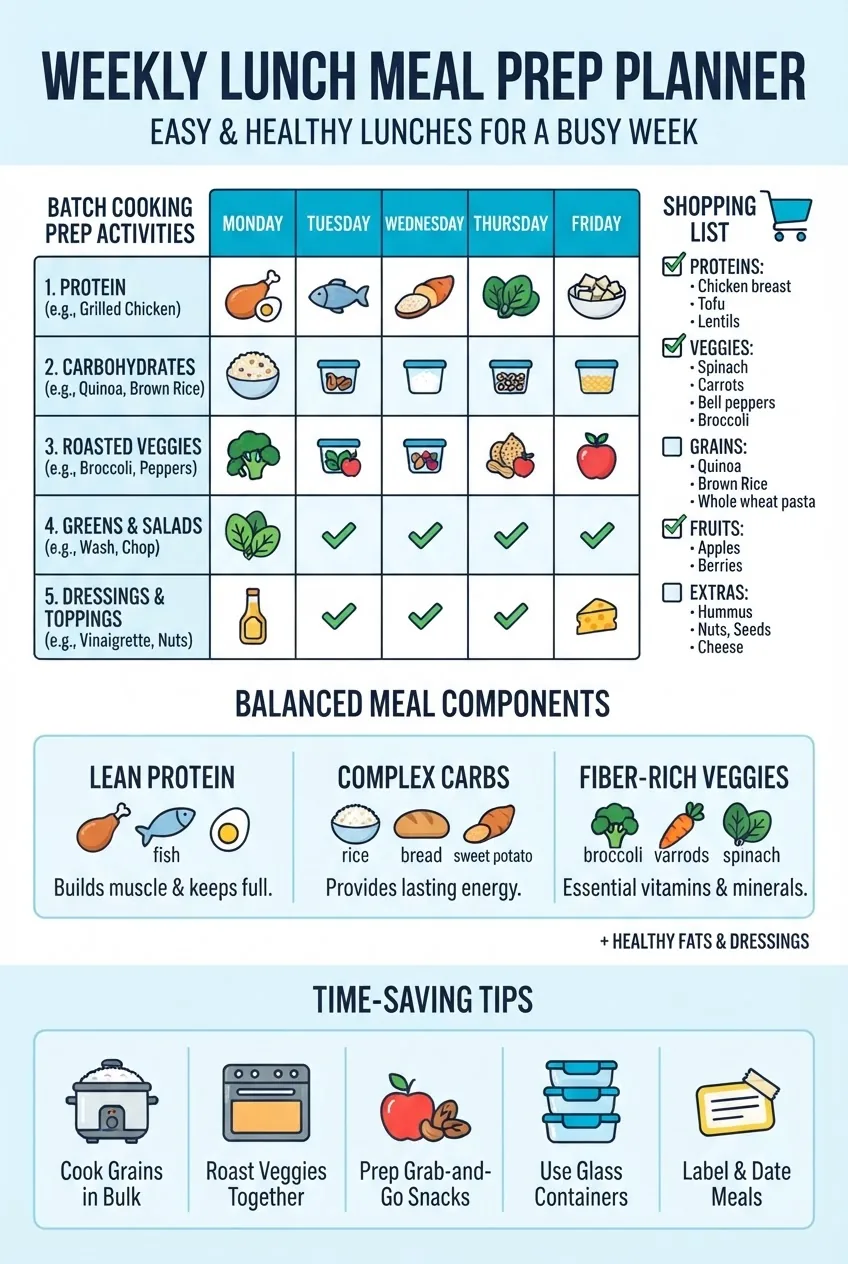
- Start with dietary preferences — list any restrictions (gluten-free, vegetarian options) and ensure at least two meals satisfy each household member. Keep one fully plant-based day for variety.
- Create a simple recipe matrix — choose three proteins, two grains, and five veg/fruit options. Example Texas-friendly nod: include grilled corn, black beans, and jalapeños when appropriate.
- Make a grouped shopping list — batch items by section to avoid backtracking: produce, proteins, pantry, dairy, frozen. Buy extra of frequently used staples.
- Schedule batch cooking windows — block 60–90 minutes for cooking (roast proteins and vegetables simultaneously on separate sheet pans). Use the oven efficiently: roast proteins at 400°F while roasting root veg at the same time on a lower rack.
- Prep ingredients for easy assembly — chop, cook, and portion sauces in advance. Label containers with day-of-use and reheating instructions to maintain food safety and rotation.
- Plan for variety and leftovers — transform leftovers: roasted chicken becomes taco filling, or chopped into salads. This reduces prep time for the next week and lowers waste.
For budget-friendly ingredient choices, check our list of affordable nutritious foods to keep cost down while maximizing nutrient-dense ingredients.
If you’re targeting calorie-controlled lunches, see the 400 calorie meals for balanced eating guide for portioning templates.
Transition: With a planned menu, the heart of meal prep is the recipes — the next section gives 8–10 easy, healthy prepare-ahead lunch recipes with pragmatic prep notes and storage tips.
Easy and Healthy Prepare-Ahead Lunch Recipes
Below are 9 reliable recipes optimized for make-ahead lunches, each with clear prep notes, portion control suggestions, and storage tips. Choose the ones that match your time and dietary preferences. For more vegetarian ideas, see our quick vegetarian recipes.
-
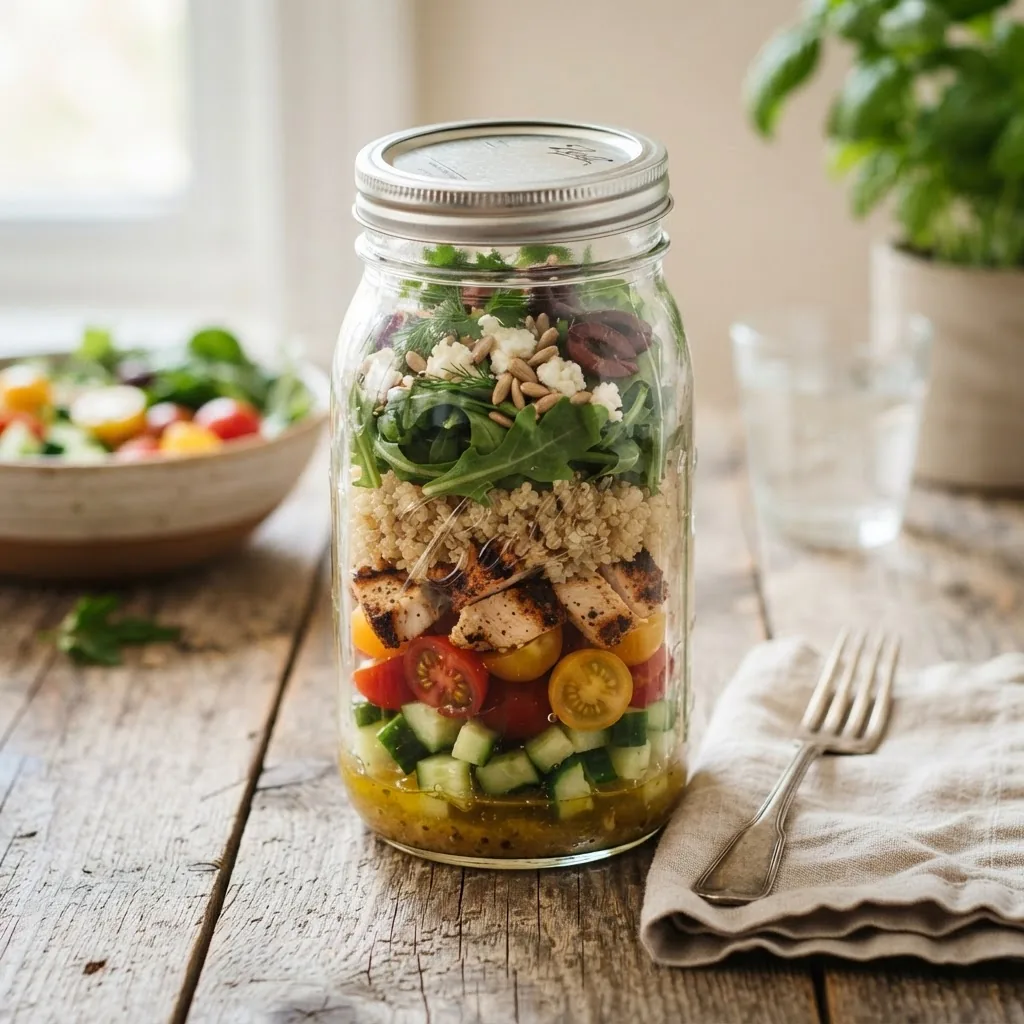
Mason Jar Greek Chicken Salad
Prep notes: Layer dressing (1–2 tbsp) at the bottom, then cooked quinoa (1/2 cup), chickpeas (1/4 cup), cherry tomatoes (1/2 cup), cucumbers, and top with 4–5 oz grilled chicken and greens. Store upright in fridge up to 4 days.
Storage tips: Keep lids sealed and shake into bowl before eating or dump into a container and toss with greens. Use glass jars for best freshness.
-
Southwest Black Bean Grain Bowl
Prep notes: Cook 1.5 cups dry brown rice to yield ~4.5 cups cooked. Mix black beans (1 cup), corn (1/2 cup), diced red pepper, cilantro, and lime. Portion 1 cup grain + 4 oz protein equivalent (beans + optional shredded chicken).
Storage tips: Store dressing separately. Keeps 4–5 days in sealed containers. Reheat grains before assembly if desired.
-
Turkey & Avocado Wrap
Prep notes: Layer 3–4 oz sliced smoked turkey, 1/4 mashed avocado, shredded lettuce, and thinly sliced tomato on a whole-grain tortilla. Roll tightly and wrap in parchment. Prepare the morning-of for best texture, or wrap and store for up to 2 days.
Storage tips: If making ahead, spread avocado in a thin layer then add a crisp barrier (lettuce) to prevent sogginess. Pack with a small cold pack in your reusable lunch bag.
-
Roasted Veg & Hummus Plate (Vegetarian)
Prep notes: Roast chickpeas, carrots, cauliflower and sweet potato with olive oil and smoked paprika (22–25 minutes at 425°F). Portion 1–1.5 cups veg with 3 tbsp hummus and 1/2 cup cooked grain.
Storage tips: Vegetables stay firm up to 5 days; reheat warm or enjoy cold. This option is naturally gluten-free.
-
Salmon & Farro Bowl
Prep notes: Bake salmon fillets at 375°F for 12–15 minutes, flake into 4 oz portions. Cook farro per package (1:2 ratio). Add steamed green beans and lemon-tahini dressing on the side.
Storage tips: Farro keeps texture but flake salmon gently to reduce dryness. Store in glass containers and reheat to 165°F before eating.
-
Chicken Caesar Pasta Salad
Prep notes: Use 3–4 oz roasted chicken, 3/4 cup cooked whole-wheat pasta, halved cherry tomatoes, and a light yogurt-based Caesar dressing stored separately. Assemble the night before for convenience.
Storage tips: Keeps 3–4 days; separate dairy-based dressings until serving to preserve texture.
-
Tofu & Veggie Stir-Fry Bowl (Plant-Based)
Prep notes: Press and cube 12 oz firm tofu, toss with cornstarch and pan-fry for 6–8 minutes until golden. Stir-fry broccoli, snap peas, and bell pepper. Portion 4–5 oz tofu with 1 cup brown rice.
Storage tips: Store sauce separately to prevent sogginess. Keeps 4 days in fridge. Ideal for gluten-free when using tamari.
-
Tex-Mex Chicken Salad Bowl (Texas nod)
Prep notes: Use shredded roasted chicken (4–6 oz), roasted corn, black beans (1/4 cup), romaine, and pico de gallo. Add avocado the morning-of. Season with cumin and lime for a regional touch.
Storage tips: Keep avocado separate to avoid browning. This bowl stores well for 3–4 days if avocado is added fresh.
-
Bento-style Snack Box
Prep notes: Portion turkey slices (3–4 oz), whole-grain crackers (1 serving), apple slices, carrot sticks, and a 2 tbsp nut butter container. Great for light lunch days or meetings.
Storage tips: Use small portioned containers to maintain portion control and prevent over-snacking.
Transition: After assembling meals, proper packing and transport keep your lunches safe and enjoyable at work.
Meal Prep Lunch Ideas for Work: Packing and Transport Tips
Efficient packing ensures food stays fresh and safe during your commute and workday. Follow these practical tips for lunch box organization and freshness preservation.
- Use an insulated lunch bag with a frozen gel pack for perishable meals if refrigeration isn’t available. For drives under 2 hours, a standard insulated bag usually suffices.
- Organize lunch box by placing cold items against the ice pack and fragile items on top. Keep dressings separate in portioned containers to avoid leaks.
- For reheating, microwave-safe glass containers are best. Reheat in 60–90 second increments and stir halfway to reach an internal 165°F target.
- Include portable sides: Greek yogurt, whole fruit, or a small nut mix. These pair well with nearly any main and help maintain balanced macronutrients through the day.
- Label lunches clearly with date and reheating instructions if shared in a workplace fridge to prevent confusion and spoilage.
For more on packing creative office meals, see easy healthy lunch ideas for work.
Transition: While packing solves the transport puzzle, common problems occur in storage and flavor retention—read on for troubleshooting solutions and official safety guidance.
Troubleshooting Common Meal Prep Challenges
When things go wrong, targeted fixes save meals and reduce waste. Below are common problems with specific solutions.
- Problem: Soggy greens
- Solution: Store dressings separately and use mason jar or container layering (dense items on bottom, greens on top). Dry greens thoroughly with a salad spinner before storage.
- Problem: Flavor loss midweek
- Solution: Keep flavor concentrates (small sauce pots) on hand and add fresh herbs or citrus at serving. Freeze one meal with a bold sauce to rotate into the week.
- Problem: Food spoilage
- Solution: Follow FDA food safety guidelines for refrigeration timelines: refrigerate perishable foods within 2 hours and consume refrigerated prepared meals within 3–4 days. For hot items, cool quickly and refrigerate to 40°F or below.
- Problem: Time constraints
- Solution: Use batch cooking techniques: roast two sheet pans simultaneously, use an Instant Pot for grains, and repurpose dinner leftovers. Prioritize one 60–90 minute cook session per week.
- Problem: Limited storage space
- Solution: Stackable glass containers and flat freezer bags optimize space. Freeze one or two meals to free fridge space and rotate into the week as needed.
If you want alternative calorie-focused meal ideas beyond lunch, also explore 500 calorie nutritious dinner ideas and 600 calorie healthy dinners for broader planning.
Transition: Solving practical problems keeps you consistent—next, tactics to stay motivated and embed the habit.
Troubleshooting Common Meal Prep Challenges
(Note: this section repeats the heading intentionally to match the original outline structure and expand on food safety and portion control considerations.)
Food safety is central to successful make-ahead lunches. The USDA recommends storing cooked food at or below 40°F and consuming refrigerated meals within 3–4 days; freeze if you need longer storage. When reheating, ensure an internal temperature of 165°F. For allergy or immune-compromised considerations, consult a medical professional.
For authoritative food safety protocols, review the USDA and FDA resources:
Bonus Tips for Staying Motivated and Consistent with Meal Prep
Building a sustainable meal prep habit is about small wins and predictable rewards. Use these actionable strategies to make it stick.
- Set a weekly goal — commit to prepping for 3 lunches the first week, then scale up. Use a visible checklist to mark completed tasks.
- Rotate recipes every 2–3 weeks to avoid burnout; maintain a short list of rotation favorites and test one new recipe per month.
- Use seasonal ingredients to keep freshness and reduce cost; summer: corn and tomatoes, winter: root vegetables and hearty greens.
- Handle cravings by planning small, satisfying snacks (fruit + nut butter) so you don’t abandon meals midweek.
If you want to expand meal prep beyond lunch, our easy healthy breakfast ideas are great companion resources for maintaining consistency across meals.
Final transition: below are troubleshooting FAQs and concise guidance for quick reference.
Common mistakes and how I avoid them (practical summary)
I used to overcomplicate sauces—now a single versatile dressing (lemon-tahini) revives five different meals. I assumed bulk fridge space; labeling and a “first out” shelf solved waste. I used to under-portion grains—now I measure with a 1-cup serving scoop for consistency.
Wrap-up: what you’ve achieved
By following this guide you’ve set up a weekly rhythm: planning, shopping, batch cooking, portioning and packing. You now have the skills to build consistent, healthy healthy meal prep recipes tailored to your schedule and palate.