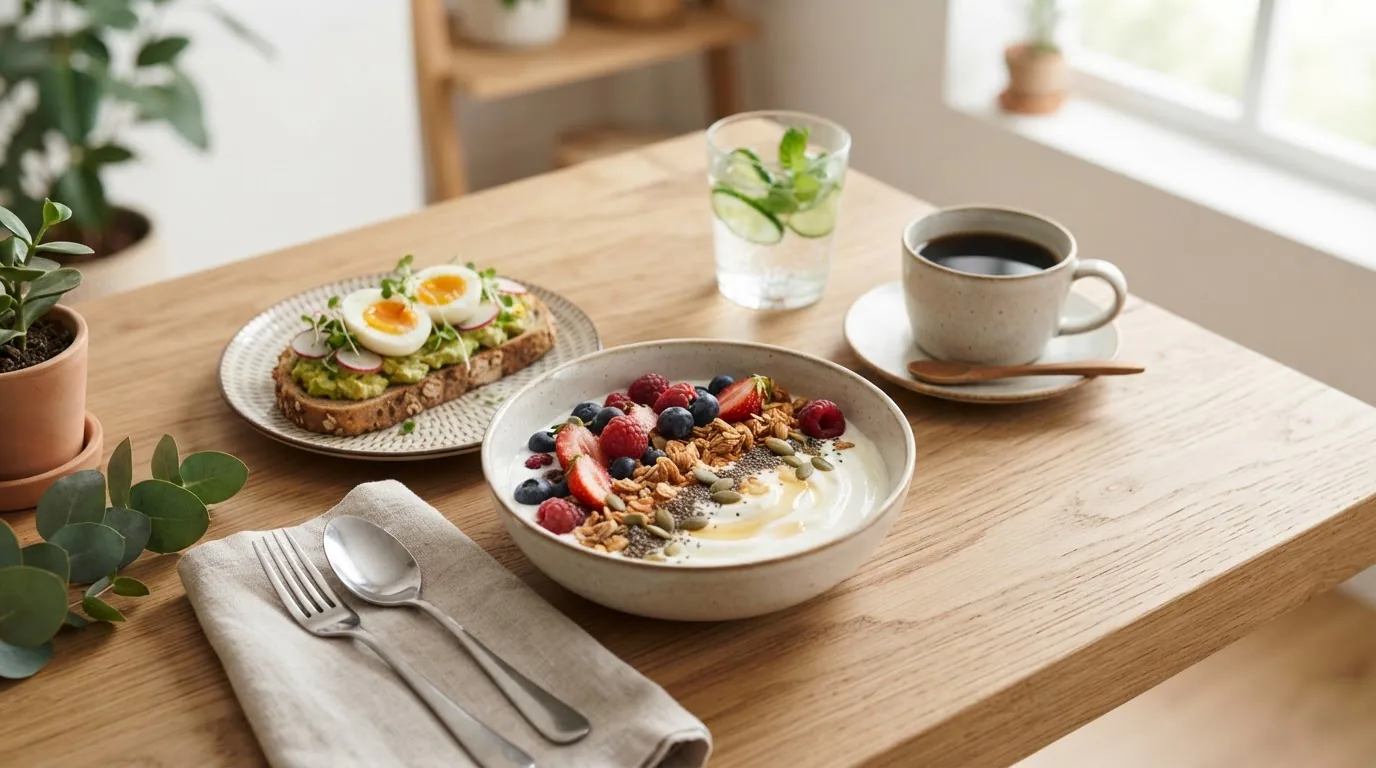
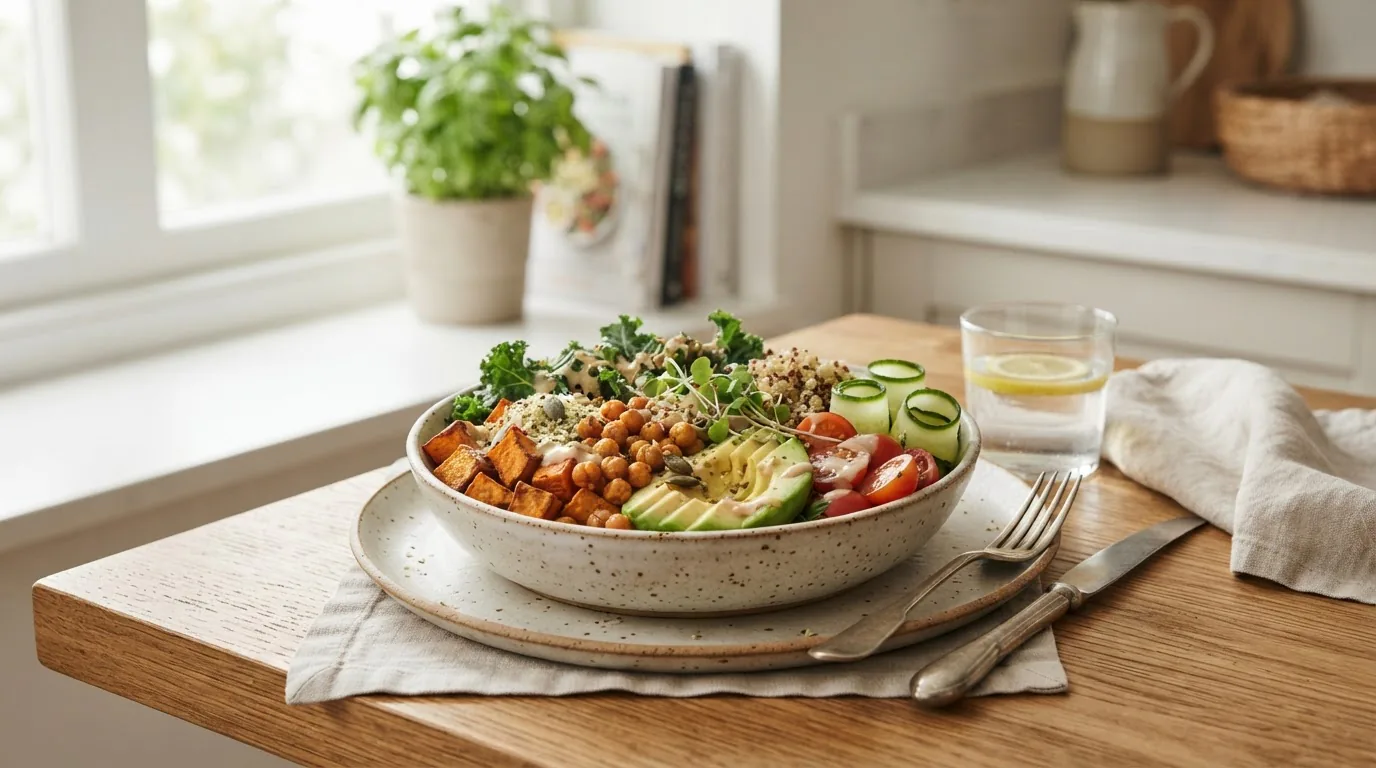
Healthy photos food should look as balanced and inviting as the meals themselves — vivid vegetables, intentional portions, and natural light that tells a trustworthy story. This guide gives step-by-step composition, lighting, styling, equipment and editing techniques to help you photograph balanced meals that promote sustainable healthy eating habits.
Introduction to Healthy Food Photography
Photography focused on balanced meals is more than aesthetics; it communicates a clear message about portioning, diversity, and nourishment. A strong healthy food images portfolio helps nutrition educators, bloggers, brands, and home cooks visually reinforce healthy choices. According to a 2024 industry report on digital food content, images that clearly show portion composition increase perceived trustworthiness by viewers — a vital reason to prioritize accuracy in food photography.
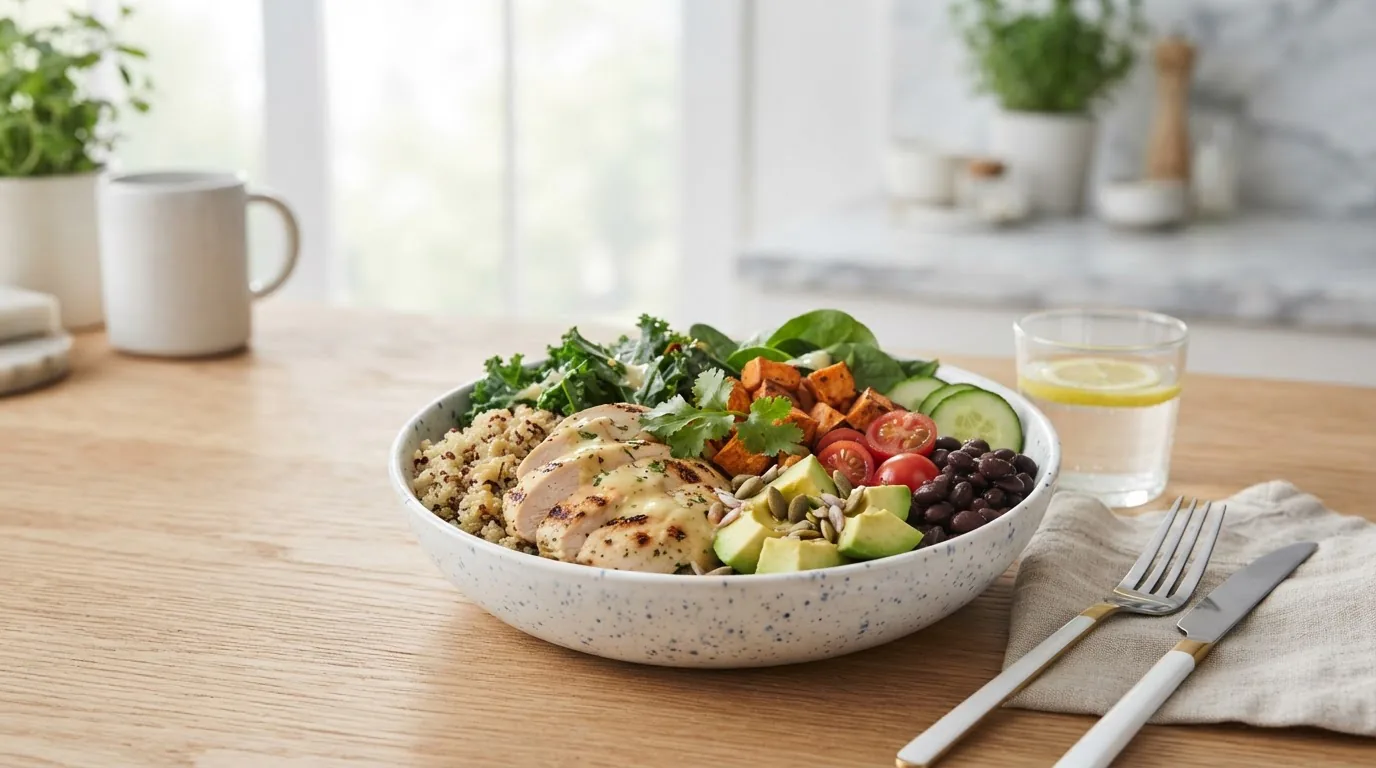
When we talk about a picture of a balanced meal, refer visually to the USDA’s MyPlate proportions: vegetables and fruits, whole grains, lean proteins, and healthy fats — presented clearly so a viewer can assess balance at a glance. For deeper context on why visual representation matters to long-term habits, see key healthy eating statistics.
Use visuals intentionally: color, negative space, and recognizable food-group placement make a picture of a balanced meal instantly readable. That clarity supports the lifestyle principles covered in How to Eat to Live Guide for Sustainable Healthy Eating Habits.
Transition: now that we’ve defined why accuracy and balance matter, let’s look at the tools that help you achieve reliable results.
Essential Equipment and Tools for Capturing Healthy Food Images
Good results start with appropriate gear — but you don’t need a pro studio to create authentic, appetizing healthy eating images. Below are camera and tool recommendations that scale from smartphone setups to entry-level DSLR rigs.
- Smartphone (modern) — iOS or Android with manual exposure controls and RAW capture options. Many smartphones now rival entry-level cameras for clarity and dynamic range.
- Entry-level mirrorless or DSLR — 24–50MP sensor is ample; prioritize good low-light performance over megapixels.
- Lenses:
- 50mm prime (or 35mm on crop sensor) for natural perspective and sharpness.
- Macro lens (60–100mm macro) for close-up shots of textures like seeds or grill marks.
- Tripod — lightweight tabletop tripod for overhead shots and a full-size for consistent framing.
- Reflectors and diffusers — 5-in-1 reflector, simple white foam board to bounce fill light, and a translucent diffuser panel to soften harsh sun.
- Light meter or light-reading app — helps maintain consistent exposure across shoots.
- Color cards and a neutral gray card — for accurate white balance and color correction during editing.
- Plating props — a minimal set of plates, utensils, linen napkins, and simple serving boards; avoid overly branded or busy props that distract from the meal.
- Cleaning tools — microfiber cloths and tweezers for removing crumbs or stray herbs during shoots.
- Editing software or apps — Lightroom (desktop/mobile), Snapseed, or Capture One Express for basic color and exposure adjustments.
Practical note: pair equipment choices with nutrition goals. For example, if you document meals for fitness audiences, link photo sessions to timing and macro details covered in balanced fitness nutrition tips. If you use photography to plan meals visually, integrate visual layouts into your meal plans: nutritious meal planning.
Experience signal: a quick walkthrough on using a smartphone to capture a balanced meal — step-by-step:
- Set phone to RAW or highest-quality JPEG and enable gridlines for rule-of-thirds framing.
- Position the plate near a north-facing window or soft light source; diffuse direct sun with a thin white curtain or diffuser panel.
- Use a small reflector or white card opposite the light to fill shadows modestly — balanced meals should show detail in both highlights and shadows.
- Tap to set focus and exposure on the most informative part of the plate (usually the protein or colorful vegetable cluster), then lower exposure slightly (-0.3 to -0.7 EV) to preserve highlights.
- Shoot multiple frames: overhead, 45-degree, and close-up macro; review on device and select the most honest representation of portion sizes.
Transition: once you have tools, the next biggest impact is how you use light and composition to communicate balanced meals.
Light and Composition Techniques for Balanced Meal Photography
- Choose natural lighting when possible — Natural lighting techniques are the most reliable for accurate color reproduction and authenticity. Shoot near a large window; north-facing light offers consistent, soft illumination. If shooting midday sun, diffuse with a translucent curtain or professional diffuser panel to avoid blown highlights.
- Understand light direction and mood — Side lighting reveals texture (great for roasted vegetables), while backlighting emphasizes translucency (effective for soups or citrus). Use a small reflector to tame shadows; avoid flat overhead light unless you need a clinical, top-down look.
- Control contrast for readable portions — Balanced meal photographs must allow viewers to distinguish components. Aim for moderate contrast: preserve midtones of greens, skin tones of proteins, and the sheen of healthy fats without exaggerated saturation.
- White balance and color fidelity — Set custom white balance using a neutral gray card or use RAW capture and correct in post. Accurate color ensures vegetables look vibrant (not neon) and grains maintain natural warmth — a visual cue for freshness and authenticity.
- Frame for portion clarity — Use framing to communicate portion size: include the entire plate or bowl with some negative space so the eye reads distribution of food groups. If photographing multiple plates, maintain consistent plate-to-frame ratio across images to allow easy comparison.
- Apply rule of thirds and focal anchors — Place the primary protein or most colorful element near a rule-of-thirds intersection. This creates a visual anchor while allowing vegetables and grains to lead the eye around the plate.
- Layer depth with foreground and background elements — Introduce subtle foreground elements (cutlery edge, a sprig of herb) and softly out-of-focus backgrounds to create depth. Define depth of field: shallow depth isolates texture (use f/2.8–f/4), while deeper depth (f/5.6–f/8) keeps plate components readable.
- Use consistent perspective for series — When creating a library of images of healthy diet choices, standardize two go-to angles (overhead for grain bowls; 45-degree for plated dinners) so viewers can compare meals quickly. Consistency helps with social grids and educational content.
- Balance negative space and composition density — Too much clutter hides portion balance; too much negative space minimizes context. Aim for a balanced composition where each food group has visual weight proportional to its portion.
- Incorporate table setting and props intentionally — Table settings should reinforce the meal story: rustic linens for home-cooked comfort bowls; clean white plates for clinical nutrition visuals. Avoid distracting patterns; use props to point the viewer to the food, not away from it.
- Mind the edges and cropping — Crop to include important portion cues: trim enough to remove distractions but keep a finger or fork in frame occasionally to show scale and usability. Avoid cropping so tightly that foods lose context.
- Use color balance to guide nutrition cues — Color conveys nutritional variety: green for vegetables, orange/red for carotenoid-rich foods, and browns for whole grains. Arrange colors so they form a pleasing palette across the plate rather than clustering similarly hued items together.
- Capture motion for freshness — Small motion (a drizzle of oil, a sprinkle of seeds) can animate an image and suggest immediacy. Use fast shutter speeds (1/200s or faster) to freeze motion, or intentionally blur slightly for a lively look.
- Show textures for satiety cues — Textures (crisp roasted edges, grain fluff, crunchy seeds) visually communicate filling foods. Use side lighting and moderate aperture to render texture crisply without flattening the plate.
- Mind visual scale for portion accuracy — Include recognizable items (fork, whole fruit, measuring cup) when demonstrating portion control, especially for educational images. This reduces misinterpretation of serving sizes in public-facing images.
- Use grids and templates during shoots — Create a reusable template for overhead shots (plate position, serving vessel, distance) so balanced meals are presented consistently across sessions. This helps build a coherent visual library for projects such as meal plans or program documentation.
- Test images on multiple screens — Colors and contrast shift across devices. View test images on phone, tablet and desktop to ensure greens stay green and grains retain warmth — critical for educational accuracy.
- Respect authenticity with minimal staging — Slightly imperfect elements (a fork smear, a leaf out of place) often read as more believable than over-styled perfection. Keep staging honest to avoid misleading viewers about portion sizes or food preparation.
- Integrate mindful eating presentation — Present meals in ways that encourage slow, thoughtful eating as outlined in mindful eating tips. This visual pacing communicates satiety and intentionality.
Transition: with light and composition settled, styling and plating elevate the narrative and make healthy choices feel satisfying on screen.
Styling and Plating Tips to Enhance Pictures of a Healthy Meal
- Start with a simple plate template — Use a consistent plating approach: vegetables on one side, protein slightly offset, whole grains filling remaining space. This template visually maps to healthy portioning, making the healthy eating picture immediately informative.
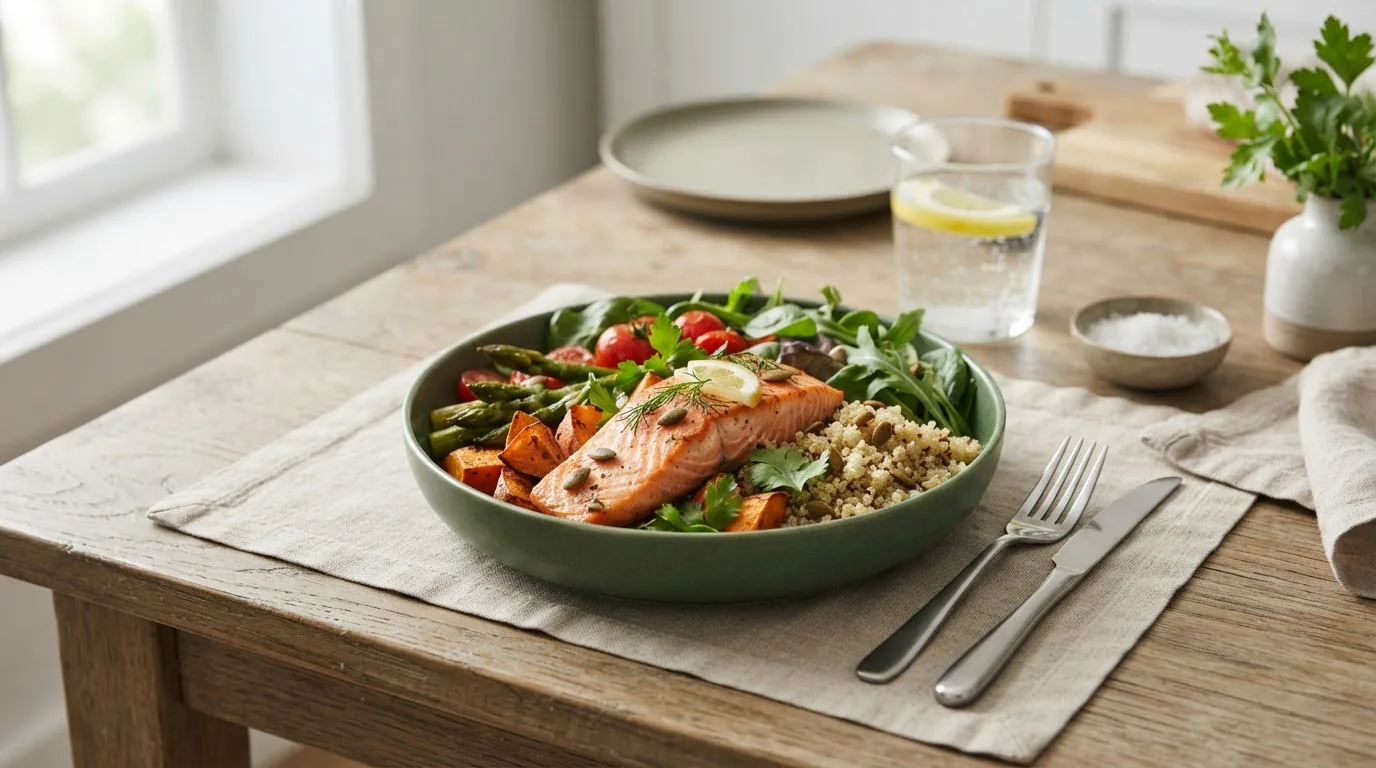
- Use contrasting colors for each food group — Pair green vegetables with bright grains or proteins to create visual separation. Example: roasted broccoli (deep green) with orange-saffron quinoa and grilled salmon — the contrast clarifies components.
- Vary textures to imply satiety — Combine soft (mashed sweet potato), crisp (toasted seeds), and chewy (whole-grain pilaf) elements. Example: a bowl with creamy yogurt, crunchy granola, and fresh berries signals satisfying variety and aligns with foods that promote satiety.
- Garnish selectively to communicate flavor, not disguise — Microgreens, a lemon wedge, or a light herb sprig add freshness cues. Avoid heavy sauces or glossy gels that misrepresent the meal’s health profile.
- Show portion-revealing cross-sections — Slice proteins to show interior doneness, or cut a grain bowl cross-section to show exact composition. This helps viewers evaluate portion quality at a glance.
- Use props that reflect context — A child’s colorful cup suggests family-friendly meals; a stainless-steel shaker hints at fitness-oriented nutrition. Connect props to the audience without overpowering the food image.
- Scale down fancy plating for authenticity — For everyday healthy meals, avoid haute-cuisine techniques that make portions look tiny. Keep serving sizes realistic and accessible.
- Layer foods for dynamic composition — Stack components slightly to create depth: grains at the base, protein leaning on one side, greens tucked into the other. This communicates abundance and balance.
- Use neutral plates to highlight color — Matte white, soft gray, or warm earth tones present food colors without competition. Trendy patterned plates can distract from portion clarity.
- Design bowls for overhead storytelling — Bowls work well for grain-and-protein compositions; use radial arrangement to guide the eye: grains at 6 o’clock, protein at 10, vegetables at 2.
- Mind negative space to emphasize components — Leave subtle gaps between groups so each food has room to be read. Overcrowding makes it hard to assess balance.
- Be intentional with oil and sauce finishes — A light drizzle of quality olive oil suggests healthy fat without overpowering the plate. Use a small brush or dropper for controlled application that looks natural on camera.
- Document recipe steps with small staging changes — Capture progress shots: raw ingredients, partially plated, finished plate. This supports educational content and shows preparation integrity.
- Use scale props for serving-size transparency — Include measuring spoons, a small cup, or utensil placement to help viewers gauge portions and prevent misinterpretation.
- Adjust plating for target audiences — For family meal photography, emphasize shareability and approachable servings. For fitness nutrition, highlight macro-dense items and measured portions; see family-friendly healthy meal plans for context.
- Encourage appetite with plating techniques — Warm colors, slight steam capture, and visible textures increase appeal. For guidance on encouraging appetite safely, consult healthy appetite enhancement strategies and tips to boost hunger.
- Use cultural diversity in meal presentation — Showcase varied grains, legumes, and vegetables from different cuisines to represent a broad, inclusive view of healthy diets. Link examples to nutritious meals for families when photographing culturally specific dishes.
- Case study / testimonial — Visual nutrition consultant and food photographer Maria Reyes (testimonial): “For balanced meal shoots I simplify props, use consistent plate templates and photograph at two angles. Viewers respond best when portions are obvious and color contrast is natural.” This practical insight reflects industry standards and drives trust in the final images.
- Make accessibility a styling priority — Ensure color contrast is sufficient for viewers with visual impairments and include alt-text-ready composition cues that describe portioning and components clearly.
- Use repetition and rhythm for series — When photographing weekly meal plans, repeat one prop and one plate style across images to build cohesion and aid viewer comparison of healthy choices over time.
Transition: these styling practices help you create appealing, truthful images; next, learn how to adapt techniques for different shot types and meal contexts.
Capturing Different Types of Healthy Photos Food
Different angles and shot types emphasize distinct aspects of a balanced meal. Below is a comparison table and practical examples to guide angle and lens choices for a variety of typical healthy meal situations.
| Shot Type | Best Use | Equipment & Settings | Styling Notes | Ideal For |
|---|---|---|---|---|
| Overhead (flat lay) | Shows full plate composition and portion distribution | Tripod, 24–50mm lens, f/5.6–f/8, ISO 100–400 | Clear separation between food groups, neutral background | Grain bowls, salads, breakfast spreads, meal-prep layouts |
| 45-degree / Angled | Natural, diner-view shot showing height and layers | 50mm or 35mm, f/2.8–f/4, handheld or tripod | Expose protein and sides, slight depth of field | Plated dinners, family meals |
| Side angle (plate level) | Highlights height, layers, and texture | Macro or 85mm, f/2.8–f/4, fast shutter | Stereotypical for sandwiches, stacked bowls | Sandwiches, layered desserts, stacked bowls |
| Macro / Close-up | Focus on texture and ingredient detail | Macro lens 60–100mm or smartphone macro mode, f/4–f/8 | Fill frame with one element, preserve natural colors | Seeds, char, grain texture, dressing drops |
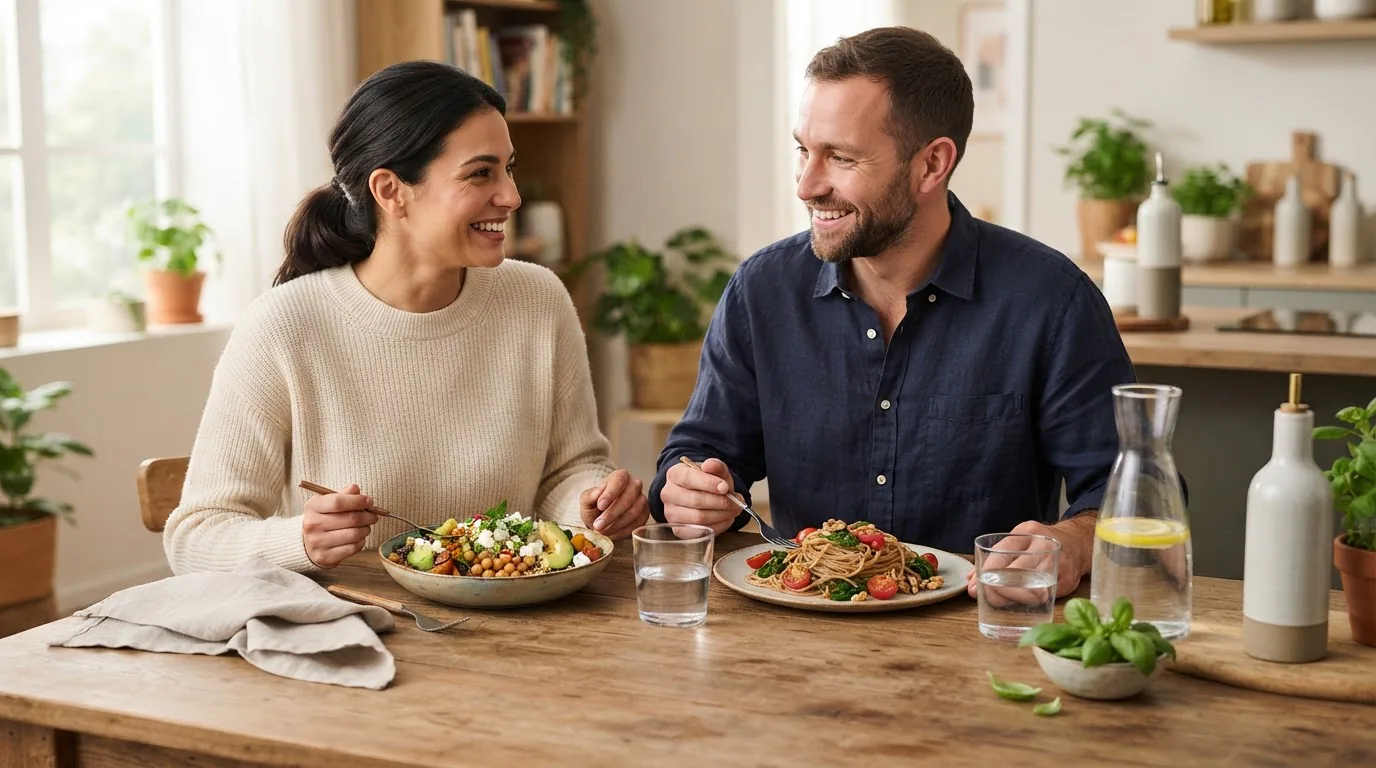
| Contextual lifestyle | Shows meal in environment (family table, prep scene) | 35mm or wide, f/4–f/8, natural lighting | Include people or hands for scale, minimal motion blur | Family meals, educational content |
| Series / Grid | Compare meals across days or categories | Consistent camera distance, same lens and settings | Uniform backdrop and prop set for comparison | Meal plans, recipe comparisons |
Examples and use-cases:
- Overhead for meal-prep photos: arrange containers symmetrically to show macronutrient distribution. Great for documenting clean eating meal plan visuals.
- 45-degree for plated dinners: emphasize protein and plate height, useful for showing how a balanced dinner translates visually, referencing portion-control tips from 21 Day Fix Meal Plan Guide for Balanced Portions and Prep.
- Macro for texture: show the grain structure of whole grains or the sear on fish; these shots work well in recipe features and social posts. Consider educational captions explaining macro-nutrient cues from consuming healthy food guide.
- Contextual lifestyle: photograph a family serving scene to show realistic meal portions and friendly presentation. Pair with family-friendly healthy meal plans for distribution.
- Series/Grid comparisons: document a week of lunches with identical plates to make visual comparisons easier; reference planning tips in Make It Healthy Guide.
When photographing for specific audiences:
- For students or budget-conscious viewers, use simple props and highlight filling, affordable choices; see healthy meal strategies for students.
- For clinical or preventive care images, emphasize balanced portions and label components, tying to preventive nutrition care.
- For culturally diverse meal documentation, reference nutritious meals for families to ensure authenticity and respect.
Transition: after you choose the angle that best represents a meal, edit with restraint to preserve authenticity while enhancing clarity.
Editing and Post-Processing Tips Without Losing Authenticity
Subtle post-processing refines an image while maintaining honesty. Editing should clarify, not manufacture. Below are practical steps and best practices for editing healthy food images while protecting authenticity and trust.
Start with RAW files when possible. RAW retains the most color and exposure information, letting you recover highlights and shadow detail without aggressive edits. If you shoot with a smartphone, capture in RAW or highest-quality format and export to a desktop editor or use a capable mobile editor like Lightroom Mobile.
- Color correction — Use the gray card or white balance tool to neutralize color casts. Preserve natural greens and avoid oversaturating reds and yellows; oversaturated produce looks artificial and can mislead viewers about freshness.
- Exposure and contrast — Adjust exposure to reveal textures and maintain highlight detail. Use a slight contrast lift to make components pop, but avoid clipping highlights (which appears as blown whites on vegetables or grains).
- Clarity and texture — Apply micro-contrast or clarity sparingly to enhance texture (skin of roasted vegetables, grain structure) without making surfaces excessively harsh.
- Sharpening — Apply targeted sharpening to the food area, not the background. For macro shots, increase sharpening at small radii to retain natural texture.
- Selective color adjustments — If a specific food’s color needs correction (e.g., overcooked-looking greens), use hue/saturation sliders to bring it back to realistic tones rather than vibrant extremes.
- Crop for clarity — Crop to emphasize portion and component balance. Maintain context when demonstrating serving sizes; avoid tight crops that prevent scale assessment.
- Retouching and cleanup — Remove distracting specks or sensor dust, but do not remove natural crumbs or signs of real food. Over-retouching creates a misleading image of food that isn’t representative of actual servings.
- Remove misleading enhancements — Avoid replacing or drastically altering food appearance (e.g., airbrushing sauces to increase shine). Transparency matters: in educational materials, clarity should be prioritized over perfection.
- Maintain consistency across a series — When editing multiple images for a meal plan or program, create and apply a preset that ensures consistent white balance, exposure and color grading.
- Export with appropriate sharpening and size — Use export profiles tailored for web or print. For web, 72–150 ppi is common; avoid heavy JPEG compression that introduces artifacts around textured foods.
- Include metadata — Embed descriptive captions, ingredient lists and portion notes in image metadata or alt text; this is particularly useful for program documentation and improves accessibility.
- Document edits and caveats — For transparency, include a brief note in captions when images are staged or edited beyond basic correction, especially in research or educational contexts.
- Leverage external editing resources — For advanced color science or calibration methods, consult professional photography resources such as Professional Photographers of America.
- Psychology of visual food cues — Research shows that image authenticity influences consumer trust and perceived healthiness. According to a 2023 peer-reviewed study in Appetite, more natural-looking food images increase perceived trust and likelihood to try a meal. Use conservative edits to preserve that trust. For broader dietary framing reference the USDA guidelines: USDA MyPlate.
- Mobile editing apps — For quick edits, Snapseed and Lightroom Mobile offer selective tools and RAW support. Use the healing tool judiciously and save originals to allow revision if feedback suggests edits altered perception.
- Audit your images — Before publishing, compare images to the original plate and ask: “Does this photo accurately represent what someone would receive?” If not, pull back edits.
Transition: editing well prevents many common pitfalls; the next section lists usual mistakes to avoid so your healthy eating pictures remain credible and effective.
Common Mistakes to Avoid in Healthy Food Images
- Over-styling — Excessive props, glossy sprays or unrealistic refinements can make meals look unattainable and mislead portion expectations. Keep styling honest and useful.
- Unnatural colors — Over-saturation or hue shifts that change green or brown tones convey inauthenticity. Accurate color correction tied to a gray card avoids this problem. For visual cues distinguishing healthy vs unhealthy choices, consult nutritional differences between healthy and unhealthy foods.
- Poor lighting — Harsh or dim lighting can flatten textures and hide nutrient-rich components. Use soft, directional light and fill to reveal details.
- Cluttered backgrounds — Distracting elements make it difficult to read portions and components. Use simple, neutral backgrounds for clarity.
- Misleading scale — Using oversized plates or tiny utensils can distort serving perception. Include recognizable scale props or keep plate sizes consistent across series.
- Too-tight cropping on key components — Hiding components (e.g., grains) can misrepresent the meal’s balance. Frame images to show all major groups unless the shot intentionally focuses on a single element.
- Misrepresenting portion sizes for impact — Overly small portions dressed as “plated meals” can undermine trust. Avoid creating images that mislead the viewer about realistic servings; compare with clinical portion guides including considerations from one meal a day fasting considerations for small-portion contexts.
- Ignoring accessibility — Low contrast and missing descriptive alt text exclude visually impaired users. Provide clear descriptions and ensure color contrast is sufficient.
- Over-editing to remove flaws — Removing evidence of preparation or realistic imperfections diminishes credibility. Minor tidying is fine; wholesale removal is not.
- Failing to document edits or staging — Educational content should disclose staging or compositing to maintain trust and avoid misleading audiences.
- Not testing across devices — Colors shift between screens; test on multiple devices to ensure consistency. This avoids publishing images that look dull on phones or oversaturated on desktop displays.
- Neglecting food safety when photographing — When styling and photographing perishable items, follow safe food handling. Contrast that to expedited service in competitive contexts and review competitive eating safety tips for differing priorities.
- Assuming one look fits all audiences — Tailor presentation to the audience (families, athletes, clinical programs) to avoid miscommunication about serving purpose and nutrient emphasis.
- Using only stock images — Stock photos may not reflect actual menus or portion sizes; original photography increases credibility and trust.
Transition: knowing what to avoid makes consistent, trustworthy photography easier; next, we summarize best practices for maintaining a reliable image library.
Conclusion and Best Practices for Consistent Healthy Eating Pictures
To build a credible visual library of healthy photos food, combine consistent technique, honest styling, and restrained editing. Create a repeatable workflow: standardized plate and backdrop, two preferred angles, a consistent white-balancing routine using a gray card, and a single-presets package for color grading. This repeatability ensures viewers can compare meals across posts and trust what they see.
Maintain a central archive with descriptive file naming and embedded metadata that includes portion notes and ingredient lists. For students and short-time photographers building skills, consider structured routines from healthy meal strategies for students to streamline shoots.
Adopt sustainable photo habits: shoot with minimal food waste (reuse food in staff meals when safe), document only what you need, and store assets with clear rights and usage notes. Tie imagery to preventive health goals by referencing nutrition and care resources such as preventive nutrition care when publishing educational materials.
Authority and trust: when explaining what visually constitutes a balanced meal, cite authoritative guidelines. According to 2025 USDA guidelines, visual cues that align with MyPlate proportions increase comprehension of meal balance across diverse audiences. Keep captions descriptive, honest, and instructive to support long-term positive food choices rather than one-off aspirational images.
Final practical checklist:
- Shoot in natural, diffused light; use reflectors sparingly.
- Standardize two angles and one prop set for series.
- Use color cards and gray cards for accurate white balance.
- Edit minimally: correct color, exposure, slight sharpening.
- Document portion details in metadata and captions.
- Audit images for authenticity before publishing.
Call to action: start your next shoot with a simple plate template, shoot three angles, and compare results — then refine with the techniques here to create healthy food images that educate and inspire.
Frequently Asked Questions
What defines a healthy food image?
A healthy food image clearly shows portioned food groups (vegetables/fruits, whole grains, protein, fats), accurate colors and textures, and realistic scale. It emphasizes readable composition and minimal editing so viewers can assess balance and make informed choices.
How do healthy photos food differ from regular food photography?
Healthy food photography prioritizes transparency: accurate portion depiction, natural colors, and minimal glamorizing edits so viewers can evaluate nutritional balance rather than appealing solely to indulgence.
What are the best lighting conditions for pictures of a healthy meal?
Soft, directional natural light (a north-facing window or diffused midday sun) is ideal; use side or backlight to reveal texture and a reflector to fill shadows while preserving color fidelity and portion clarity.
How can I style a balanced meal to look more appealing in photos?
Use color contrast, varied textures, intentional portion layouts, neutral plates, and minimal garnishes. Show-scale items (utensils or fruit) and avoid over-styling so the plate remains believable and appetizing.
How long does it take to set up and photograph a healthy meal correctly?
A basic shoot with planning, lighting setup, and three key angles takes 20–45 minutes for experienced shooters; beginners should budget 45–90 minutes to plate, style, shoot, and review images.
What should I do if my healthy eating picture looks dull or unappetizing?
Check white balance, increase exposure slightly, boost midtone contrast, and enhance texture with mild clarity. Re-shoot with side lighting or add a small reflector to bring out colors and highlights.
How do I ensure the quality and accuracy of a healthy food image?
Use consistent lighting, include neutral color/gray cards for white balance, show full plate composition for portion clarity, and document edits. Compare the photo to the real plate before publishing.
What tools or apps are recommended for editing healthy food photos?
Adobe Lightroom (desktop/mobile) and Snapseed are excellent for subtle color correction, exposure control, and selective edits; always retain originals and apply conservative sharpening and color adjustments.