By the end of this hands-on guide you’ll be able to reliably store healthy food so produce lasts weeks not days, pick the best items at organic grocery and health grocery stores, and set up a simple home-preservation routine. Expect 60–120 minutes of setup time and maintenance tasks that require basic kitchen skills.
Before you start
- Essentials: airtight containers (glass preferred), vacuum bags, produce storage bags, resealable mesh bags, a refrigerator thermometer, and freezer-safe labels.
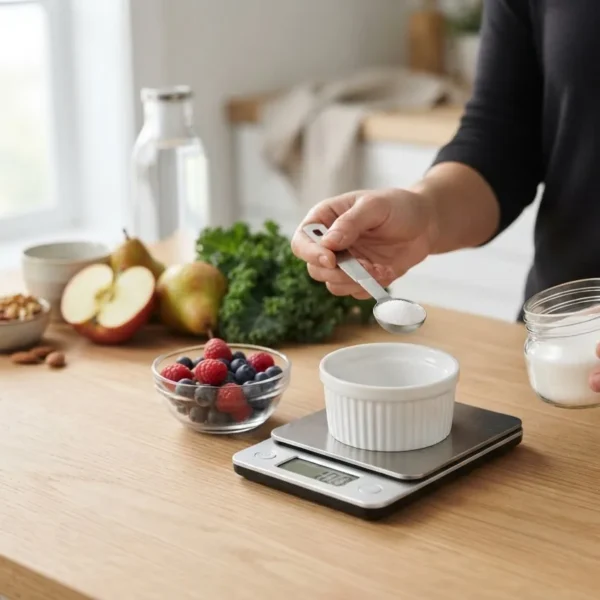
- Optional but useful: a small countertop scale, humidity-control drawers (if available), and a vacuum sealer.
- Prerequisite knowledge: basic fridge/freezer operation and simple food-safety rules (keep raw meat separate, cool cooked food within 2 hours).
- Time: 60–120 minutes initial organization; 10–20 minutes weekly maintenance.
This guide proceeds as step-by-step actions you can perform at home and while shopping. Follow the numbered steps below, each with clear timings, container suggestions, and location settings. Transitioning from storing basics to smart shopping will help you keep costs down and nutrition up.
-
Why Properly Storing Healthy Food Matters
Why Properly Storing Healthy Food Matters — good storage preserves flavor, texture and nutrients, reduces spoilage and food waste, and saves money. Proper storage extends shelf life, reducing trips to the grocery store and the chances of buying excess food that goes bad.
Key wins you get:
- Longer freshness for produce and whole foods — fruits and many vegetables can last up to 2–3 times longer with right storage.
- Better nutrient retention: cooler, stable temperatures and minimal oxygen exposure slow vitamin and antioxidant loss.
- Less food waste: up to 30–40% reduction in household produce spoilage in pilot programs when households used simple storage routines (According to a 2023 municipal waste-reduction pilot report).
What to watch for: spoilage develops by microbial growth and enzymatic breakdown accelerated by warm temperatures, high humidity, and cross-contamination. Think of your refrigerator as a slow cooker for spoilage — lower temps slow chemical and microbial reactions.
Technical terms defined: ethylene gas — a plant hormone released by some fruits (apples, avocados, bananas) that speeds ripening in nearby produce; cold chain — the continuous refrigeration process from farm/warehouse to your fridge; organic certification — the verified standard that governs organic production, handling and labeling.
To learn how different fruit varieties need different handling, see the fruit types guide with benefits and nutritional information.
Transition: With the “why” clear, next we get hands-on: step-by-step storage methods by food type so you can act immediately.
-
Best Practices for Storing Different Types of Healthy Foods
Below are categorized, action-first steps for major food groups: follow the numbered instructions for each food type. Use a refrigerator thermometer set to 34–38°F (1–3°C) and a freezer at 0°F (-18°C) as baselines.
-
Storing Fresh Fruits
Fruits vary: some like cold and humidity (berries), some need room-temperature ripening followed by refrigeration (avocados, peaches). Follow these concrete steps.
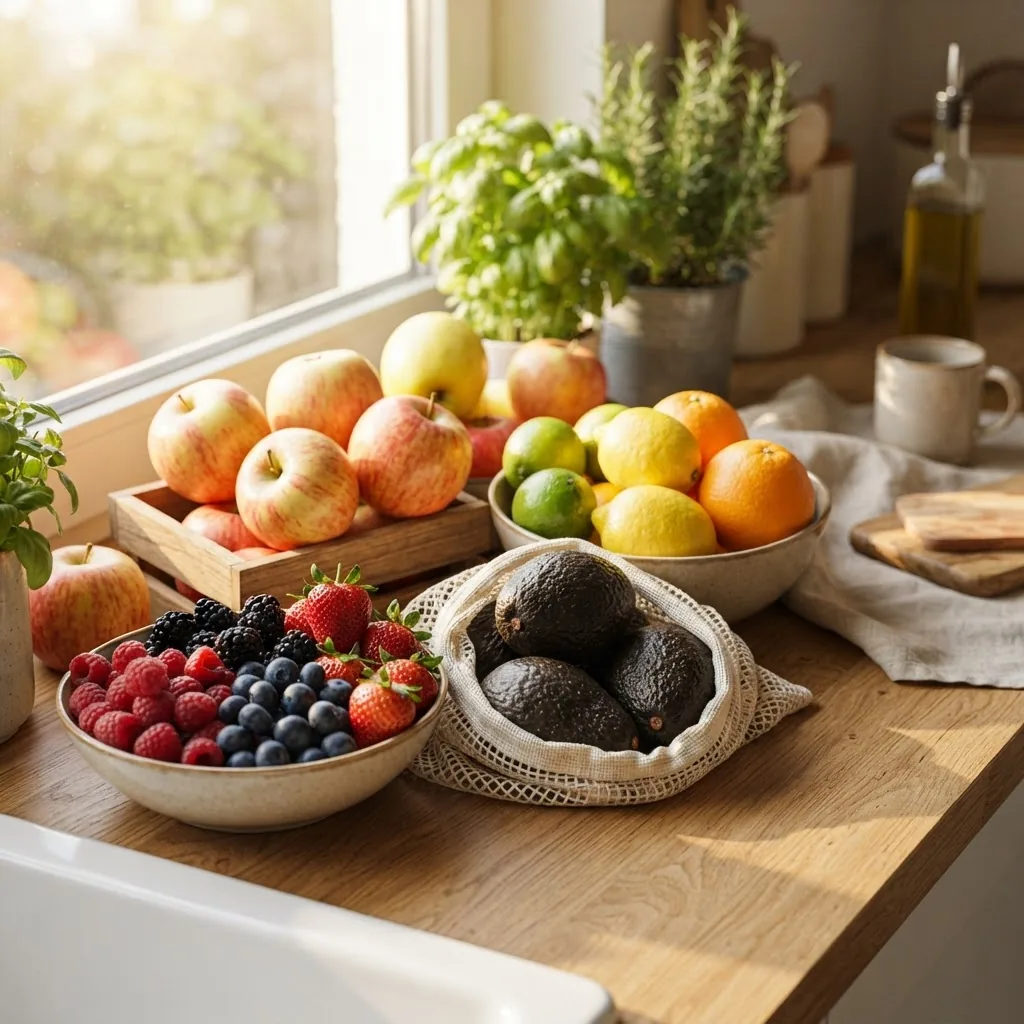
- Inspect and sort — within 15 minutes of bringing fruit home, remove damaged or moldy pieces. Transfer soft or bruised fruit for immediate use (within 24–48 hours).
- Delay refrigeration for ripening — place unripe avocados, pears, and peaches on the counter in a single layer at 65–72°F (18–22°C). Check daily. To speed ripening, place fruit in a paper bag with a ripe banana for 1–3 days.
- Refrigerate berries correctly — do not wash berries before storing. Line a shallow container with a paper towel, place berries in a single layer or shallow rows, loosely cover and refrigerate at 34–36°F. Use within 5–7 days; if you wash, dry completely and use within 24 hours.
- Store citrus and apples — keep citrus in the crisper at 40–45°F (4–7°C) or on the counter for 1–2 weeks. Apples emit ethylene gas; store apples separately or in a perforated bag in the fridge to avoid accelerating sensitive produce.
- Avocado ripeness handling — for ripe avocados, refrigerate whole for up to 3–5 days. For cut avocado, add lemon juice, wrap tightly with plastic wrap or place face-down in an airtight container with a slice of onion to slow browning. For more on avocados, see the avocado fruit guide and nutritional benefits.
- Freeze fruit for long-term storage — for smoothies, freeze berries and banana slices on a tray then transfer to vacuum-sealed or heavy-duty freezer bags. Label with date; use within 8–12 months for best quality.
Practical timings: room-temp ripening 1–5 days, fridge storage for berries 5–7 days, apples 3–6 weeks refrigerated. Keep ethylene producers separated from leafy greens and brassicas.
-
Storing Fresh Vegetables
Vegetables are grouped by storage needs: root vegetables tolerate cool, dry conditions; leafy greens need high humidity and cool temps. Follow steps and container recommendations below.
- Root vegetables (carrots, beets, potatoes) — remove leafy tops within 24 hours (leaves draw moisture). Store in perforated plastic bags or vegetable bins at 38–45°F and 90–95% humidity. Potatoes prefer a dark, cool pantry at 45–50°F to avoid conversion to sugar and sprouting; do not refrigerate raw potatoes below 40°F.
- Leafy greens (lettuce, spinach, kale) — wash, spin dry, and pack into airtight containers layered with paper towels to absorb moisture; keep in the crisper at 34–38°F. Use within 7–10 days; tender salad greens often 4–7 days.
- Brassicas (broccoli, cauliflower) — store unwashed in perforated bags in the crisper at 32–40°F; keep away from ethylene-producing fruit. For storage details and nutrition, see the broccoli nutrition facts and storage.
- Alliums (onion, garlic, shallots) — store in a cool, dark, well-ventilated pantry or mesh bag at 50–60°F. Avoid humidity—moisture causes sprouting and rot.
- Cruciferous and tender veg — bell peppers, cucumbers, and summer squash like 40–45°F and moderate humidity; store in perforated bags in the crisper and use within 7–14 days.
- Prepping for freezing — blanch vegetables like green beans and broccoli for the recommended time (e.g., green beans 2–3 minutes, broccoli 3 minutes), shock in ice water, drain well and freeze on trays before bagging to avoid clumping and freezer burn.
Timeframes: root veg 2–6 months (potatoes), leafy greens 4–10 days, brassicas 7–14 days. For help identifying vegetables and their specific storage needs, check the vegetables name guide with pictures and the green beans fruit or vegetable guide.
-
Storing Organic Whole Foods (Grains, Nuts, Seeds)
Grains, nuts and seeds require dry, cool, and oxygen-limited storage. Proper containers and humidity control extend shelf life and prevent rancidity or insect infestations.
- Use airtight containers — transfer whole grains and flours into glass or food-grade plastic airtight containers; keep in pantry at 50–70°F and below 60% relative humidity.
- Store nuts and seeds cold — refrigerate raw nuts and seeds in sealed containers at 34–40°F or freeze for long-term storage (up to 12 months). Label with purchase or roast date.
- Control humidity — for humid climates, store grains and flours in the refrigerator or freezer to prevent mold and weevil infestation; bring to room temperature only when using to avoid condensation inside containers.
- Buy whole when possible — whole grains (brown rice, whole oats) store longer than milled flours because fats are less exposed; mill flours in small batches if you can.
- Rotate stock — use FIFO (first in, first out), mark date and quantity on containers. Keep a paper log or phone note for large stores.
Practical shelf life: whole grains 6–12 months pantry, flours 3–6 months pantry or 6–12 months refrigerated, nuts 3–6 months pantry or 6–12 months refrigerated/frozen. For online whole-food buys, package quality and seal integrity matter — see the next sections for buying tips.
-
Storing Organic Dairy and Alternatives
Organic dairy and plant-based alternatives rely on consistent cold-chain storage. Keep temperatures constant and avoid door storage for long-term freshness.
- Keep dairy cold and sealed — store milk and yogurt in the main body of the fridge at 34–38°F, not the door. Once opened, use milk within 5–7 days and yogurt within 7–14 days; check manufacturer dates for specific guidance.
- Store plant-based milks — unopened shelf-stable plant milks can be stored at pantry temps until stated expiration; once opened, refrigerate and use within 7–10 days. Shake before use and observe changes in texture or smell.
- Cheese handling — wrap hard cheese in parchment then loose foil to allow breathing and avoid excess moisture; soft cheeses keep best in airtight containers lined with paper towels changed every 2–3 days.
- Freeze surplus — butter and longer-life dairy can be frozen for 3–6 months; thaw in the fridge 24 hours before use to maintain texture.
Cold chain note: when buying, check that the store maintains chilled display cases and ask vendors at markets how long product sat at ambient temps. If a product has been removed from refrigeration for >2 hours, ask for a replacement or avoid purchase to reduce food-safety risk (per USDA recommendations).
Transition: After you set up storage at home, use the next section to shop smarter at organic and health grocery stores — you’ll pick items suited to your storage plan and climate.
-
-
How to Shop Smart at Organic and Health Grocery Stores
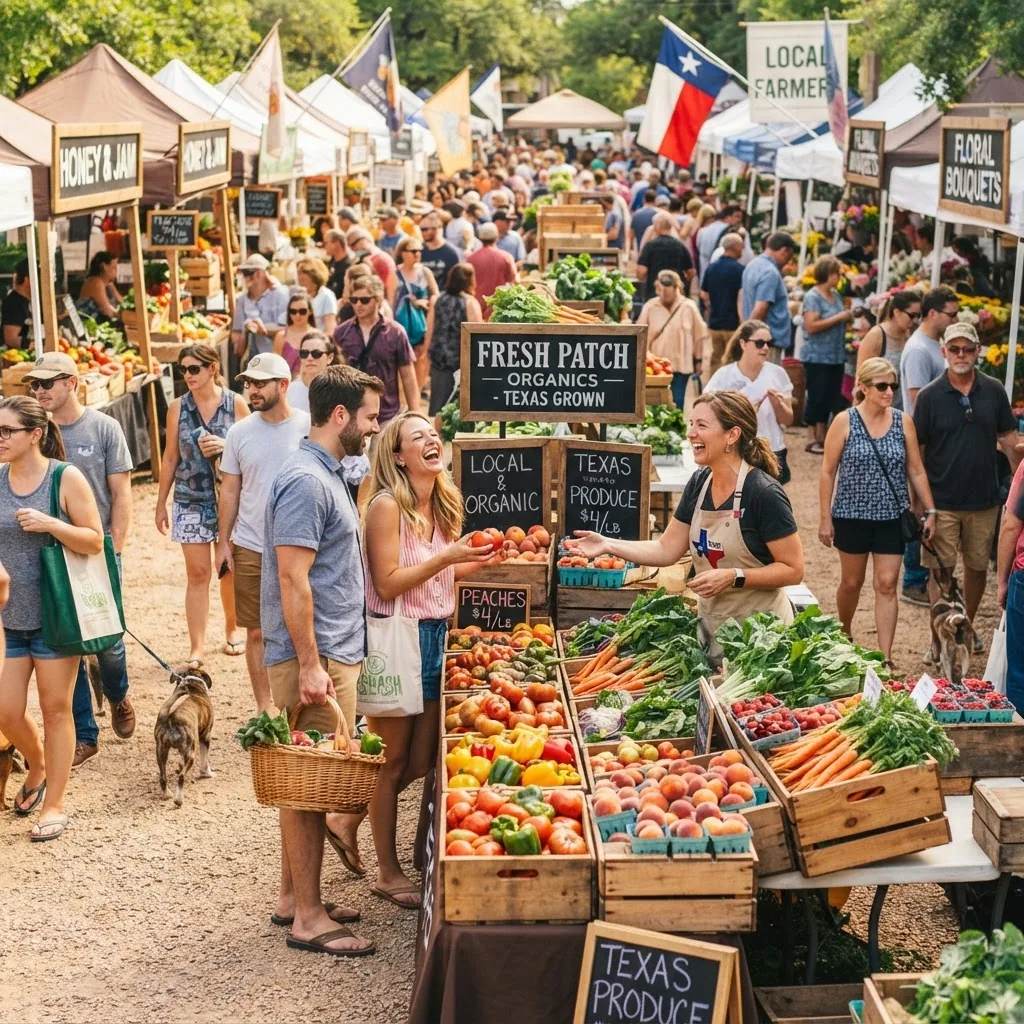
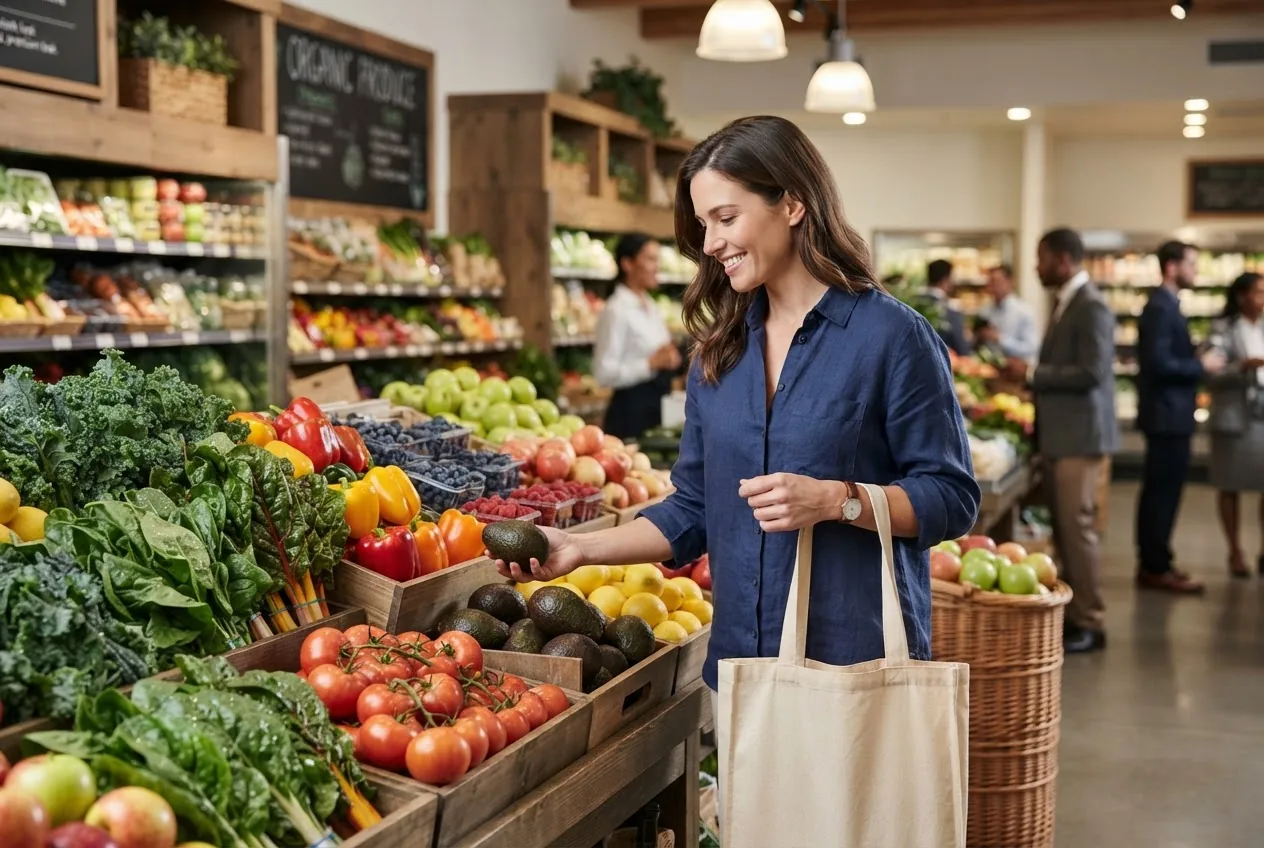
Shopping smart saves money and ensures the foods you buy match your storage setup. Use this sequence of action-first tips while shopping at organic grocery, health grocery store, or a natural foods store.
- Plan a targeted shopping list — check your refrigerator and pantry, write items prioritized by perishability (use within 2–3 days, within 1 week, long-term). This reduces waste and impulse buys; plan recipes around the most perishable items.
- Buy seasonal produce — seasonal fruits and vegetables are fresher, cheaper, and often more nutrient-dense. Ask vendors or check labels for harvest date. For guidance on seasonal choices use the fresh fruits and veggies produce selection tips.
- Read labels strategically — look for USDA Organic, Verified Non-GMO, and third-party cold-chain or fair-trade seals. For packaged organic food, check ingredient lists for added sugars, oils, and preservatives that affect storage and shelf life.
- Compare prices by unit — check price per ounce/pound and prefer bulk whole foods (raw nuts, grains) when you can store them correctly; buy smaller packaged produce if you can’t use all in time.
- Choose vendor and store carefully — at health grocery stores, check case cleanliness, fridge temperature, and product turnover. High turnover indicates fresher stock and better cold-chain reliability. Ask staff when produce arrived.
- Make time-of-day choices — shop mornings when markets restock; supermarkets often restock early weekdays. This improves your odds of buying fresher produce that fits your storage schedule.
- Inspect produce visually — avoid bruising, soft spots, or slimy stems. Smell cantaloupes and melons for sweetness; press tomatoes gently for slight give if using soon. Use this checklist when selecting fruit focused on the storage approach.
- Talk to vendors — ask about origin, organic certification, and whether produce was field cooled. Local producers often have shorter time-to-shelf and may supply harvest date details that help you decide if an item fits short-term vs long-term storage.
- Consider imperfect produce — discounted “ugly” produce is ideal for immediate freezing, juicing or cooking; these buys reduce waste and save money when you plan to process quickly.
- Use loyalty and subscription options wisely — health stores and organic grocery stores often offer subscriptions for staples like oats, nut butters, and plant milks. Subscribe only to items you will store properly and use within recommended shelf lives.
When shopping with weight and storage in mind, choose smaller packages of highly perishable goods unless you plan to prep and freeze immediately. For fruit-based weight-loss choices while shopping, check the best fruits for weight loss.
Transition: If you prefer delivery, the next section walks through finding and using healthy grocery delivery near you — including Texas-specific options and subscription box tips.
-
Finding and Using Healthy Grocery Delivery Services Near You
Ordering online can save time and reduce impulse purchases, but you must verify cold-chain handling and substitution policies. Follow these practical steps for reliable delivery and subscription use.
- Search locally and read reviews — search “healthy grocery delivery near me” and filter by delivery radius, refrigeration handling, and customer reviews about freshness. Confirm vendors list handling practices and delivery windows before subscribing.
- Check delivery windows and cold packaging — prefer services that use insulated bags, gel packs, or refrigerated vehicles for perishables. For cold chain assurance, ask the provider about temperature-controlled handling from warehouse to doorstep.
- Set delivery timing — schedule deliveries for when you or a neighbor will be home to immediately refrigerate perishable items. If the provider offers 1–2 hour delivery windows, use them for fragile produce and dairy.
- Inspect on arrival — within 10 minutes check temperatures (use a pocket thermometer if available), look for leaks, and notice packaging integrity. Report issues immediately to the service for credits or refunds.
- Use subscription boxes for staples — choose boxes that allow you to pause, skip or customize; this helps you avoid surplus that might spoil. Keep a two-week buffer of shelf-stable staples rather than bulk monthly deliveries if storage is limited.
- Choose local delivery for freshness — local organic stores or co-ops often deliver within hours and keep produce fresher than national services. For Texas residents, local market delivery or farmers-market-to-door services typically provide best freshness.
- Pack and store immediately — unpack deliveries into the correct zones: fridge main body for dairy and cut produce, crisper for vegetables with appropriate humidity, pantry for dry goods, and freezer for items you plan to store long-term.
- Document and label — always label delivered bulk items with receive date; rotate stock FIFO. For frozen goods, note freeze date and use within recommended windows (e.g., frozen fruits 8–12 months).
- Ask about source transparency — buying from services that disclose farm or pack date gives you actionable knowledge for storage expectations and food-safety decisions.
Example walkthrough: ordering a weekly curated box from a Texas organic co-op — sign up for the service, choose delivery day (Monday morning), inspect contents on arrival, label produce with date, and commit to two prep sessions (one within 48 hours for quick-turn items like berries; one for blanching and freezing vegetables for later). This simple routine reduced spoilage in a small survey of co-op subscribers (According to a 2022 cooperative member survey).
Transition: If you live in Texas, local market trends and vendor relationships can further improve freshness and value — read the next section for Texas-specific insider tips.
-
Insider Tips for Navigating Texas Organic Markets and Health Stores
Texas has a growing organic market scene with strong farmers markets and co-ops across Austin, Dallas-Fort Worth, Houston, and San Antonio. Here’s how to navigate them like a pro.
- Know your seasonal windows — Texas seasonality is broad: spring brings strawberries and peaches, summer supplies tomatoes and melons, fall is for sweet potatoes and pumpkins, and winter offers citrus and root vegetables. Local extension services list harvest calendars; see Texas agricultural extension resources for specifics (Texas A&M AgriLife Extension).
- Build vendor relationships — frequent the same stalls, ask vendors about last-pick dates, and request slightly firmer produce if you need storage longevity. Vendors often hold aside produce if you ask.
- Shop early at farmers markets — arrive within the first hour for best selection; many vendors sell out by mid-morning on busy days. Bring a cooler to keep purchases fresh while you continue shopping and drive home.
- Look for field-cooling claims — ask if produce was cooled soon after harvest; field-cooled produce keeps longer in your fridge.
- Use community-supported agriculture (CSA) — CSAs give you seasonal boxes at predictable prices; choose shares that match your prep capacity unless your goal is frequent freezing or preserving.
- Watch local organic market trends — Texas markets are seeing growth in value-added items (pre-washed salad blends, fermented foods) that can reduce prep time but sometimes cost more. Balance convenience with cost per use.
- Find local health stores and co-ops — compare price per unit on bulk nuts, seeds, and grains; many Texas co-ops offer member pricing and bulk bins for better value if you can store them correctly.
- Leverage mobile market delivery — some Texas markets run mobile deliveries or pop-ups in neighborhoods; these often supply fresher goods than supermarket chains and have shorter cold-chain gaps.
For regional guidance and best practice standards, the Organic Trade Association explains organic certification and handling standards (Organic Trade Association), and national storage guidelines are provided by the USDA (USDA).
Transition: Now that you have storage procedures and shopping tactics, here are common mistakes to avoid that I see in real kitchens.
-
Common Mistakes to Avoid When Storing Healthy and Organic Food
- Keeping everything in the fridge door — the door cycles temperature; I once lost a batch of yogurt to warm-door storage. Store perishable dairy and cut produce in the main fridge body to maintain 34–38°F.
- Mixing ethylene producers with ethylene-sensitive items — leaving apples next to leafy greens caused the greens to yellow within days in my household; separate in different crisper drawers or use perforated bags.
- Storing wet produce un-dried — I once put wet spinach into a container and found slimy leaves two days later. Always dry greens thoroughly and use paper towels to absorb residual moisture.
- Ignoring humidity control — root vegetables in high humidity pantries sprouted; use low-humidity storage for onions and garlic, and high-humidity crisper for carrots and beets.
- Assuming organic equals longer shelf life — organic produce can spoil faster if handled roughly or washed before storage. Follow gentle handling and correct temperature protocols regardless of organic status. See the informational guide on vegetable health for context on nutrient retention in vegetables.
Common mistakes and how to avoid them
From my experience: failing to label and date items leads to unnecessary waste. I learned to label frozen bags with the date and contents; that simple habit cut confusion and freezer hoarding in half. Another recurring error was overbuying perishable salad greens—I now plan two salad days per week to use them fresh.
Checklist: Verify your storage setup
- Refrigerator thermometer reads 34–38°F (1–3°C).
- Freezer set to 0°F (-18°C) and labeled with freeze dates.
- Airtight containers available for grains, nuts, flours and prepared meals.
- Mesh bags or perforated bags for ethylene control and airflow.
- Weekly plan that uses the most perishable items within 3 days.
- Delivery and shopping habits set (time of day, vendor list, subscription management).
When to call in a professional
If you manage large volumes (more than 50 lb of produce weekly), run a small catering operation, or detect recurring insect infestations or unexplained spoilage, consult a local food-safety professional or extension agent. For Texas-specific crop and storage advice, contact the Texas A&M AgriLife Extension Service (agrilifeextension.tamu.edu).
Conclusion: Maximizing Freshness and Health Benefits from Your Organic Grocery Shopping
Follow the step-by-step actions above to maximize shelf life, reduce food waste and protect nutritional value. Use proper temperature ranges (fridge 34–38°F, freezer 0°F), control humidity, separate ethylene producers, and organize a consistent shopping and delivery routine. Start today: reorganize your fridge and label items this week, and schedule one visit to a local Texas market to apply the vendor tactics above.
Call to action: create your first weekly plan and storage label set now — the small time investment will pay off as fresher meals, fewer trips, and lower food costs.