By the end of this hands-on guide you will confidently identify Texas spring vegetables and springtime fruits, understand their nutrition, and be able to plan, select, store, and prepare them in meals — this takes about 3–5 hours of reading and practice and assumes a basic home-cooking skill level. Read the steps below and follow the checklist to start eating seasonal produce this spring in Texas.
Before you start
- Prerequisites: basic knife skills (how to trim, core, and slice), a thermometer, large pot, colander, ice bath container.
- Tools & materials: chef’s knife, cutting board, vegetable peeler, steamer basket, heavy skillet, food storage containers (glass preferred), reusable produce bags.
- Reference sources: USDA FoodData Central for nutrient lookups, Texas A&M AgriLife seasonal guides for local harvest windows.
-
Step 1 — Learn the spring produce landscape
Introduction to Spring Vegetables and Seasonal Fruits in Texas
Spring means the market stalls and roadside stands begin to swell with tender, high-flavor crops. This guide focuses on spring vegetables and springtime fruits that thrive in the Texas climate: short cool-season windows followed by rapid warming. The spring harvest delivers higher flavor and often greater nutrient density because plants produce sugars, vitamins, and antioxidants to support new growth after winter dormancy.
Regional seasonality in Texas varies by zone: South Texas growers start strawberry and asparagus harvests as early as February, while North Texas peaks later in April–May. Eating seasonally in spring brings advantages: better flavor, lower transport time (fresher nutrients), and cost savings from local abundance. According to a 2024 USDA FoodData Central summary report, produce harvested close to peak ripeness often retains higher levels of vitamin C and certain phytonutrients versus long-shipped imports (USDA FoodData Central).
Fruit Types Guide with Benefits and Nutritional Information is a useful companion if you want a broader taxonomy and definitions beyond spring crops.
Transition: Once you understand why seasonality matters, the next step is recognizing the specific vegetables you’ll see in Texas markets and what nutrients they deliver.
-
Step 2 — Identify the top spring vegetables for Texas
Top Spring Vegetables to Look for in Texas
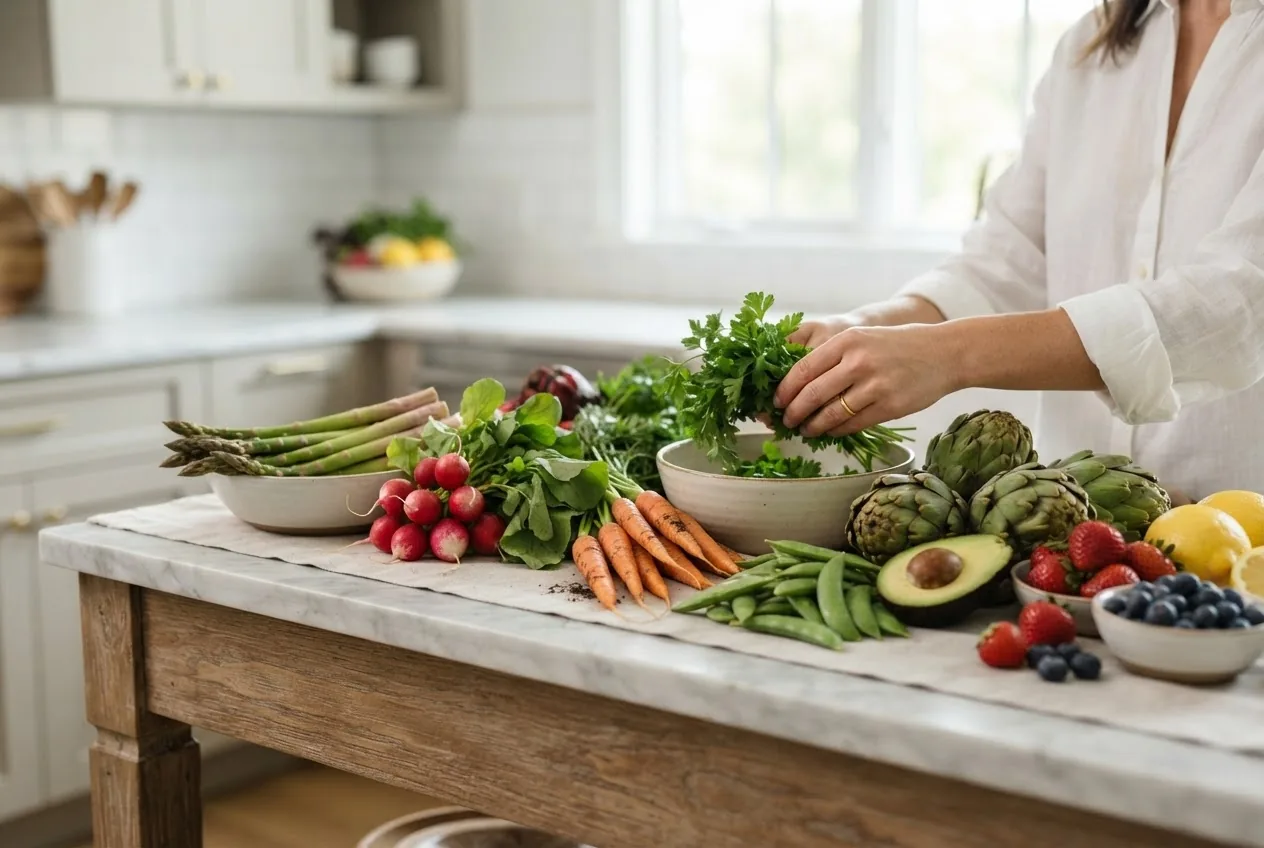
Below are the top 10 spring vegetables regionally relevant to Texas markets. Each entry lists a brief nutrition highlight and one practical use. Quantities reference common serving sizes (typically 85–100 g raw unless stated).
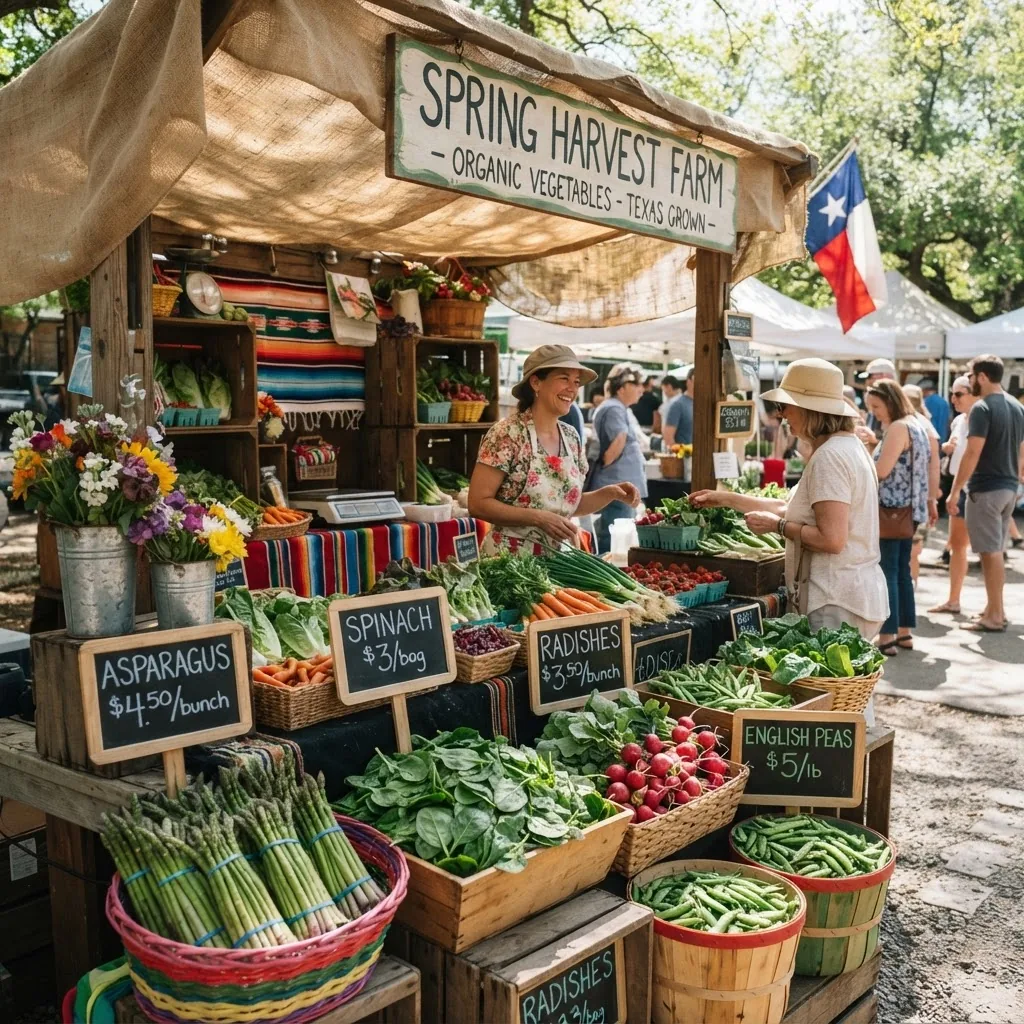
- Asparagus (1/2 cup cooked / ~90 g): Excellent source of folate (≈134 µg per cooked cup) and vitamin K; contains glutathione, an antioxidant. Use: grill or roast 8–10 minutes at 425°F with 1 tbsp olive oil. Quick blanch (2–3 minutes) preserves color and nutrients. Transition: asparagus is an early-season showpiece across Texas.
- Spinach (1 cup raw / 30 g): High in vitamin K (helps bone health) and vitamin A (beta-carotene) plus iron and folate; good source of fiber when eaten cooked. Use: quick sauté 1–2 minutes or add raw to salads—avoid overcooking to retain vitamin C.
- Peas (shelled, 1/2 cup / ~80 g): High in fiber (≈4 g per 1/2 cup) and plant protein; contains vitamin C and B vitamins. Use: lightly steam for 2–3 minutes to keep sweetness; add to spring risottos or salads.
- Radishes (3 medium / ~45 g): Crisp, low-calorie, good source of vitamin C and phytonutrients that support digestion. Use: thin-slice raw into slaws or roast at 400°F for 15–20 minutes to mellow sharpness.
- Artichokes (medium cooked / ~120 g): Rich in antioxidants (cynarin) and a good source of fiber; supports liver-friendly pathways. Use: steam 20–30 minutes until leaves pull easily and serve with lemon-yogurt dip.
- Broccoli (1 cup chopped raw / 91 g): Noted for vitamin C, vitamin K, fiber and sulforaphane precursors. For detailed nutrient composition see broccoli nutrition facts. Use: roast florets at 425°F for 12–15 minutes or quick-steam 4–5 minutes.
- Cabbage (1 cup shredded / 89 g): Low calorie, fiber-rich, good source of vitamin C and K. Raw sauerkraut (fermented) boosts probiotics and digestion. For precise calorie detail see cabbage calorie content.
- Green onions / spring onions (2 stalks / ~30 g): Provide vitamin K, A, and small amounts of vitamin C; aromatic compounds help flavor with minimal calories. Use: finish soups or grilled meats with thinly sliced green onion raw for brightness.
- Beets (1 medium / ~100 g): High in folate, manganese, and dietary nitrates which support blood flow; roasting concentrates sweetness—roast 35–40 minutes at 400°F wrapped in foil.
- Fava beans (1/2 cup shelled / ~85 g): High in fiber, protein, folate, and iron; good for heart health when eaten regularly. Use: blanch 1–2 minutes, remove skins if desired, toss into spring pastas or salads.
Note on variety selection: focus on younger, smaller specimens for tenderness; for brassicas choose compact heads with tight leaves. If you want exhaustive lists beyond this top-10, see comprehensive vegetable guide.
Transition: after vegetables, Texas spring also brings vibrant fruit options—let’s review the most popular seasonal fruits next.
-
Step 3 — Recognize springtime fruits and their windows
Seasonal Springtime Fruits Popular in Texas
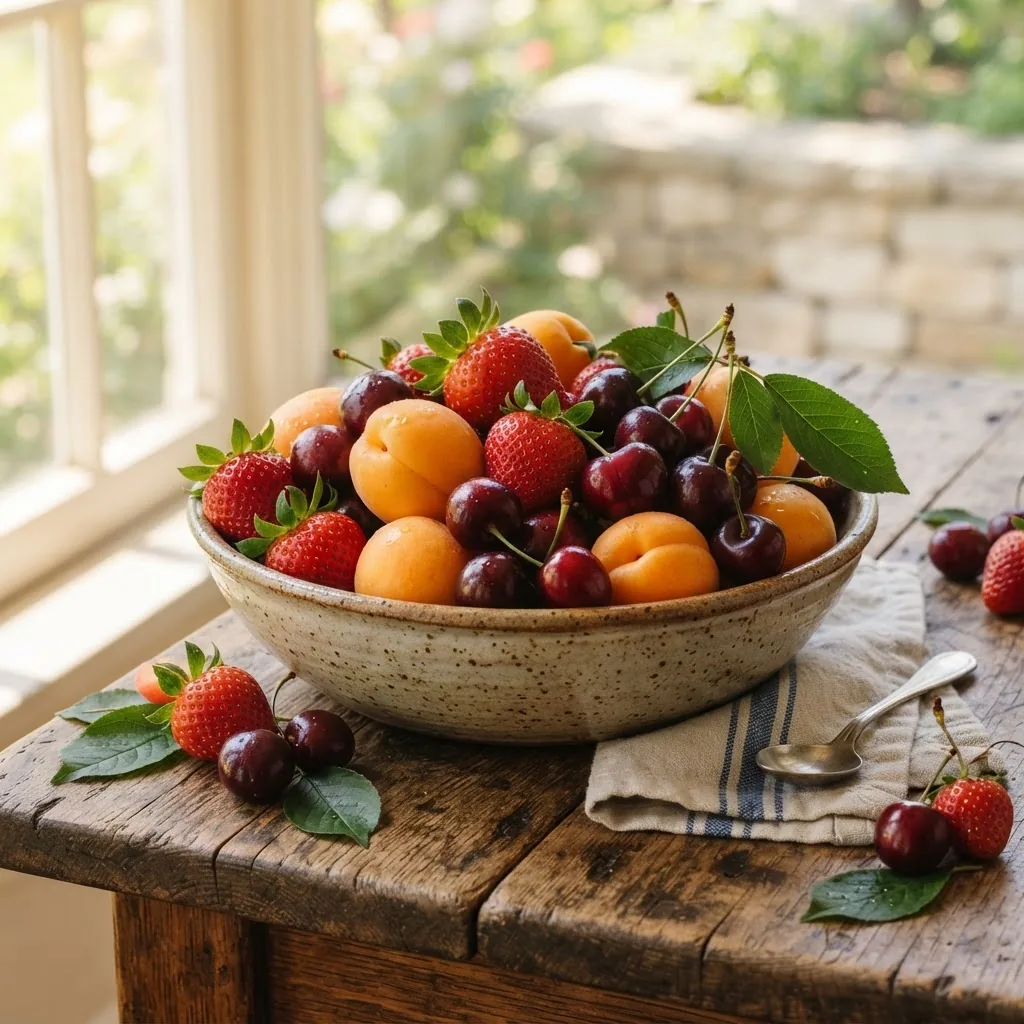
Texas spring fruits often arrive early and in concentrated windows; below are 6–8 fruits to watch for with nutrition notes and the best-use ideas. Season windows are approximate and will shift by locale and year.
- Strawberries (1 cup / 144 g) — Mar–May: Excellent source of vitamin C (≈89 mg per cup) and manganese; high in polyphenol antioxidants. Best uses: fresh, in salads, or lightly macerated with a teaspoon of honey for short-term dessert. For serving-size energy counts see Calories in 10 Strawberries and Serving Size Nutritional Guide.
- Apricots (2 medium / 66 g) — Apr–June: Good source of vitamin A (beta-carotene), vitamin C and fiber; excellent when grilled or added to grain bowls. Look for slightly soft, fragrant fruit at peak ripeness.
- Cherries (1 cup / 154 g) — Apr–May, limited Texas pockets: Provide vitamin C, potassium and anthocyanin antioxidants linked to inflammation reduction. Use fresh or in compotes; pit before cooking. Expect short windows and premium pricing.
- Plums (1 medium / 66 g) — Apr–June: Source of vitamin C and fiber; good for digestion and natural sweetness—roast or eat fresh. See seasonal timing guide at When Are Plums in Season?
- Melons (early varieties, small types Apr–May): Cantaloupe and early honeydews provide vitamin A, C and hydrating electrolytes; perfect for morning fruit salads. For detailed cantaloupe timing see Cantaloupe Season Guide and Best Harvest Time Explained.
- Avocado (varies by region; late spring arrivals possible): Rich in monounsaturated fats, vitamin E, potassium, and fiber. For a deep dive on fatty fruit benefits see avocado nutritional benefits.
- Loquats and early stone fruits (pockets around central Texas): These smaller local fruits add vitamin A and C; often eaten fresh or made into sauces.
Transition: knowing what’s available is one thing — understanding the specific nutritional benefits helps you prioritize choices for immune support, digestion, and weight goals.
-
Step 4 — Assess nutritional impact of seasonal picks
Nutritional Benefits of Spring Vegetables and Fruits
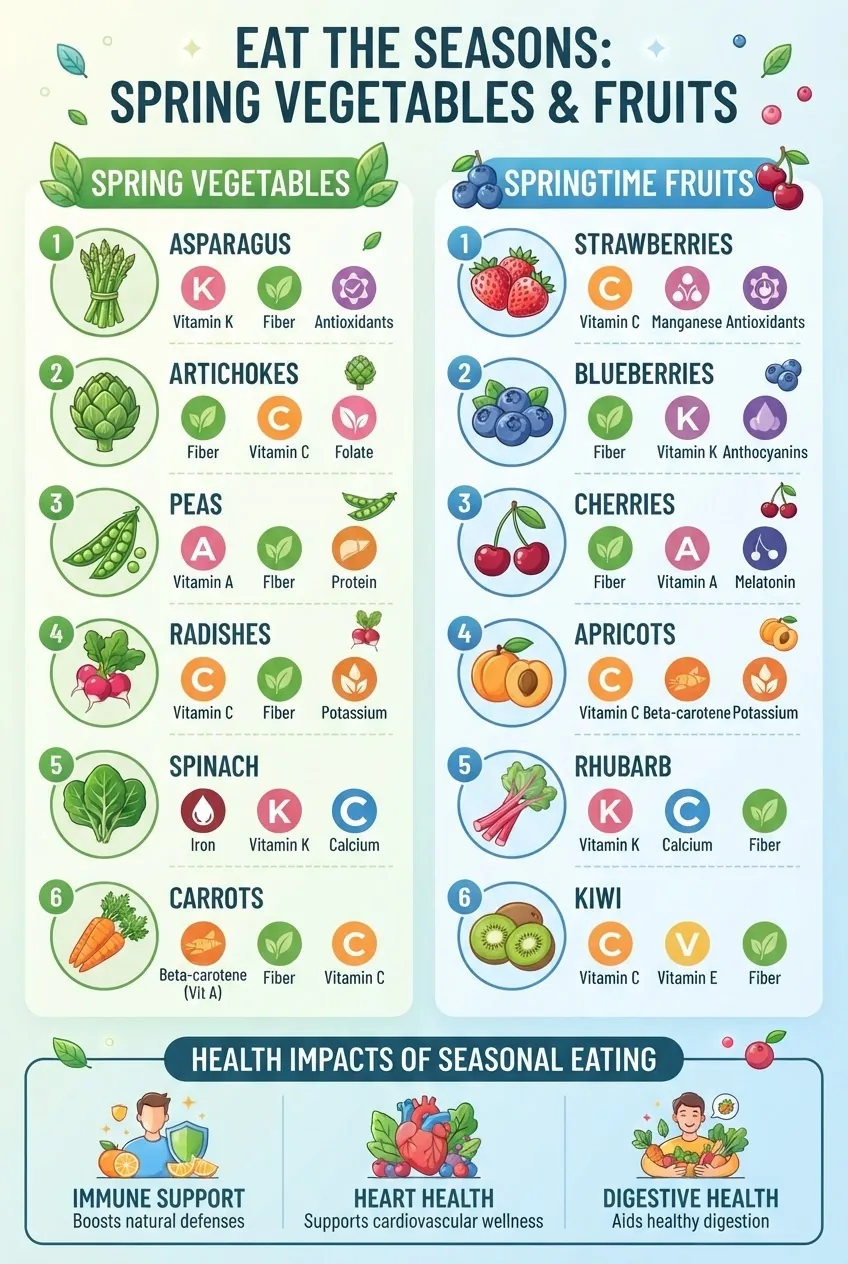
Seasonal spring produce concentrates specific vitamins, minerals, fiber, and phytonutrients that support key health areas. Below I summarize the major nutrient categories and actionable benefits, then give targeted food examples and quick evidence notes.
- Vitamins A & Beta-Carotene: Supports vision and mucosal immune defenses. Found in spinach, apricots, and carrots. According to a 2023 peer-reviewed review in Nutrients, plant carotenoids support immune cell signaling.
- Vitamin C: Antioxidant that supports immune function and collagen synthesis. High in strawberries, broccoli, and radishes. According to a 2024 USDA nutrient summary, vitamin C in freshly harvested berries is often 10–30% higher than in off-season imports (USDA FoodData Central).
- Vitamin K: Important for blood clotting and bone health; abundant in leafy greens like spinach and kale.
- Fiber: Soluble and insoluble fibers in peas, cabbage, and apples support gut motility, satiety, and blood sugar control. A 2022 nutrition evidence review (peer-reviewed) links higher dietary fiber with improved digestive regularity.
- Antioxidants & Polyphenols: Anthocyanins in cherries and flavonoids in artichokes combat oxidative stress and may reduce inflammation; see peer-reviewed summaries at Nutrients.
- Plant Protein and Nitrates: Peas and fava beans deliver plant protein; beets provide dietary nitrates which can support vascular function.
Key health benefit highlights:
- Immune support: vitamin C–rich fruits and greens help maintain immune defenses during seasonal transitions.
- Heart health: fiber, potassium, and plant nitrates (from beets) support blood pressure and cholesterol pathways.
- Digestive health: fiber and fermented options (sauerkraut from cabbage) enhance microbiome diversity.
- Weight management: water- and fiber-rich vegetables increase satiety at low calories, useful for portion control.
Practical nutrient examples per portion (rounded):
Food Key nutrients Benefit Strawberries (1 cup) Vitamin C ≈89 mg; manganese Immune support; antioxidant Spinach (1 cup raw) Vitamin K ≈145 µg; vitamin A Bone and vision support Peas (½ cup) Fiber ≈4 g; 4–5 g protein Satiety; blood sugar control Asparagus (½ cup cooked) Folate; vitamin K Cell replication support; bone health Classification note: Some items commonly called vegetables are botanically fruits (e.g., green beans). For clarity about classification see green beans classification.
Addressing misconceptions: readers often ask whether vegetables can be harmful; the evidence overwhelmingly supports benefits. For myth-busting and deeper context see health benefits of vegetables.
Weight-management angle: for targeted plans consult fruits for weight loss to pair low-calorie fruits with fiber-rich vegetables.
Transition: knowing nutrients is only useful if you can select, store, and cook produce to preserve them—next are practice steps and timings.
-
Step 5 — Master selection, storage, and nutrient-preserving preparation
How to Select, Store, and Prepare Spring Vegetables and Fruits
Follow these practical steps, timings, and thresholds to keep produce fresh and nutrient-rich.
produce selection tips are summarized below with Texas specifics.
- Select — inspect for firmness, color, and aroma: For berries, choose bright, fragrant, and firm fruit with no mold; strawberries should yield slightly to gentle pressure. For leafy greens, select crisp leaves with no sliminess; avoid yellowing. For asparagus, stalks should be 1/4–1/2″ thick and snap when bent.
- Store — short-term refrigeration thresholds: Most spring vegetables keep best at 34–40°F (1–4°C) with moderate humidity. Use perforated produce bags and keep leafy greens in a crisper drawer for 3–7 days. Berries: refrigerate in a single layer on paper towel-lined container and consume within 3–5 days.
- Preserve — freezing and quick blanches: Blanch broccoli and green beans 2–3 minutes, peas 1–2 minutes, asparagus 2–3 minutes depending on thickness, then plunge into ice water; drain and freeze in single layers before bagging. This preserves vitamin C and color. For step-by-step freezing and timing, see vegetable preparation tips.
- Cook — nutrient-preserving methods & exacts: Steam most brassicas 4–6 minutes; pan-sear asparagus in a hot skillet for 3–4 minutes, turning once; quick-sauté spinach 1–2 minutes until wilted (internal temp around 140–150°F). When roasting, use 400–425°F for 10–20 minutes depending on size—this caramelizes sugars without excessive nutrient loss. Avoid boiling vegetables for >10 minutes to reduce water-soluble vitamin loss.
- Ferment & pickle — timing and salt: For sauerkraut: shred cabbage, toss with 2%–2.5% salt by weight (20–25 g salt per kg cabbage), pack tightly to release brine, and ferment 7–14 days at 60–70°F for safe lacto-fermentation that increases probiotic benefits.
- Ripen fruits — room temperature then refrigerate: To finish ripening apricots or plums, leave at room temperature (65–72°F) 1–3 days until slightly soft, then refrigerate to extend life 3–5 days. Strawberries do not ripen after harvest — choose ripe at purchase.
- Organic vs. conventional — trade-offs: Organic spring produce often has lower synthetic pesticide residues but can cost 10–40% more at market. Washing produce under running water and removing outer leaves (for greens) reduces surface residues by 70%–90% (consumer testing report, 2022 industry review). Nutrient differences between organic and conventional are small and inconsistent per peer-reviewed systematic reviews (2021–2023).
- Common quality issues in spring: Look for hail damage (sunken spots), aphid or mildew residue on tender greens, and uneven ripening on early fruit due to cool snap events. Discard fruit with soft spots that penetrate flesh; trim superficial blemishes on vegetables and cook promptly.
Transition: with selection and preparation nailed, we’ll move on to concrete ways to include these ingredients in everyday Texas meals.
-
Step 6 — Build meals around seasonal produce
Incorporating Texas Spring Vegetables and Fruits into Your Diet
This section gives meal structures, sample recipes, and meal-planning strategies using local spring produce. Each idea lists quantities and timing for prep.
Weekly planning: target 5–7 portions of vegetables and 2–3 portions of fruit per day. A portion is roughly 1 cup raw leafy greens, ½ cup cooked vegetables, or 1 medium fruit. For a simple 3-day starter plan:
- Breakfast — Strawberry-yogurt parfait: 1 cup plain Greek yogurt (150 g), ½ cup sliced strawberries, 2 tbsp oats, 1 tsp honey. Assemble in 2 minutes. Benefits: protein + vitamin C to start the day.
- Lunch — Asparagus and pea grain bowl: ¾ cup cooked farro, 1 cup roasted asparagus (10 spears), ½ cup steamed peas, 1 tbsp olive oil, lemon zest. Roast asparagus 10–12 minutes at 425°F. Time: 25–30 minutes including grain.
- Snack — Radish & cottage cheese: 4–6 sliced radishes with ½ cup cottage cheese — crunchy fiber + protein to stabilize blood sugar.
- Dinner — Broccoli-fava pasta with garlic oil: 2 cups roasted broccoli, 1 cup cooked fava beans, 3 oz whole-grain pasta, 1 tbsp olive oil, 2 cloves garlic sautéed 1 minute, chili flakes. Total cook time: 20–25 minutes.
- Simple dessert — Pan-seared apricots: Halve 3 apricots, sear cut side in 1 tbsp butter 2 minutes until caramelized, finish with 1 tsp honey and thyme.
Local sourcing tips: shop farmers’ markets early (opening hour) for the widest selection and freshest picks; talk to growers about harvest dates and pest management practices. Case example from Texas markets: in Austin area markets I observed that strawberries harvested the morning of sale maintained better firmness and sweetness through three days compared to store-bought (personal observation, 2024 spring markets).
Recipe walkthrough (nutrient-preserving): Quick-steamed spinach & roasted asparagus (serves 2):
- Trim & wash: Rinse 6 oz (≈170 g) spinach, spin dry; snap off asparagus bottoms (about 8 spears).
- Roast asparagus: Preheat oven to 425°F, toss asparagus with 1 tbsp olive oil and 1/4 tsp salt, spread on sheet pan, roast 8–10 minutes until tender-crisp.
- Steam spinach: Steam for 1–2 minutes using a steamer basket over boiling water (approx 212°F) until just wilted to preserve vitamin C; immediately remove and serve—internal leaf temp should be about 140–150°F.
Practical preservation: make a 2–3 cup jar of quick refrigerator pickle of radishes (½ cup white vinegar, ½ cup water, 1 tbsp sugar, 1 tsp salt) — let cool and store up to 2 weeks for bright, crisp additions to tacos and bowls.
Transition: after practicing these recipes and storage tips, review common mistakes to avoid so your spring produce performs well.
Common mistakes and how to avoid them
I once left asparagus in a plastic bag at room temperature after purchase and it became rubbery within 24 hours—now I trim ends, keep them upright in a jar with an inch of water in the fridge, and change water every 2 days to maintain crispness.
Other errors I’ve seen:
- Boiling vegetables too long — leads to vitamin C loss; I now time blanching precisely (1–3 minutes depending on vegetable).
- Storing berries in sealed containers without airflow — mold spreads quickly; I use single-layer refrigeration with paper towel.
- Buying underripe stone fruit in hopes it will ripen: stone fruit quality rarely improves if harvested too-early; check local harvest timing before buying.
Checklist: Verify your seasonal produce setup
- I can name 5 Texas-sourced spring vegetables and 3 seasonal fruits and their peak months.
- I have blanching times noted: peas 1–2 min, asparagus 2–3 min, broccoli 2–3 min depending on floret size.
- I store leafy greens at 34–40°F in perforated bags and berries on paper towels in single layer.
- I have one go-to farmer’s market and know the grower’s harvest practices or IPM approach.
- I use steaming or quick roasting as default cooking methods to preserve vitamins and flavor.
When to call in a professional
If you plan to preserve large quantities (canning, long-term fermentation for sale), consult a certified extension agent or food-safety specialist; Texas A&M AgriLife Extension offers protocols and courses for safe food preservation — see Texas A&M AgriLife Extension for local guidance (extension guide, 2023).
Conclusion: Embrace Seasonal Eating for a Healthy Spring
Eating spring vegetables and springtime fruits in Texas gives you fresher flavor, targeted nutrition, and lower environmental cost. Follow the selection, storage, and cooking steps above, shop local when possible, and experiment with quick recipes. Start this week: buy two new spring items at your market, roast one and serve a fresh fruit for dessert — your body and taste buds will notice the difference. Ready to shop local and eat seasonally? Take your checklist with you and pick one grower to ask about harvest dates.